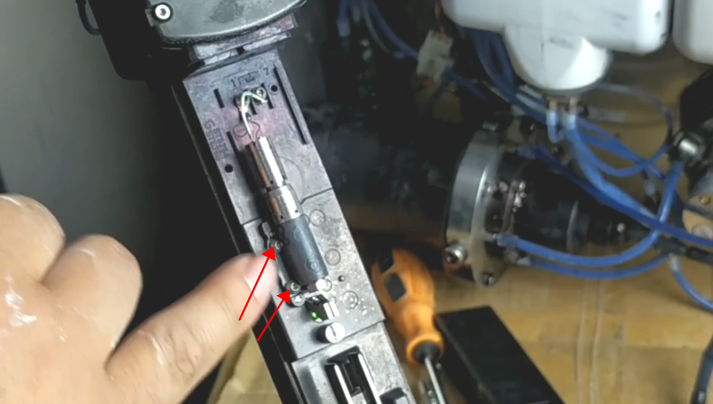
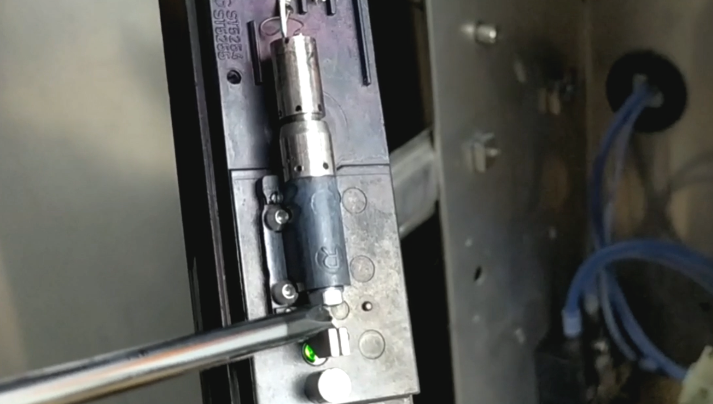
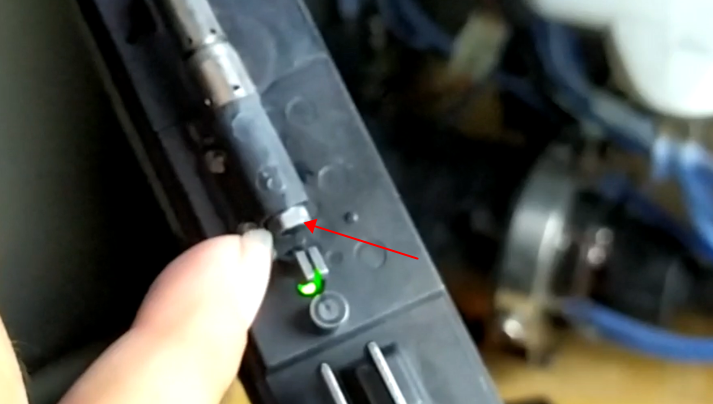
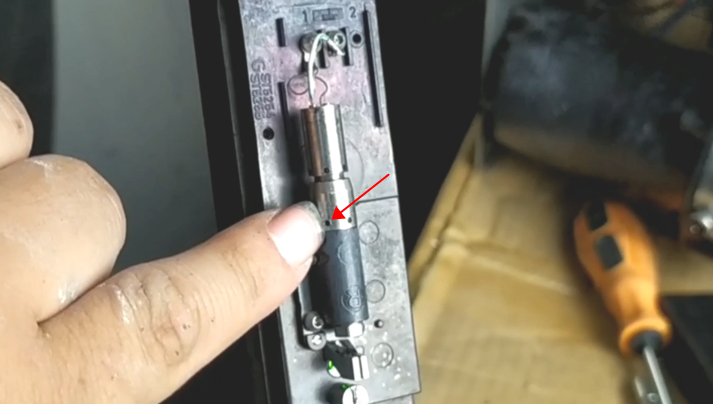
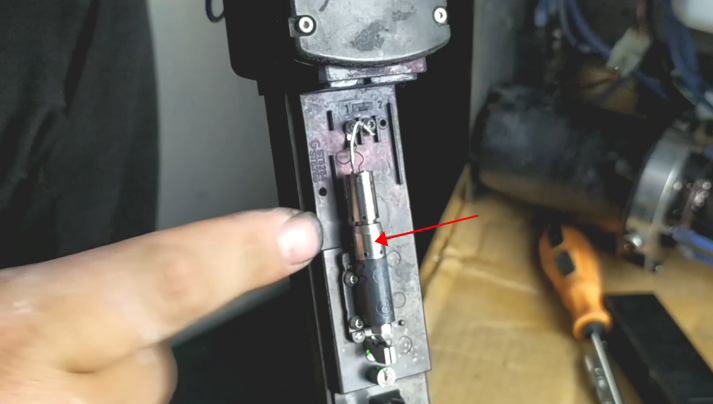
When we remove the nozzle of the 9040 inkjet printer, we must not remove its fixed base, because if you remove it and install it back, it is very easy to damage it:
.png)
Normally, if the nozzle is only slightly blocked, we click directly on the “nozzle state” and then select “nozzle opening” or “solvent inhalation” in the “nozzle state”, under normal circumstances, if the blockage is more severe, we choose “solvent inhalation”, and then use the cleaning pot to spray cleaning fluid against the nozzle:
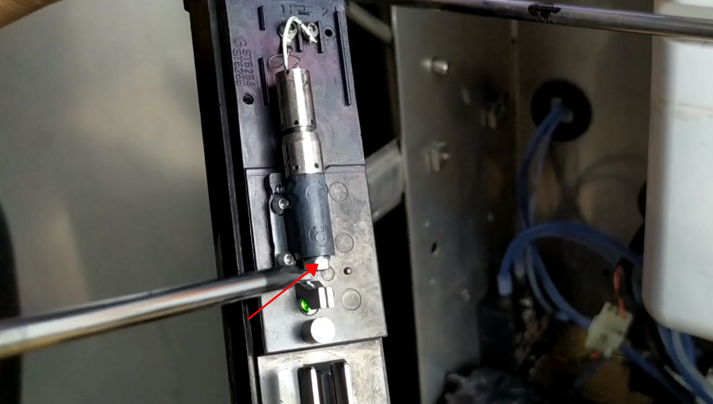
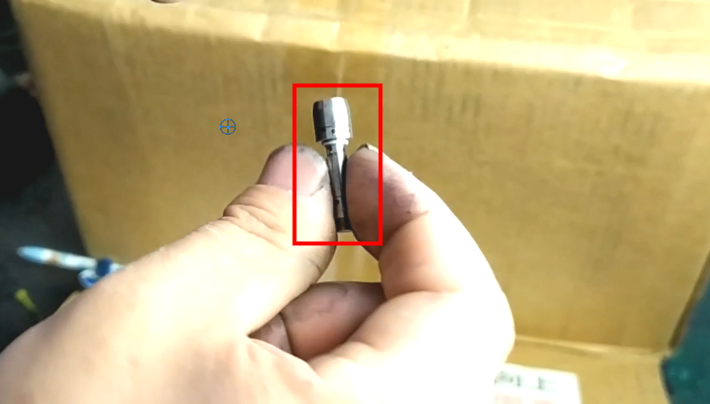
If the ink line hits this position for a while and another position for a while, it means that the nozzle has not been opened. If it doesn’t work after more than ten minutes, we have to remove it and clean it with ultrasonic.
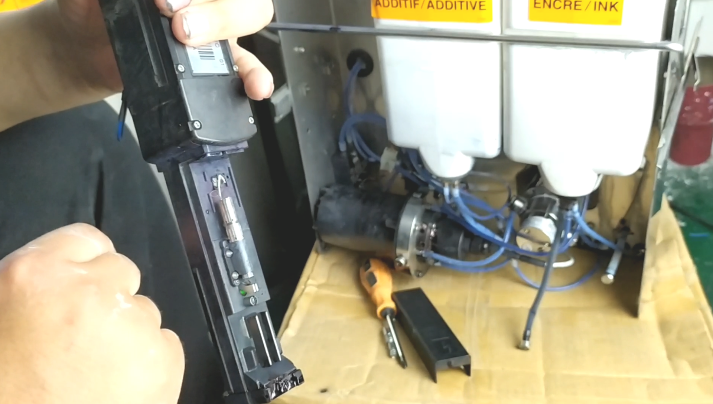
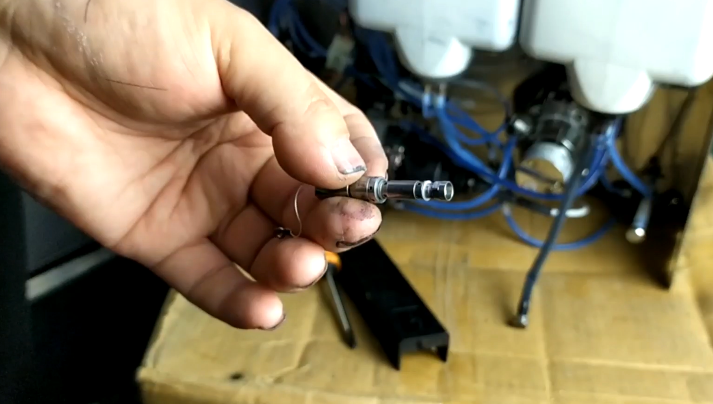
When we use ultrasonic cleaning, we completely disassemble it.
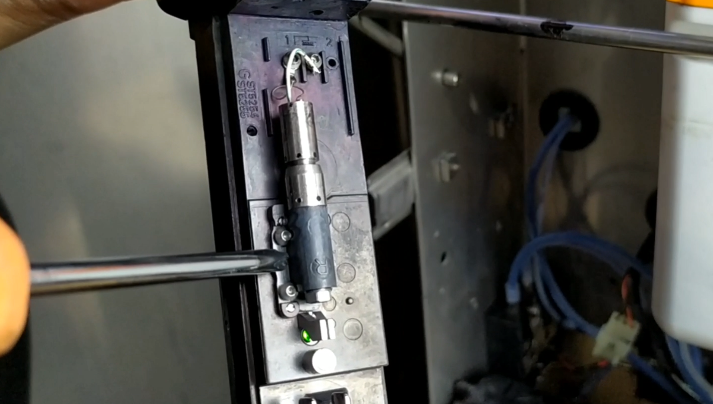
Or normally, according to my experience, there is no need to dismantle anything, as this is:
Then, after cleaning, we put it in directly, and the wires on it don’t need to be connected:
If it still doesn’t work, we’ll take it down completely.
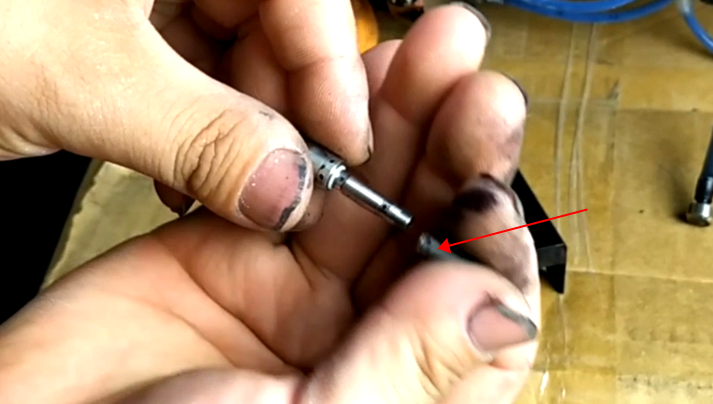
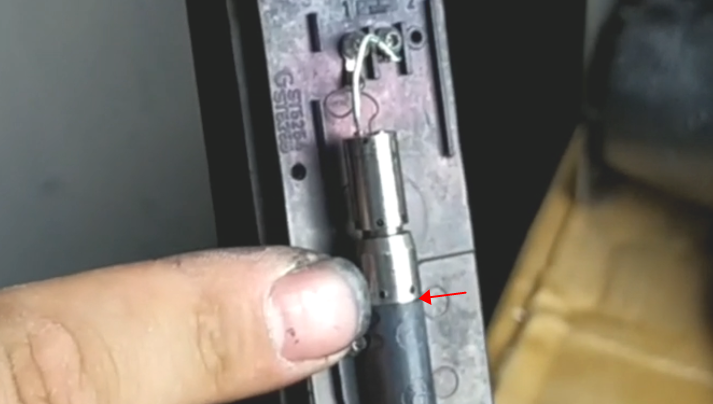
When removing the nozzle, pay attention to the O-ring and the like.
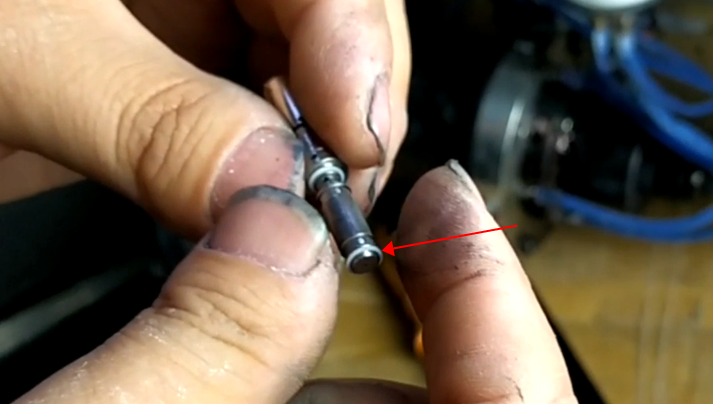
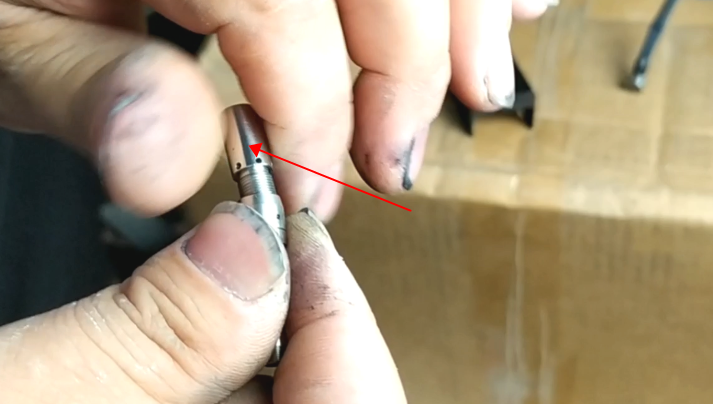
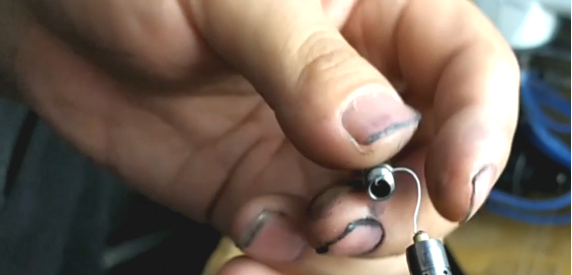
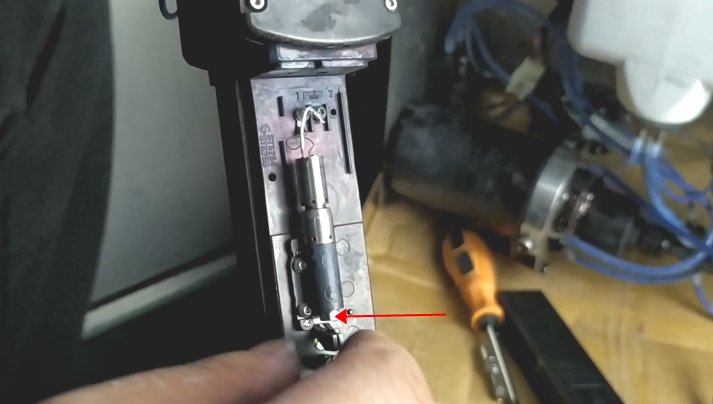
When removing the nozzle, we first remove the screw:
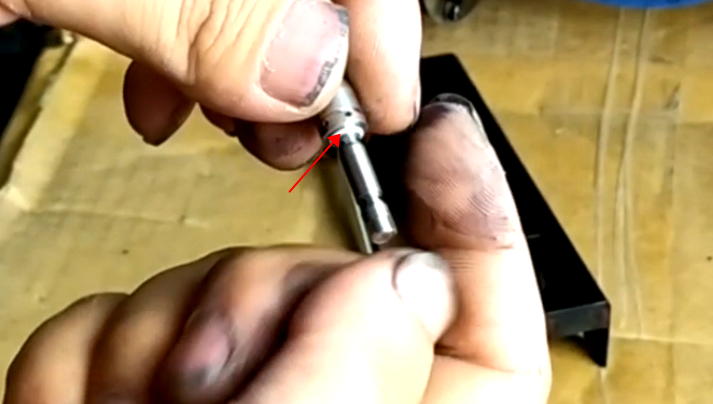
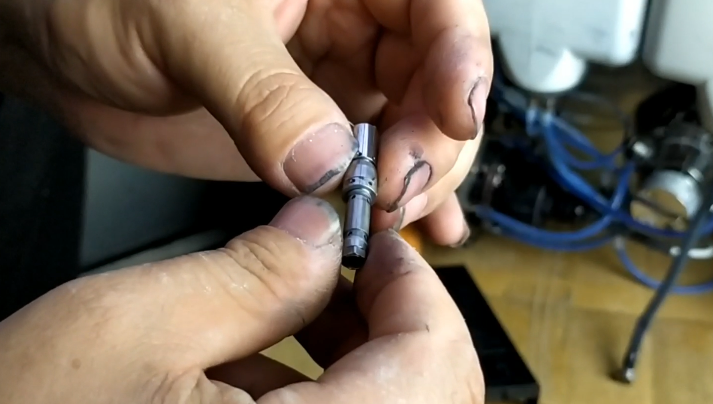
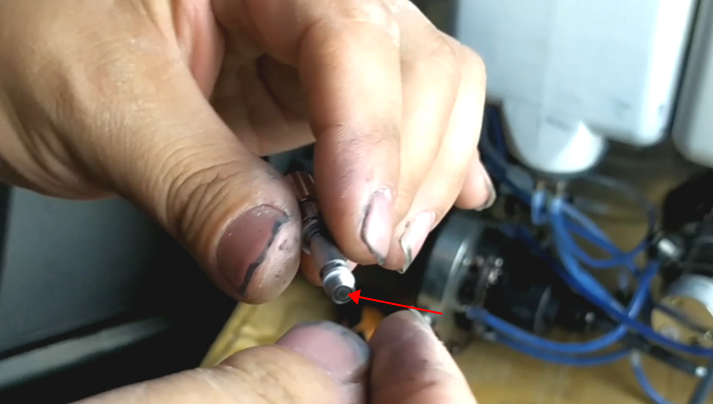
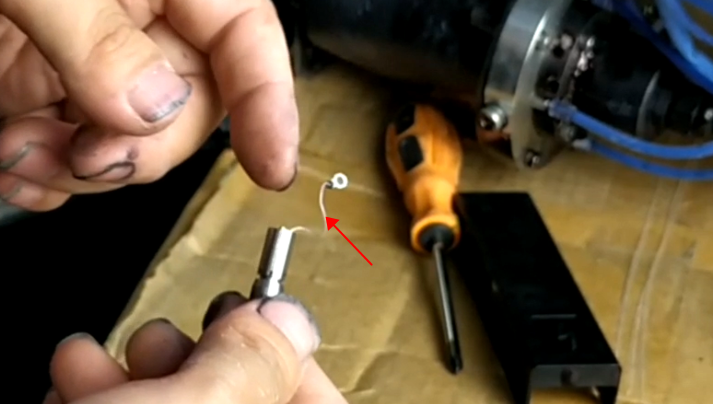
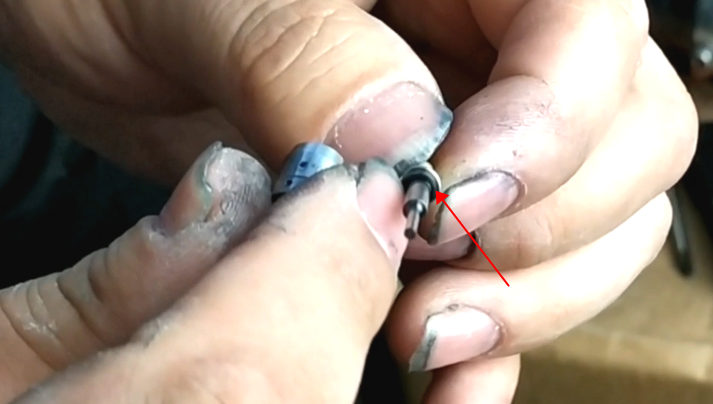
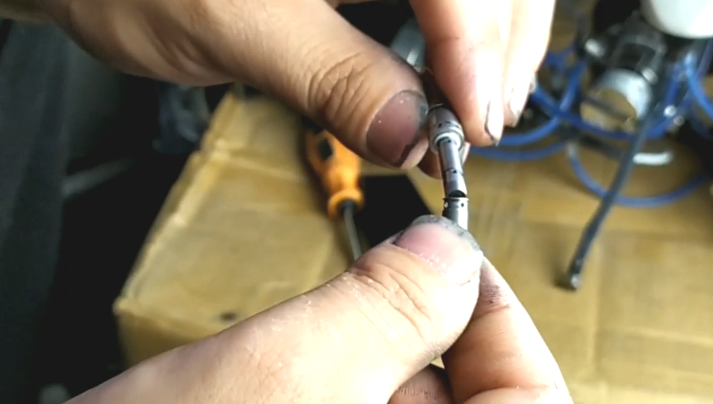
To remove the crystal oscillator, first of all, it should be unscrewed. After unscrewing, once it is pulled out, the crystal oscillator will be pulled out:
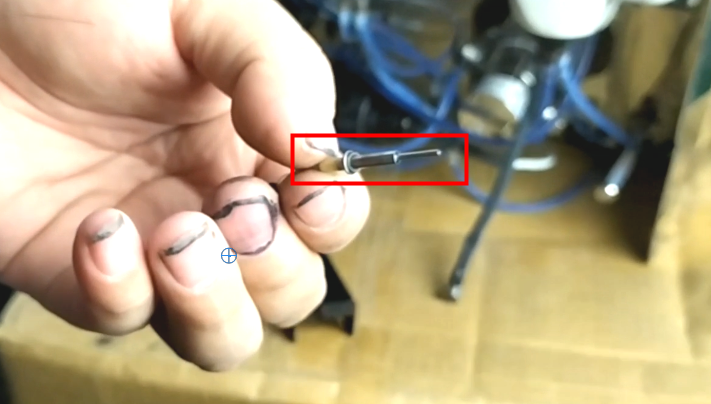
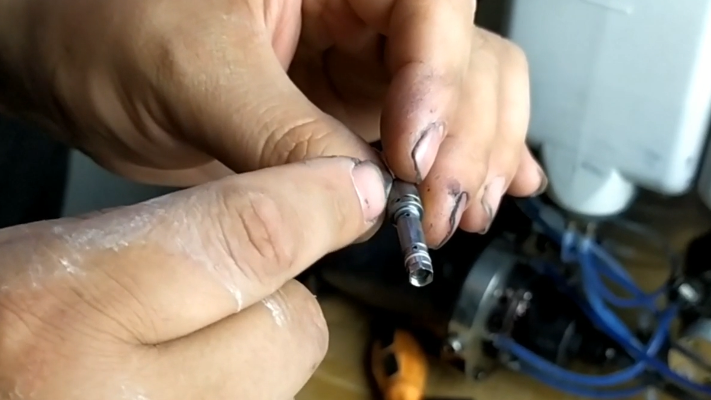
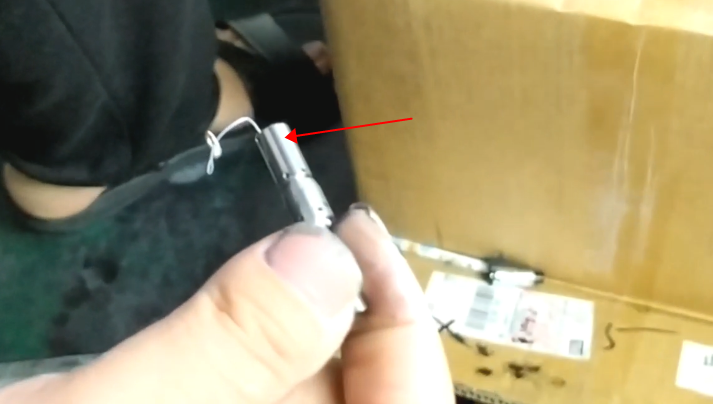
Then this is the nozzle. We can clean it with ultrasonic wave:


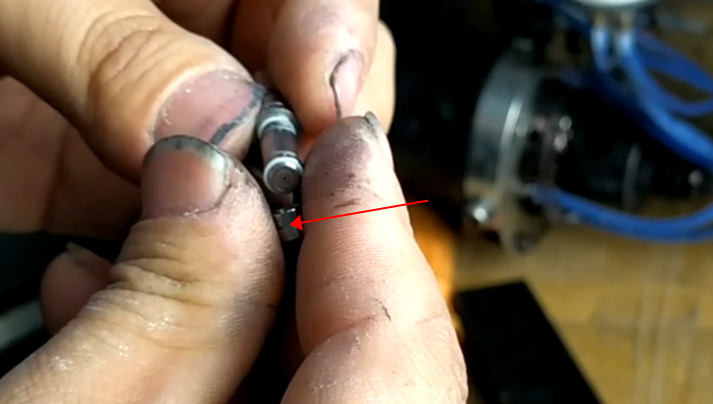
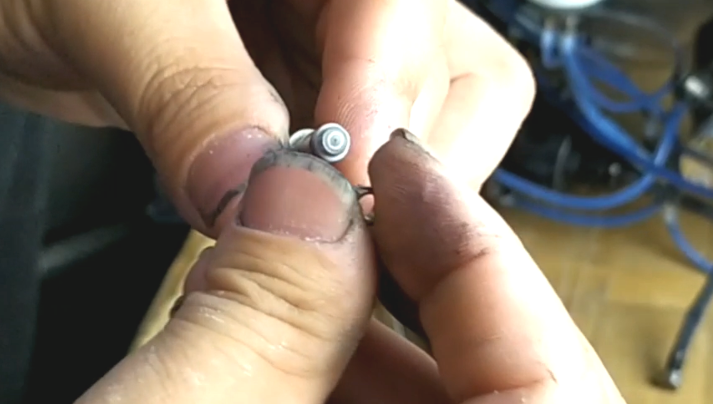
First place an O-ring, then place the sleeve (the sleeve is not oriented, directly put on, which end is OK):
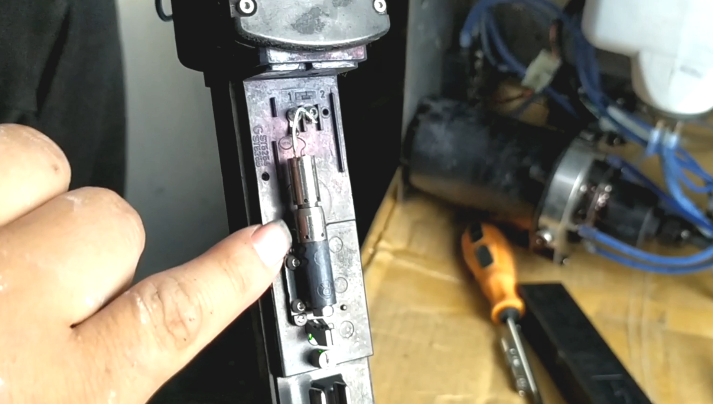
After all of them are assembled, we will insert them into the black sleeve, and then we must push it to the bottom:

If we want to replace the base, we first remove the nozzle, and then loosen the two screws: