
Let’s show you how to clean the A120 machine and replace its multiple filters.
Let’s go into this interface and enter the advanced service password c h a u c e r:
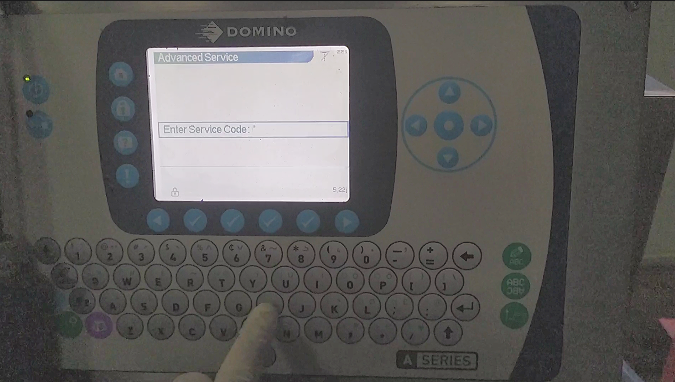
Click the OK key to enter this interface:
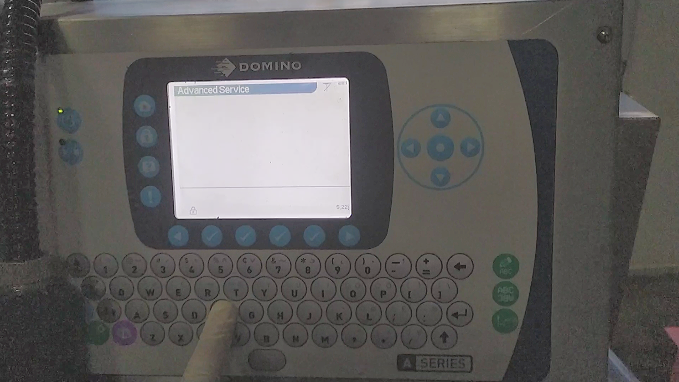
Then enter f l u s h and click OK again to enter the manual interface:
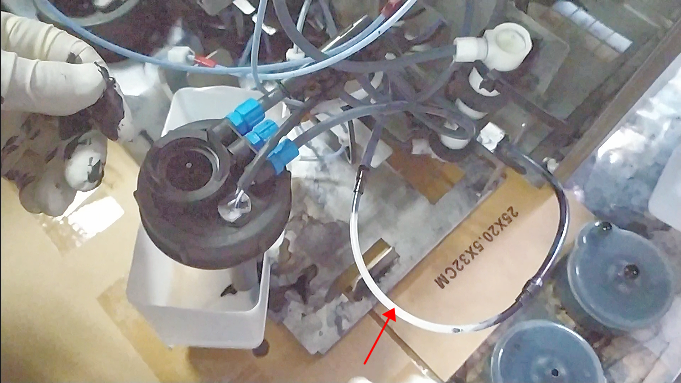
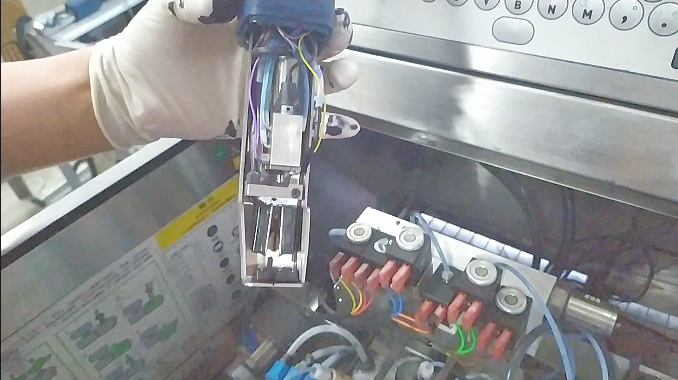
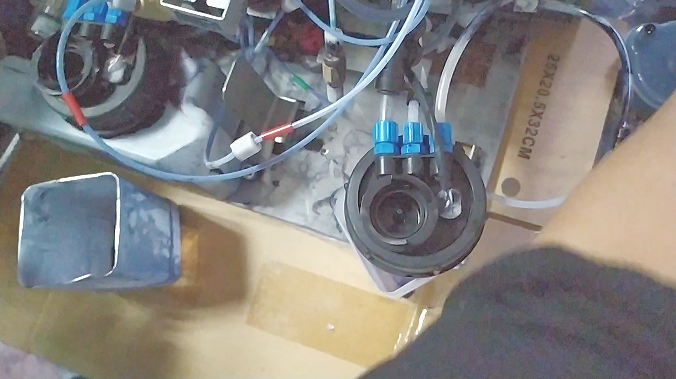
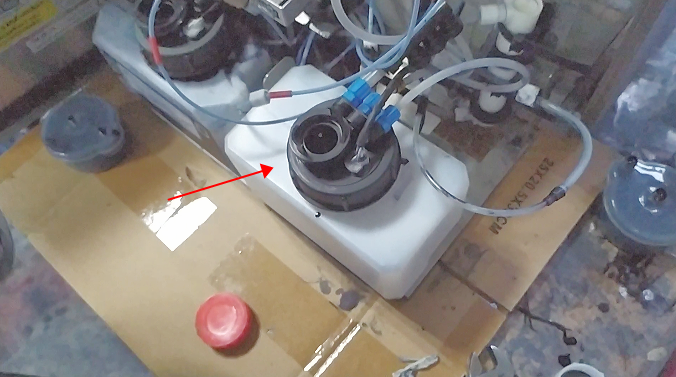
Then we take the main filter down:
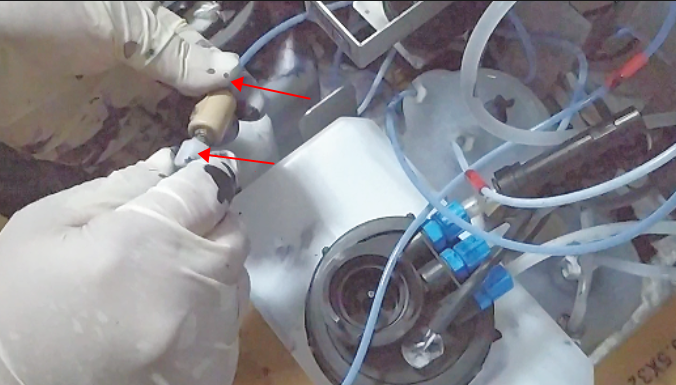
Then connect it with a short pipe:
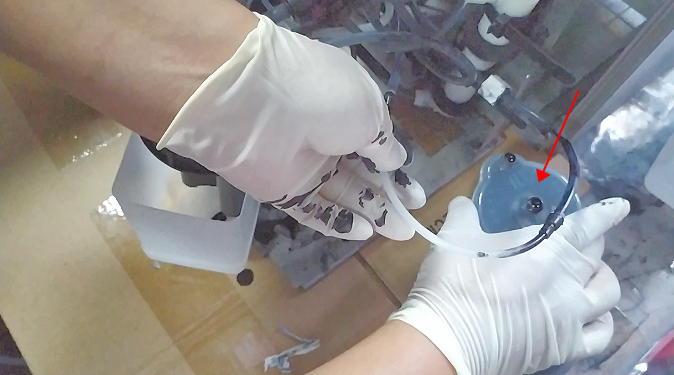
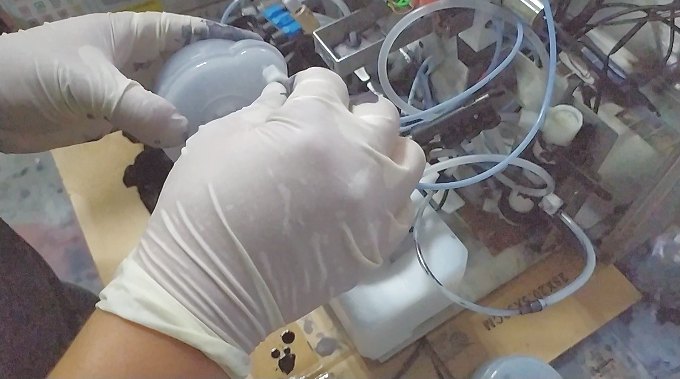
Then remove the buffer as well:
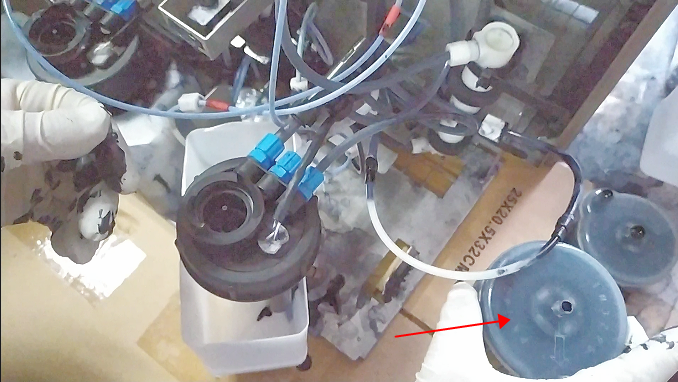
Then we also use a tube to connect it short:

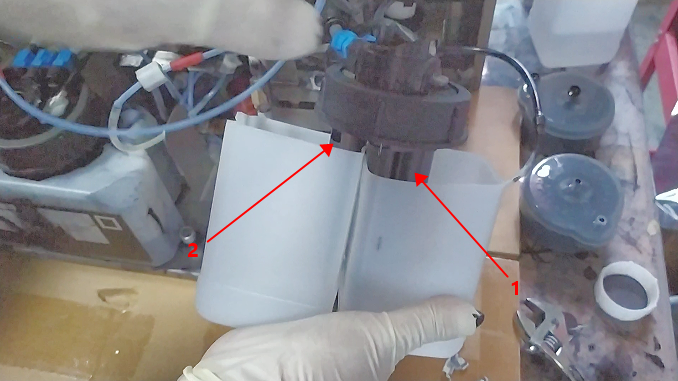
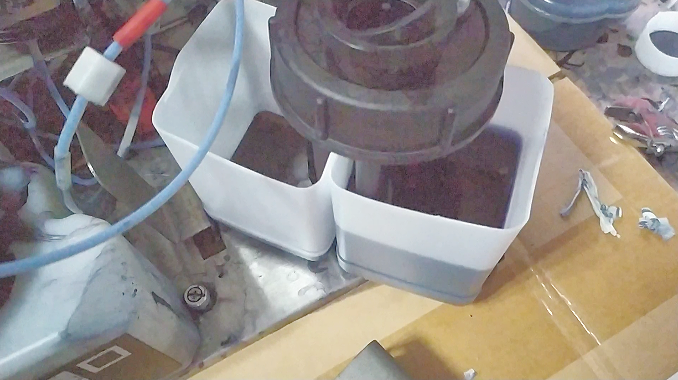
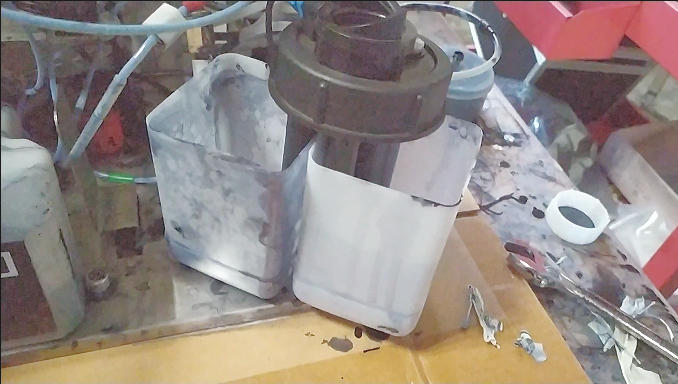
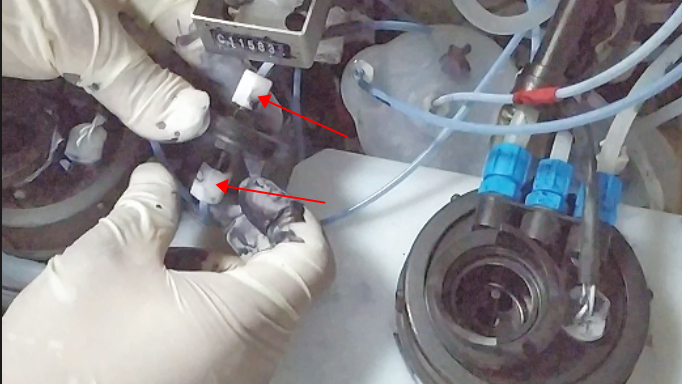
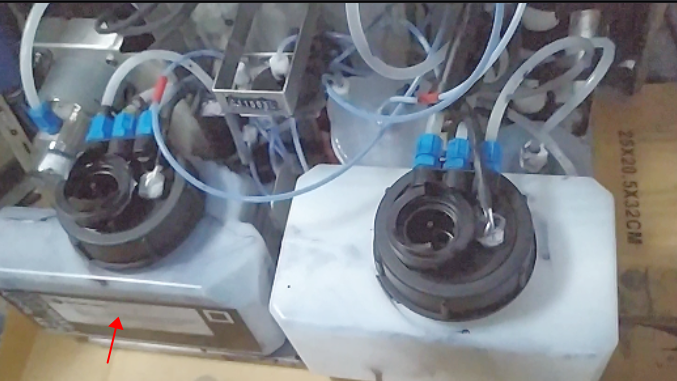
Then find two empty bottles, cut them off and insert the lines in, 1 is in, 2 is out:
Then we started cleaning the lines.
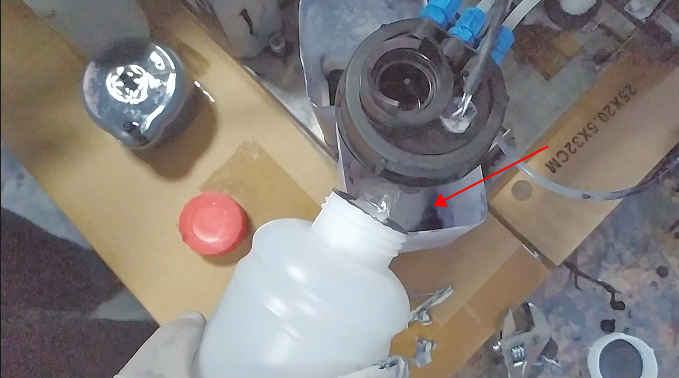
Pour the cleaning fluid here:
Let’s open the print head cover and set it aside first:
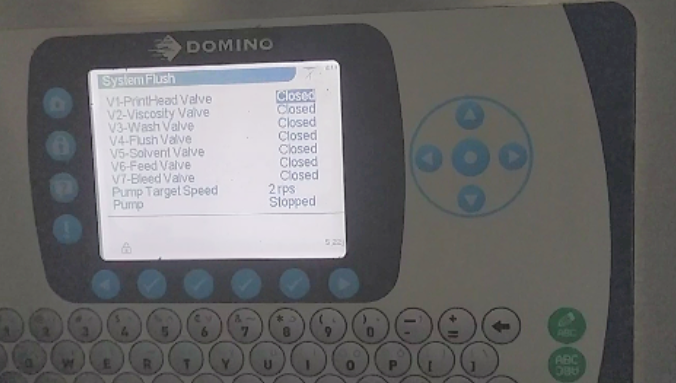
Then we press the upward direction key, select it, give it a speed, 35:
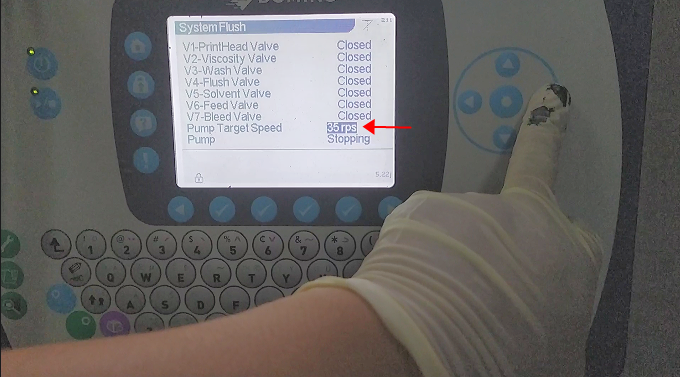
Now it’s draining the ink:
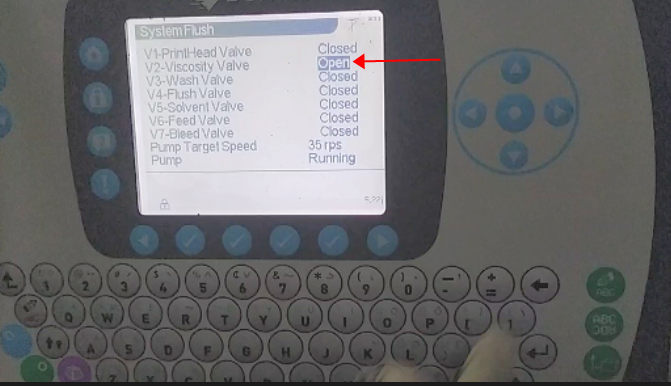
We can open the viscosity valve and let it wash the viscometer:
When the waste liquid is full, we’ll just pour it out.
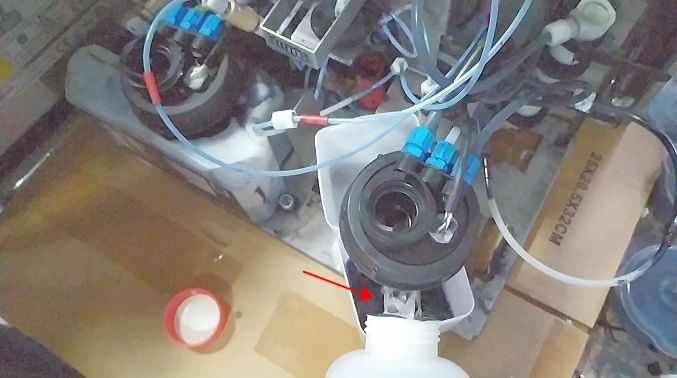
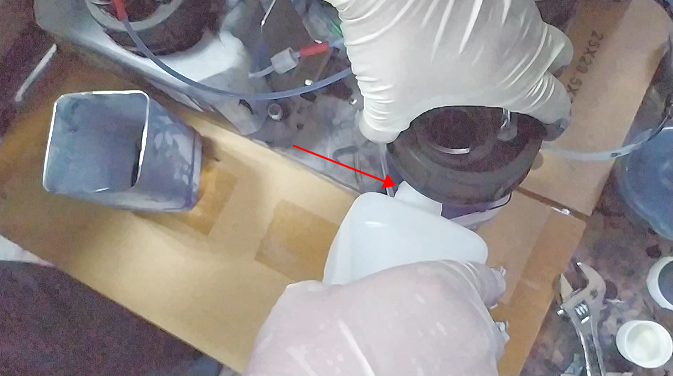
Then we take the waste bucket to one side, put the line in another bottle, and let it circulate:
Pour cleaning fluid into the bottle:
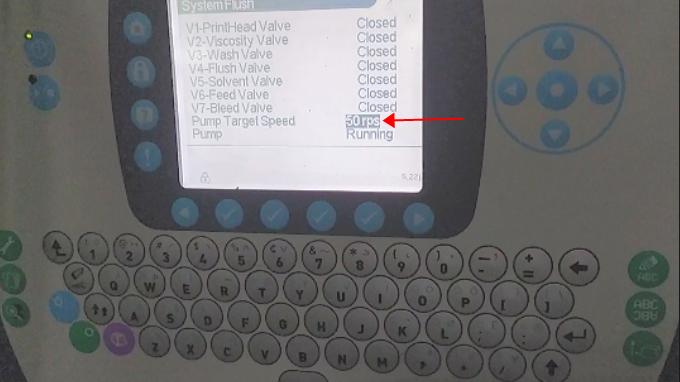
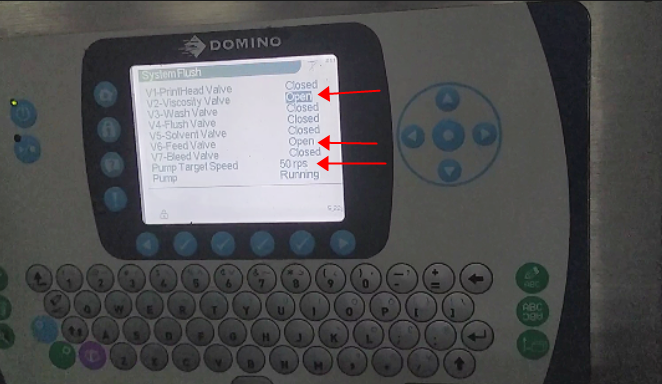
Then we give it 50 speeds:
You can then wash the recycling tank of the print head:

Run for about 20 minutes, then pour out the waste liquid inside:
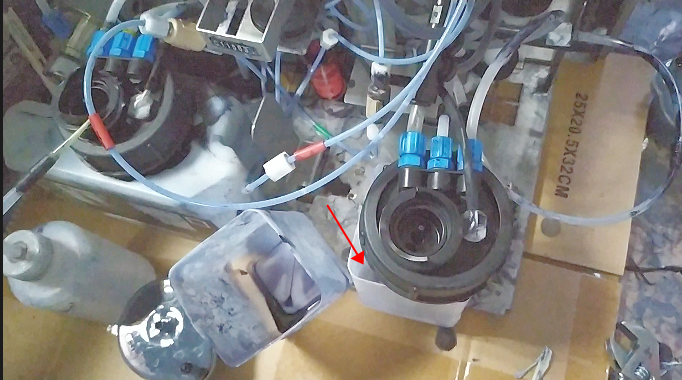
Then, as before, we put the lines in two empty bottles, one in ink, the other out of ink:
Then continue to pour the cleaning fluid into it:
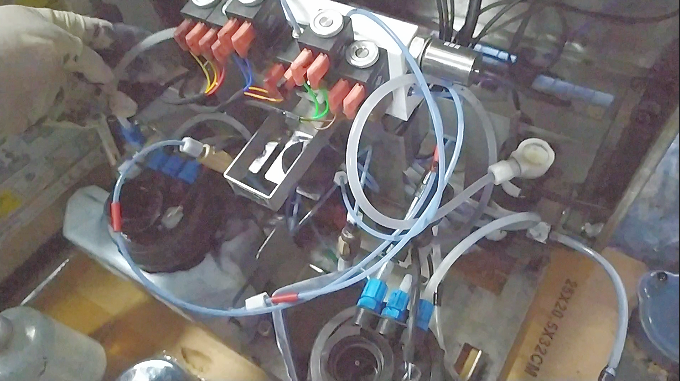
Then give it a 50-speed speed, open the valves and let it circulate:
Until we wash all these pipes white:
After cleaning, we can change to a new ink cartridge:
Then we install the new buffer and tighten its two connectors:
Then install the main filter and tighten its connectors:

Then the new ink supply filter is replaced as well, tightening the connectors at both ends:
The same is true of the recycling filter, plug in the connectors at both ends and tighten them:
Then we pour out the old solvent in the solvent box and install the solvent box back:
Then we can ink-feed the machine.

