Take a look at the common faults. The most common is the nozzle blockage, which is divided into two situations. One is completely blocked, is the normal boot, the nozzle here there is no ink line spray down. The machine has pressure and speed, but it has no ink line spray down, the pressure and speed are normal, this is completely blocked. There is also the ink line deviation, not sprayed to the correct position of the recovery tank, is the normal printing, suddenly the ink line deviation. If the nozzle doesn’t fall over, the nozzle is usually blocked.
The nozzle is blocked, if normal words, we first wash the nozzle, is not to remove the nozzle first, and then take the cleaning liquid to the nozzle spray point cleaning liquid. After spraying the point cleaning liquid, and then the normal boot to try.
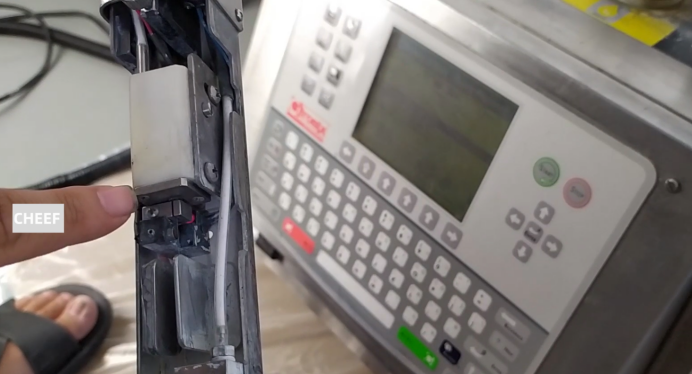
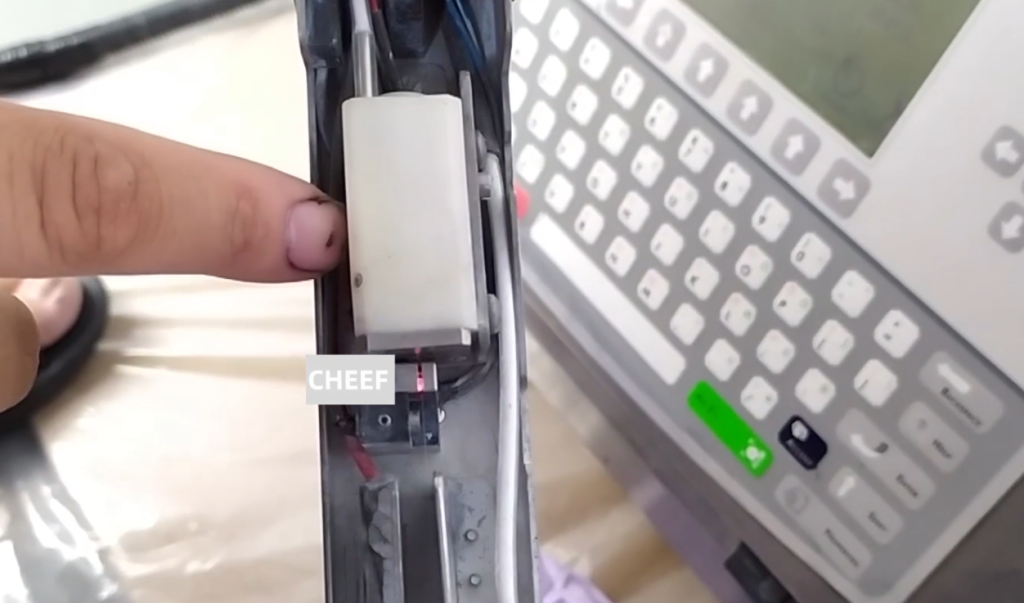
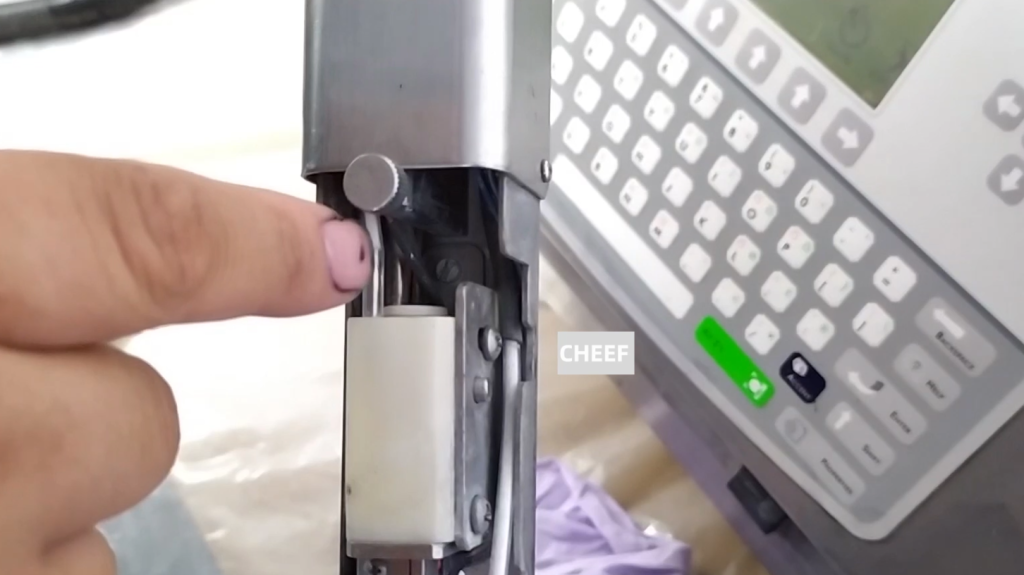
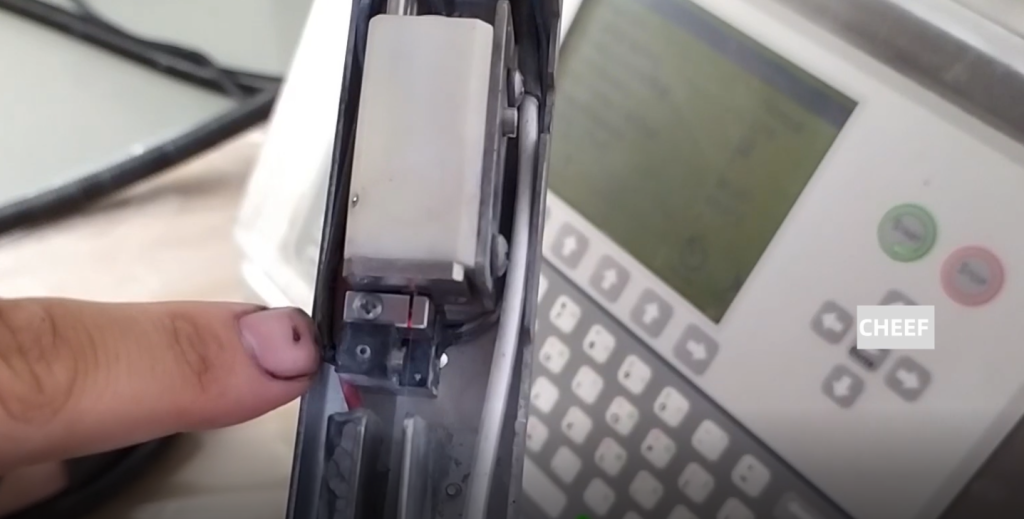
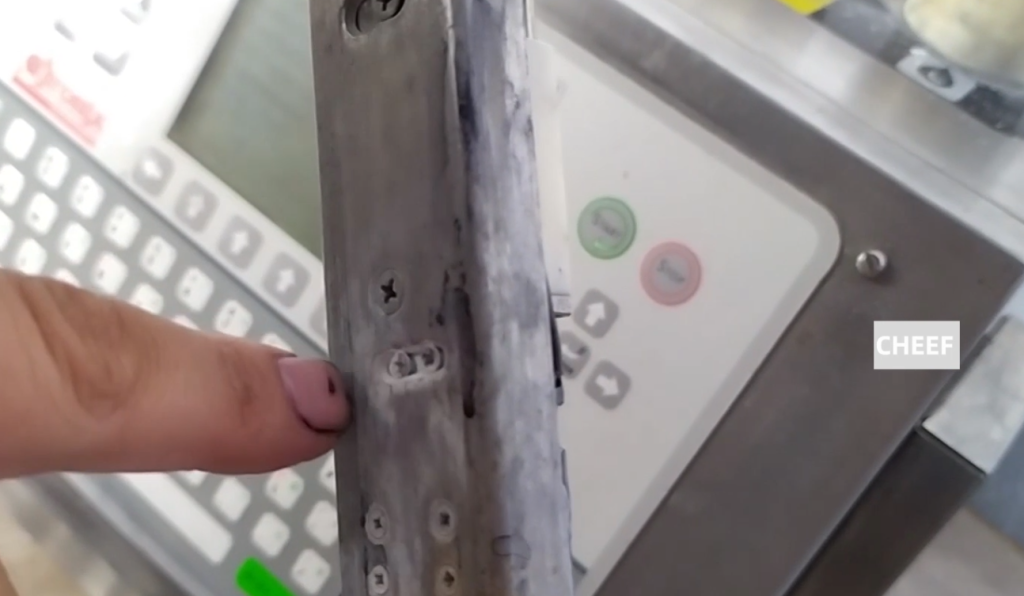
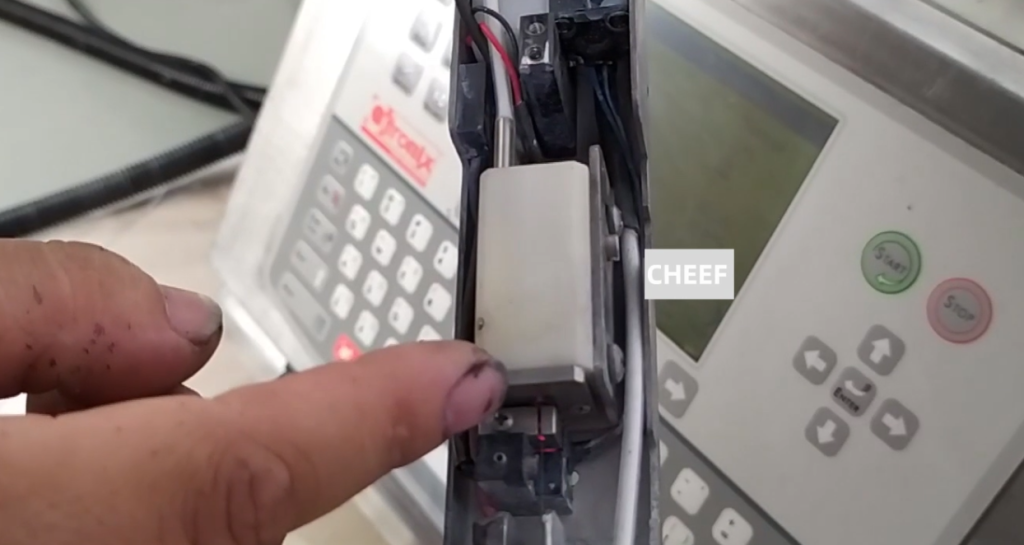
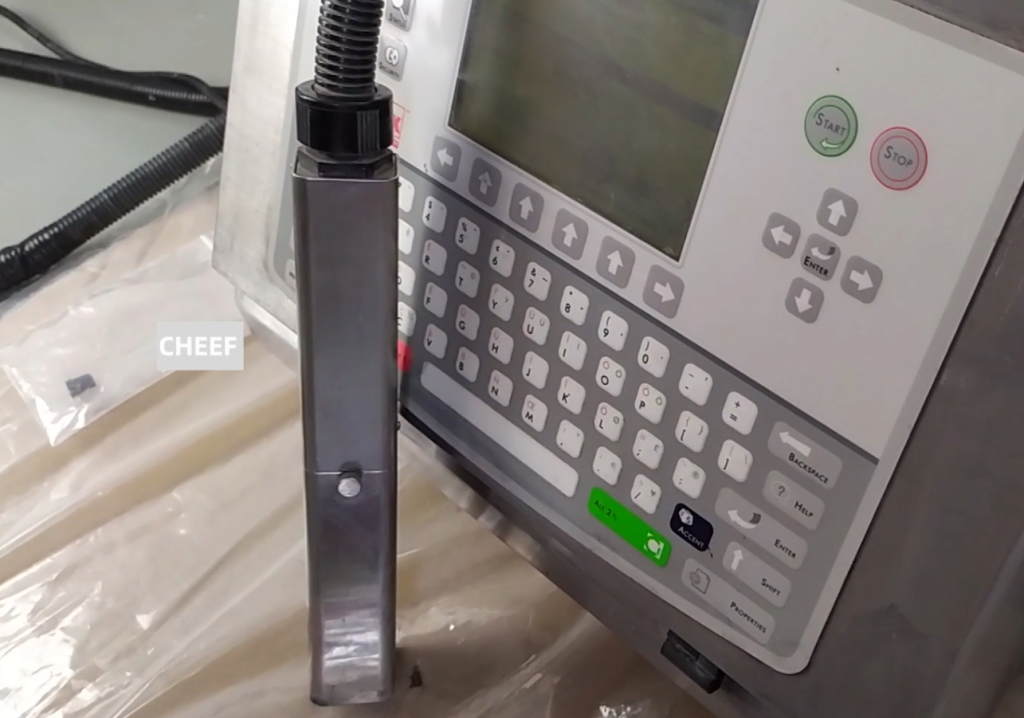
If the nozzle is still blocked, we need to remove the nozzle. Because the ken 3200 / 3300 has no nozzle cleaning function, we need to remove the nozzle. Then remove it and put it into the ultrasonic wave, clean it with ultrasonic vibration, clean it for hundreds of seconds. Wash several times, then test if the nozzle is smooth. Then if we remove the nozzle, we should pay attention that we must remove the two screws on the side.
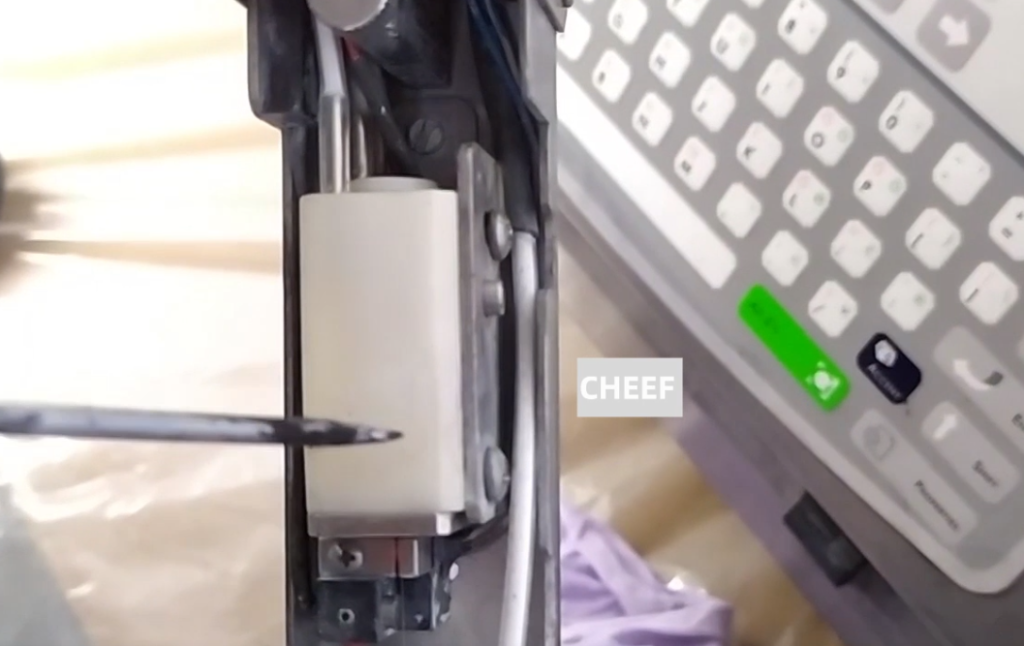
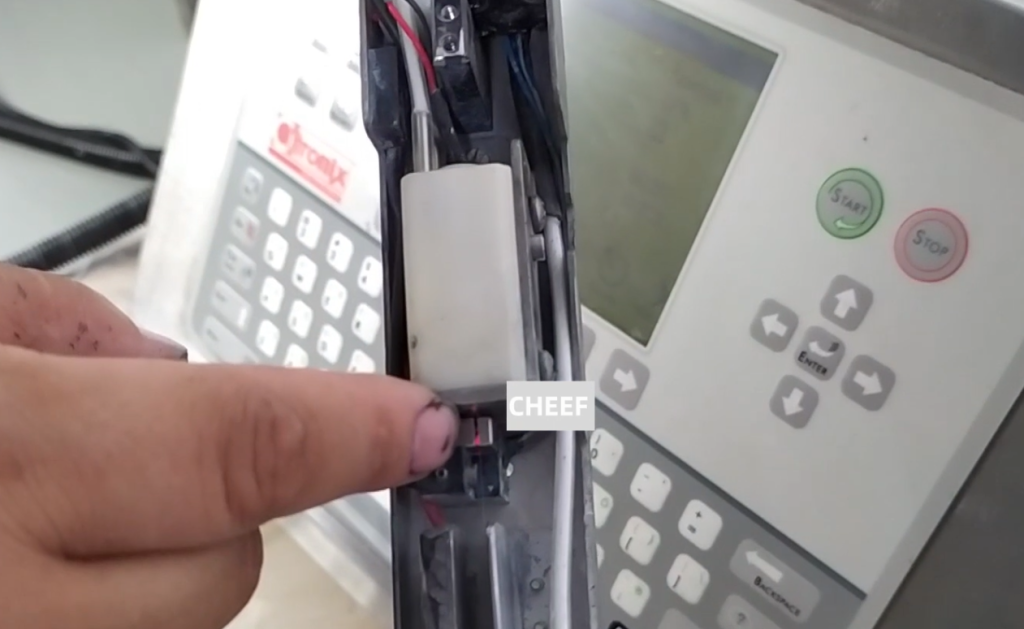
This white module is a spray gun, and then it can go up to take it out.
After taking it out, you can remove the two screws of the nozzle. Once removed, it can be removed. Then put the nozzle in the ultrasonic wave, and put some cleaning liquid in the ultrasonic wave. Then vibrate, vibrate for five or six hundred seconds. Stop for a few minutes, then vibrate again, stop for a few minutes, several times. Then we put the nozzle on it, and then put the screws on it.
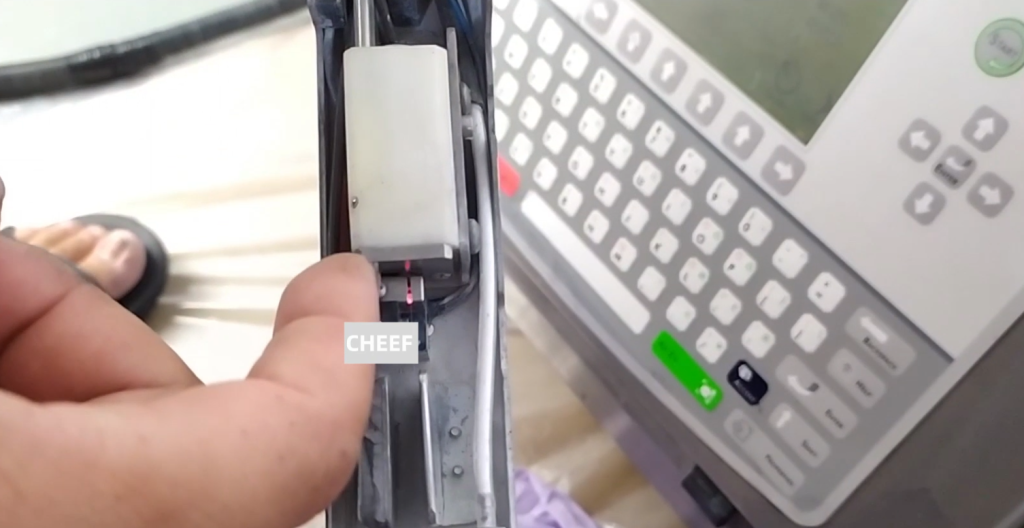
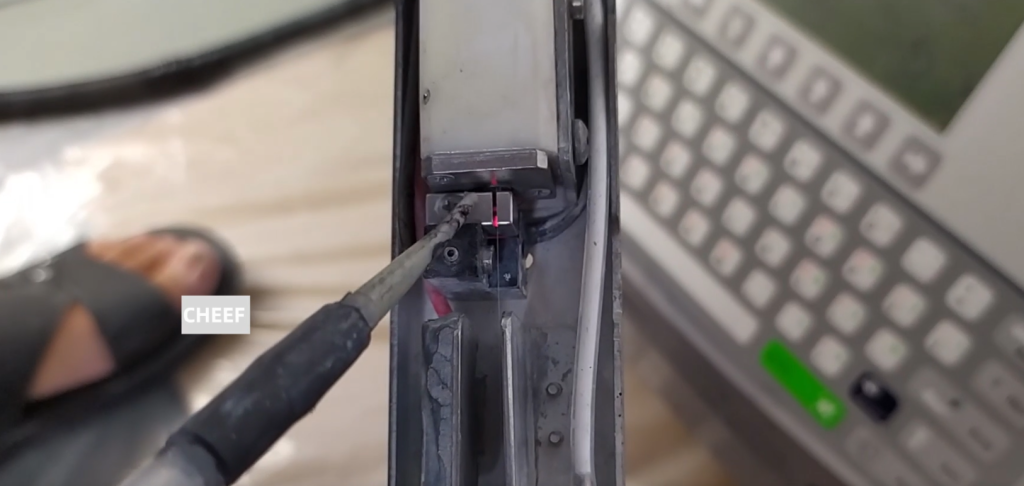
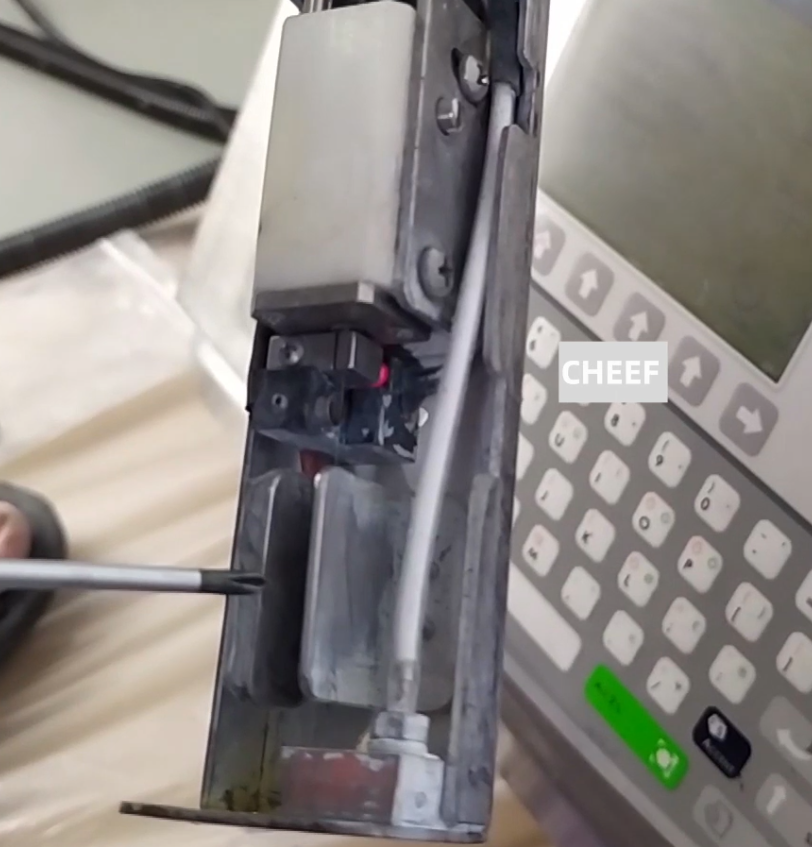
Because the screws here have been removed, the position of the ink line will definitely change. We need to retune, and we need to know. We will loosen the screw:

Then adjust this screw, which is to adjust the front and rear of the ink line.
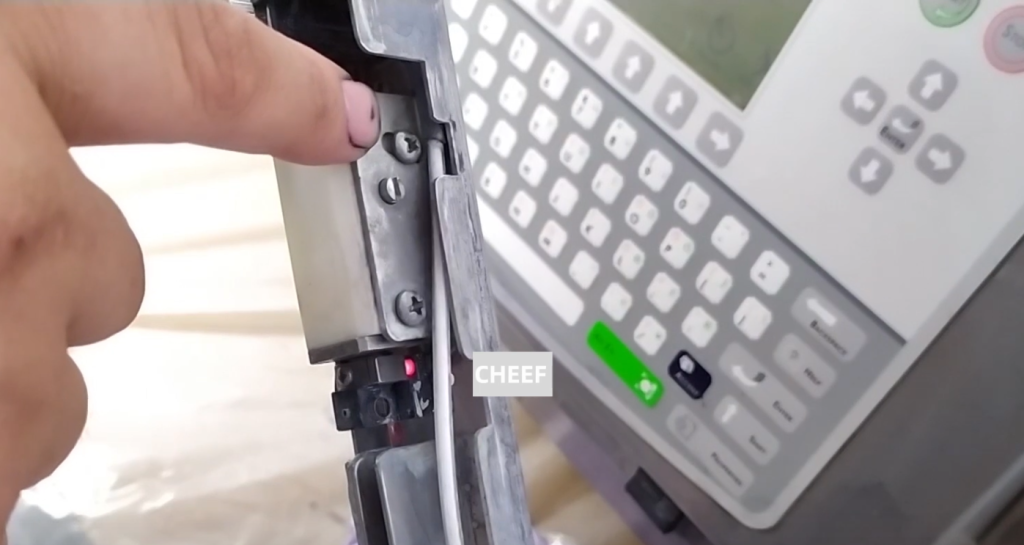
And then we loosen the screw.
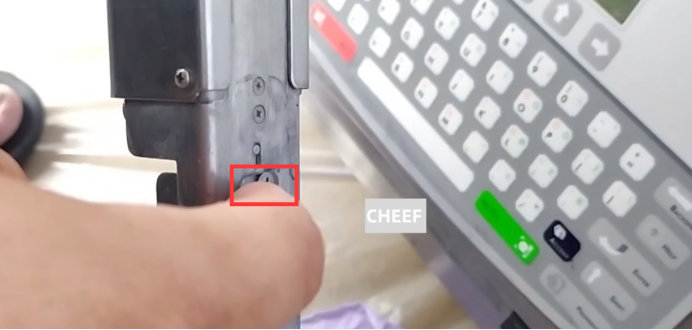
Adjust the screw below, adjust the word screw, and then it is used to adjust its left and right, a spin can adjust its left and right.
Because this side is like a fulcrum, we tune this word screw it will be left and right. Then the ink line will be thrown left and right, so that we will adjust it to the correct position of the recycling slot. When we set it up, it works. Then run it for a while to see if it’s stable. If it does, we have adjusted it.
If the circle is a recycling tank, the ink line must be in this position, and the ink line must not be in the middle. And then if we look at it, it goes to the left.
If we look like this, it is in the middle of the recycling slot.
This is the nozzle blockage, the ink line deviation, that is to say, how to deal with our common recovery fault.
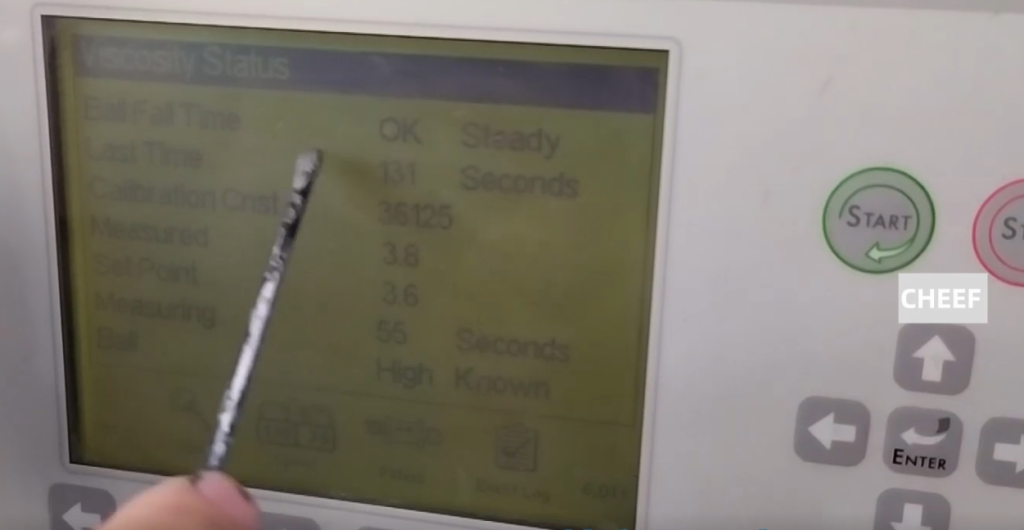
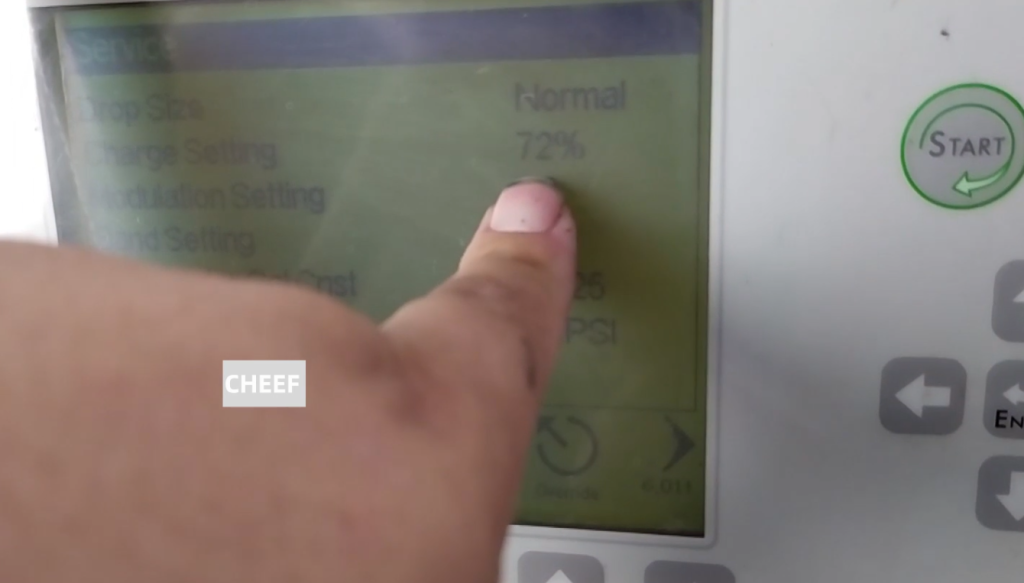
Then let’s look at the charging fault, the charging fault we first need to look at the parameters. That is, the viscosity is not right, whether it shows OK, whether the viscosity is right. The viscosity should not be too low or too high. If the viscosity is wrong, we need to adjust the viscosity. If the ink viscosity is very thin, don’t need to tube it, let it run automatically. For a day or so, the viscosity may be high. If you want the viscosity to rise faster, add new ink directly to the ink tank. If the viscosity is very high, then we let it run automatically, the solvent will automatically supplement to the ink box, and then mix it to reduce the viscosity. This is viscosity to see if normal.
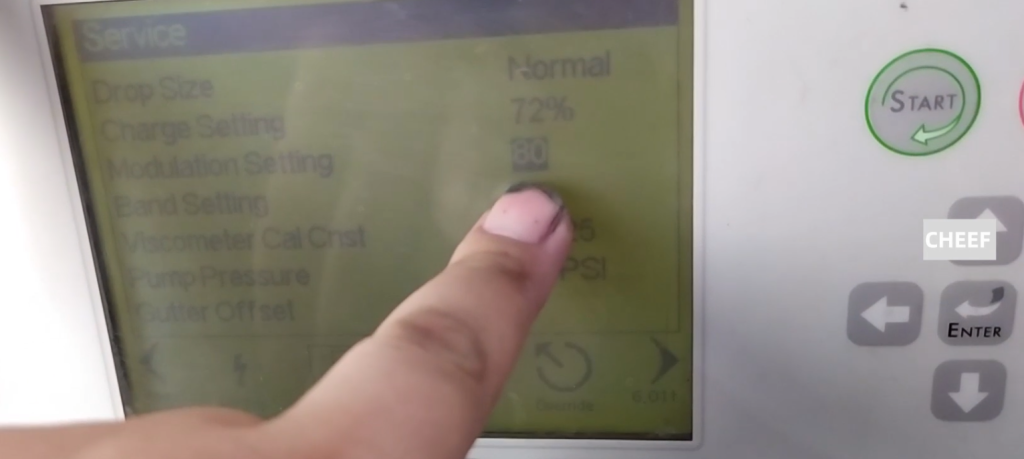
If the viscosity is normal, but the charging is not good, we look at the split. Use a magnifying glass, pass through the charging tank to see how the next point is split. If the dot is a very round dot dot dot dot, that means the dot split well. If the dot division is not good, that is, it is in a line, above a dot, the line is not separated. Point division is not good, we need to adjust the ink dot.
To adjust the ink point, we need to adjust the modulation voltage. We can turn it up a little, and then we use the magnifying glass to split the ink points. Until we see the ink spot split very well, and then we save this value. Then we let it run again and see if the police calls.
If the viscosity is normal, and then the ink point is split, then we have to consider whether there is a problem with the charging pole. If the printing effect is not good, you should consider replacing the charging slot.
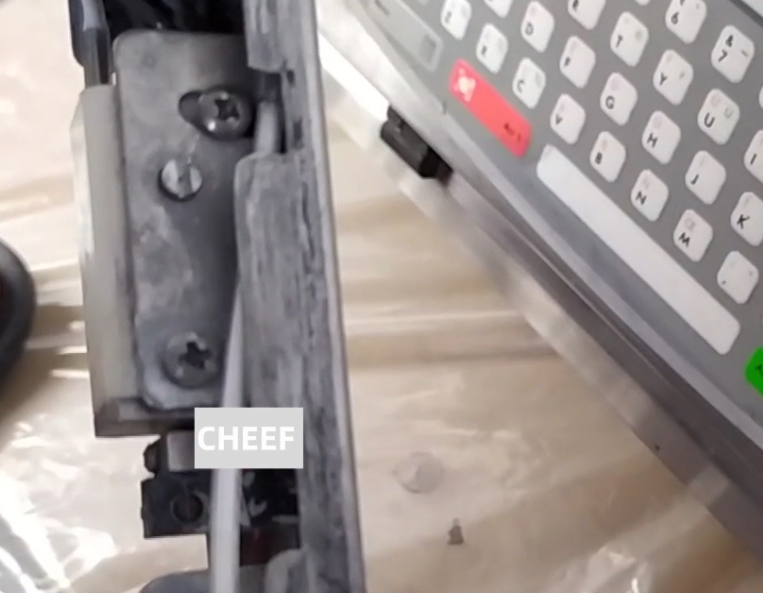
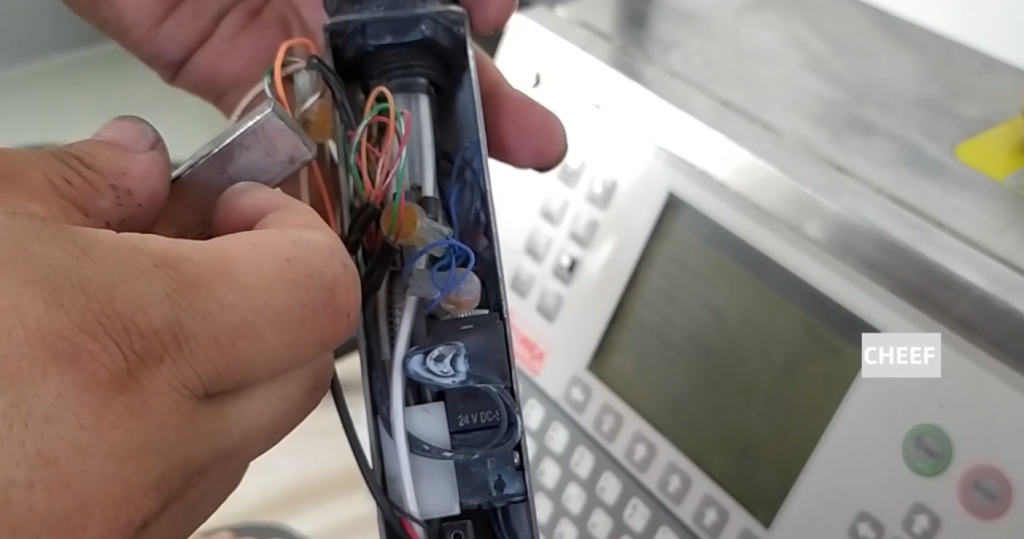
If we want to replace this charging tank is more troublesome, we need to remove the two screws on the back. Then the whole thing can be pulled out.
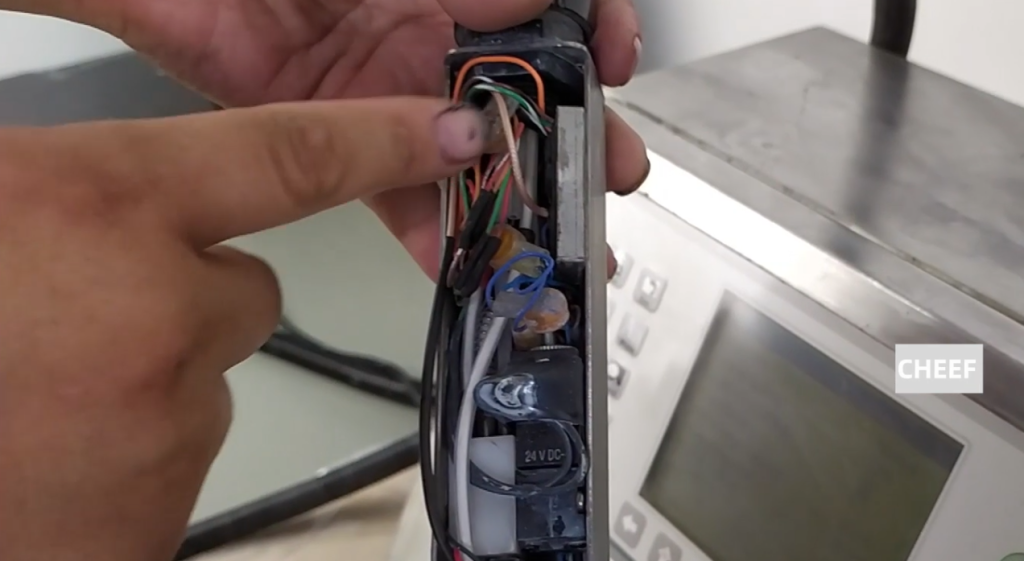
Then connect here to the phase amplifier, which is a whole, and we can remove this piece. These lines should pay attention to, the original is how to connect, now still how to connect, more troublesome.
We remove it, this head is connected to the phase amplifier.
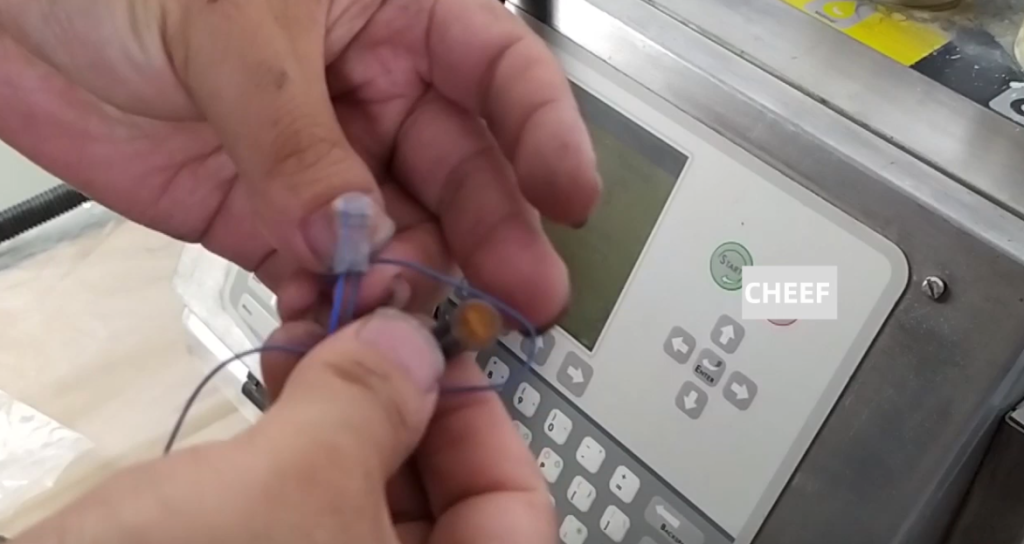
Connect to the phase amplifier here, and we just replace the charging slot.
After we replace the new one, don’t screw it too tightly.

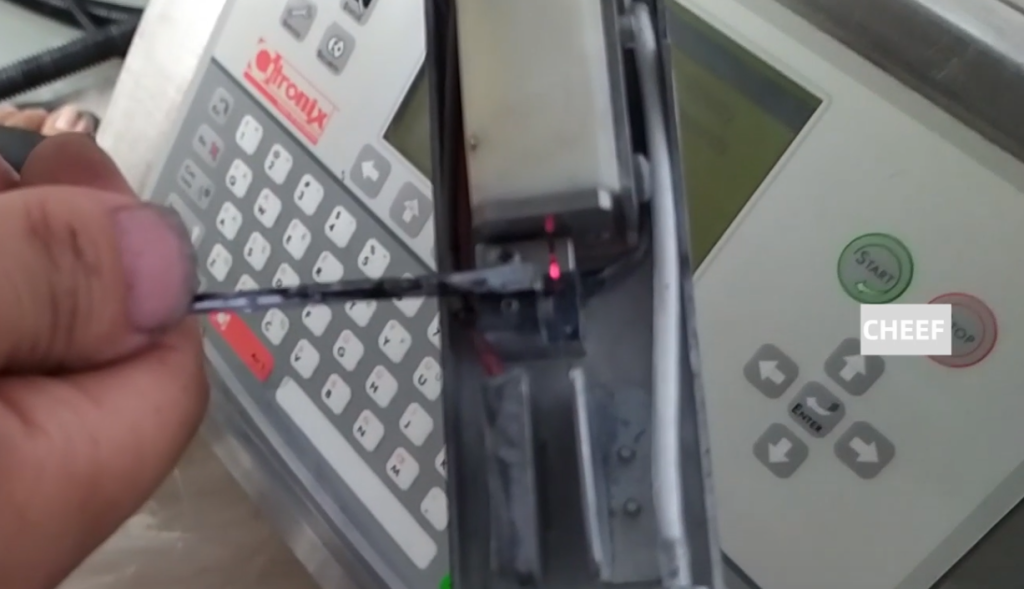
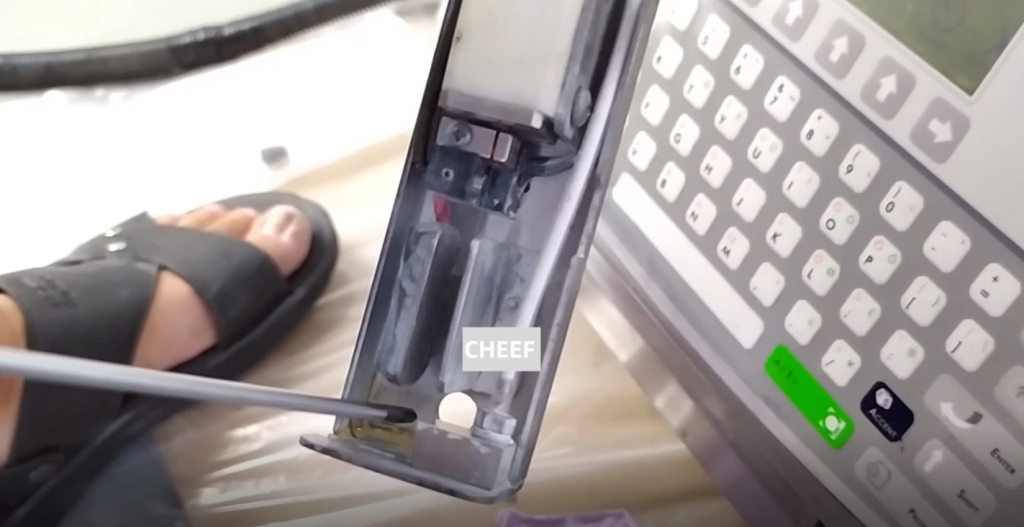
Then let’s look at the general position of the nozzle first. We first correspond to the good position, and then change the time, the nozzle is certainly not moved. The nozzle side did not move, after shooting down the ink line, we have to make sure that the shot ink line is in the middle of the charging tank. Because the ink line is passed through its middle.
Because the ink line is through its middle, if not in the middle, we have to adjust the two screws, let them a little loose.

Then adjust the charging tank until the ink line passes through the middle of the charging tank.
There is also a high-voltage fault. In the case of a high pressure fault, the spray head cover should be opened first. Then let’s see if the high-pressure deflector plate is very dirty. If it is dirty, we wash it clean with the cleaning liquid, and then blow it dry. Be sure to stay dry, and always be very clean and dry. Then we boot it again, generally so that you can solve it. This is a high-voltage fault.
And the printing effect is not good. That is, when we print a line, we only print half of it, or two lines, and we only print one line. After we opened the nozzle, we saw that the ink would be hung in the recycling tank. Then we wash the recycling tank here, then turn it on and print, it can print for a while. After printing for a period of time, it will accumulate ink here, and the printing effect is not good. In this case, we should check whether the ink line is located correctly.
If the ink line is correct, the viscosity is normal, the ink point is split, or the ink, it means that the charging is not good.
We can adjust the charging value. If the charging value is not adjusted well, it can only maintain the machine. Maybe the ink has gone bad, and we should take care of the machine.
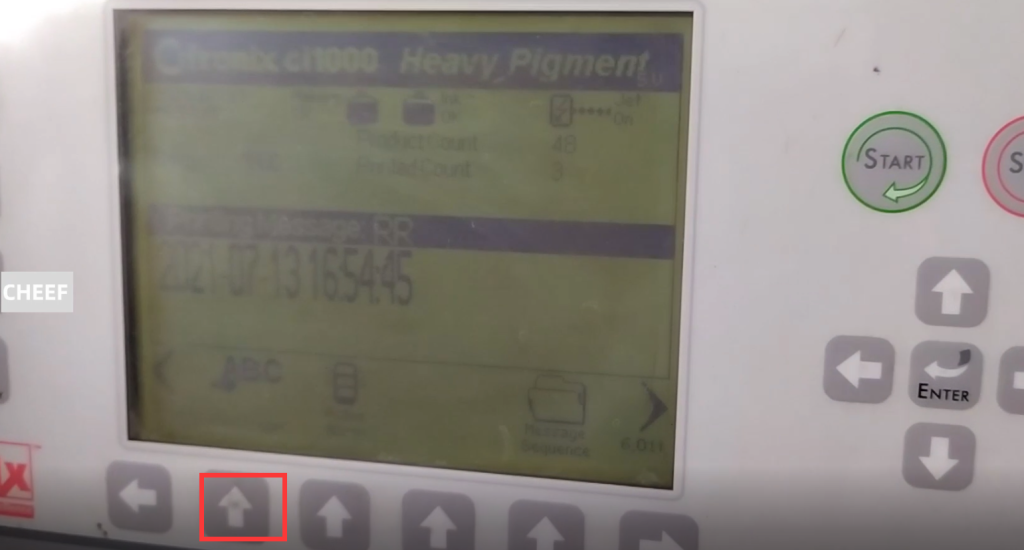
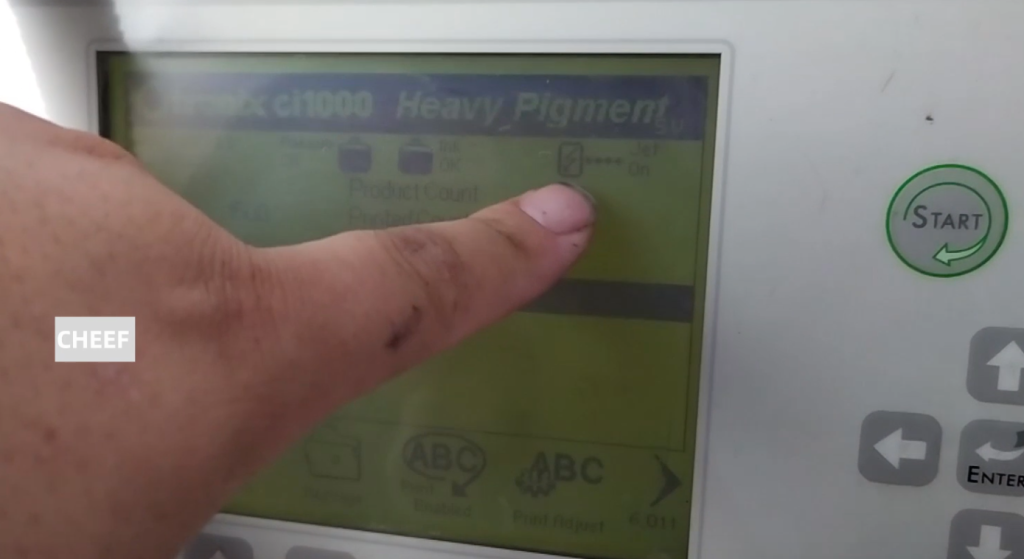
We use photoinduction, photoinduction but it doesn’t print. First of all, let’s see if the high pressure is open, that is, whether the nozzle cover is covered.
Cover the head cover. here is a lightning sign that the head cover is covered. Then the high pressure has already been started. If this lightning sign is not shown in this box, it is normal for the machine not to print, so we need to check whether the nozzle cover is covered.
If we print it once, it can print, but with photoinduction, if it doesn’t print, that means the motherboard is good. But if it does not print with photoelectric, there are two possibilities, one is that the photoelectric itself is broken, then we have to replace the photoelectric-down. If you cannot print it once, the motherboard is broken, and you need to replace the motherboard.