I first unplug the filter, there are buttons on both sides, we press the filter.

After the filter is removed, there are four screws, and we can remove these four screws.

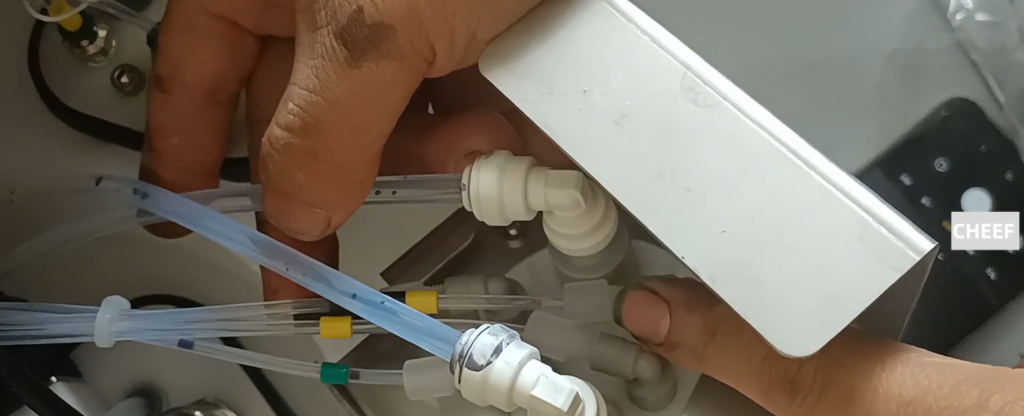
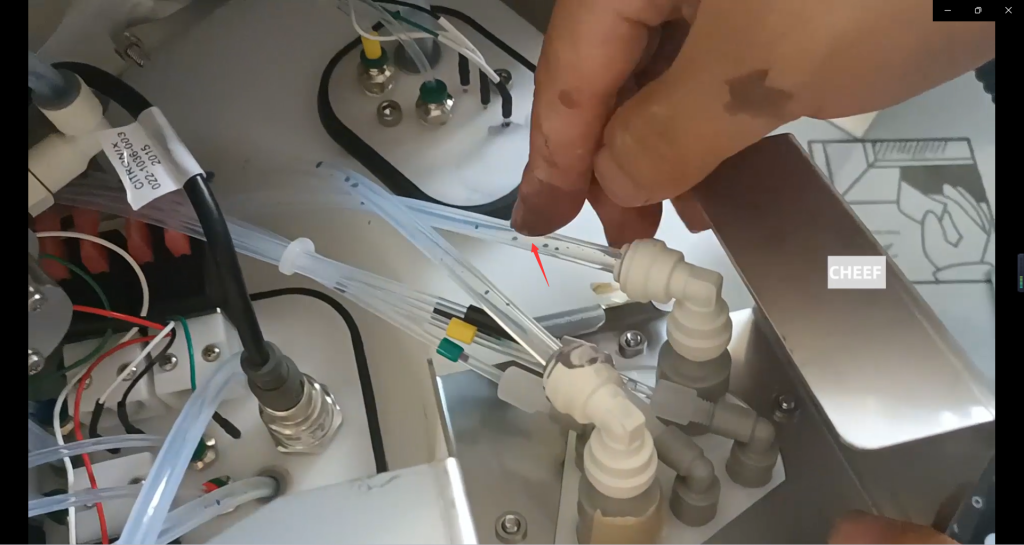
Then we have two pipes on our side, and we have to mark which pipe corresponds to which joint. This tube is installed in this position. Let’s make a mark.
With a sign, we can remove the pipe. There is a bayonet in this place, and then it breaks off.

Then we pulled out another pipe and squeezed it in, and that was pulled out.
The small tubes here are the same, and they are all marked.

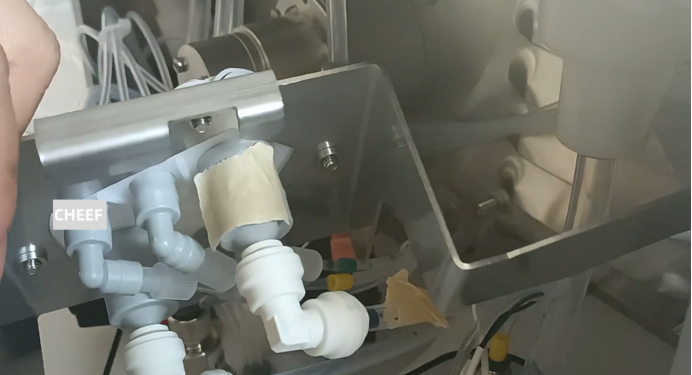
After the marking, the four screws can be removed.

Once removed, this module is:
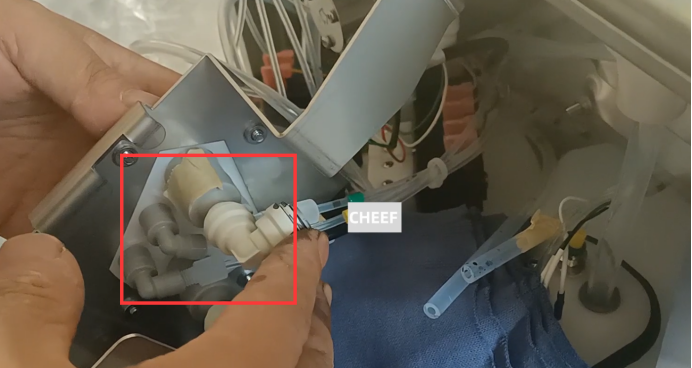
We can get it out from this way. After taking it out, then we replace the new ones. The direction can be marked, the direction must be like this, can not be reversed. Make sure to take a picture before dismantling it. Then we put the new ones, put them in, and tighten the screws.

Then we inserted the tube in the original position. Must be inserted in place, hard diss, diss in place. It taps out, which means it’s in place.

Diss Once it is in place, we put it over here.

Then we installed the original filter. Like this, put it to the hole, press it hard, and hear a snap, the filter is installed. Make sure it doesn’t shake. This filter doesn’t shake. Make sure to card in place, hear a snap. That’s it.

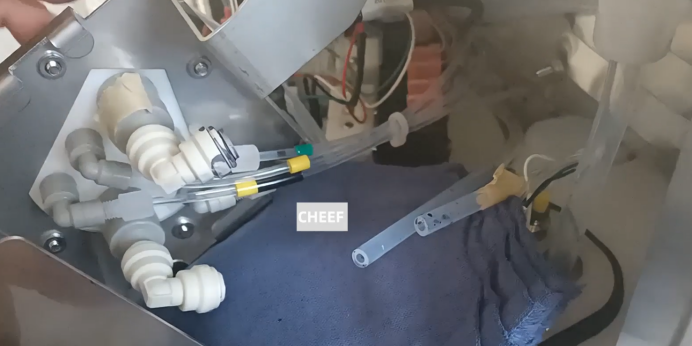
Mark this thick pipe, which is connected to the side of the pump coming out.

This tube is connected to the drain pipe.
And then the tubes. This tube with green marks is inserted in here, then this tube with yellow marks is inserted in this, and this tube with black and yellow marks is inserted in the third position. You can’t go wrong like this.