
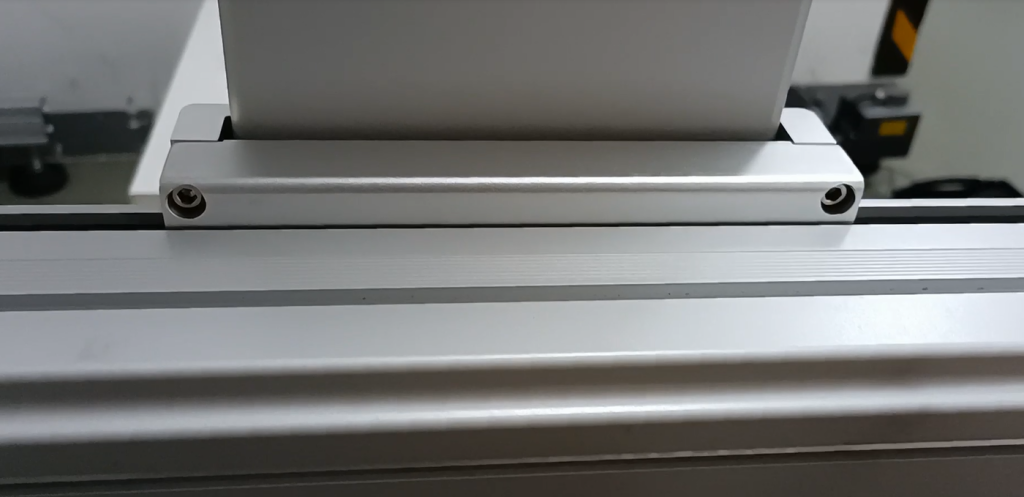
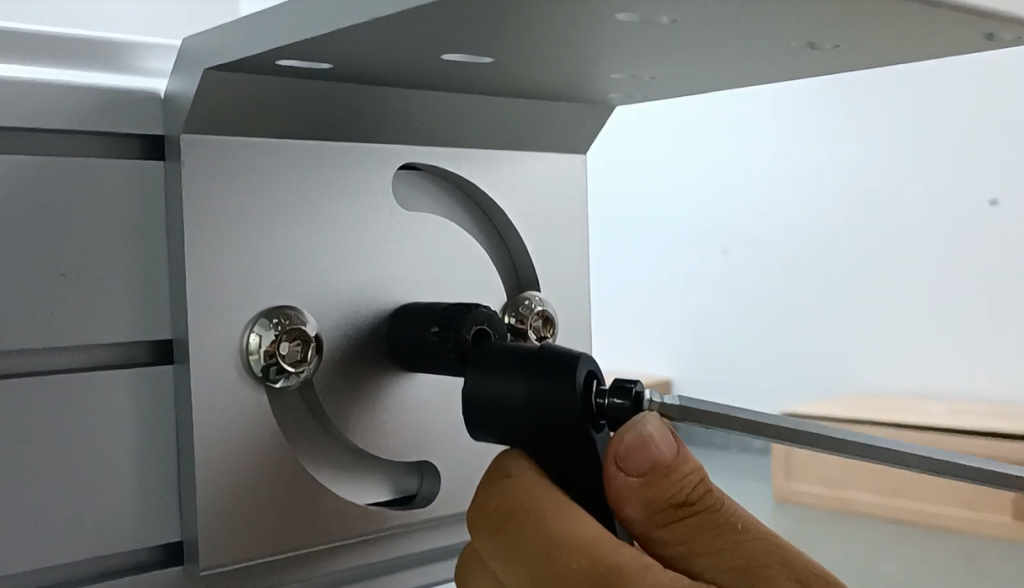
First, we have to install the base, and we put these two fixed points together.
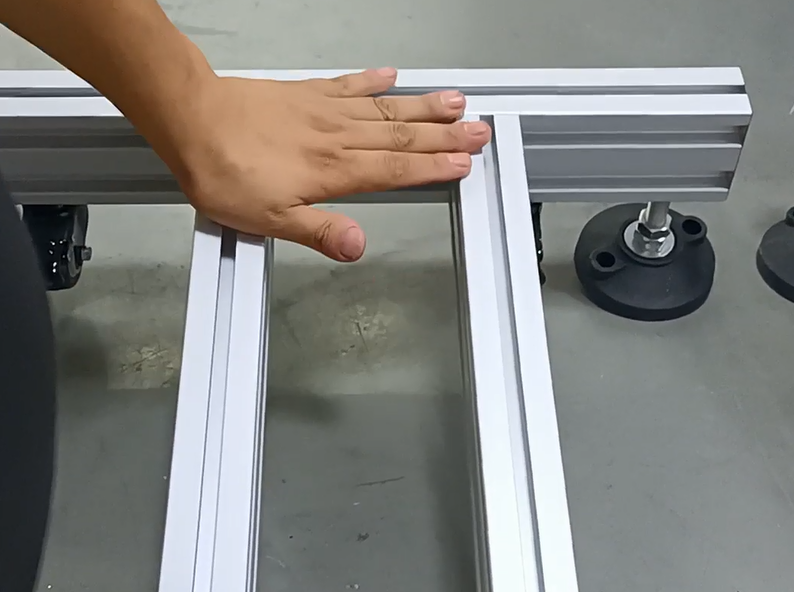
Then we put two nuts into each one.
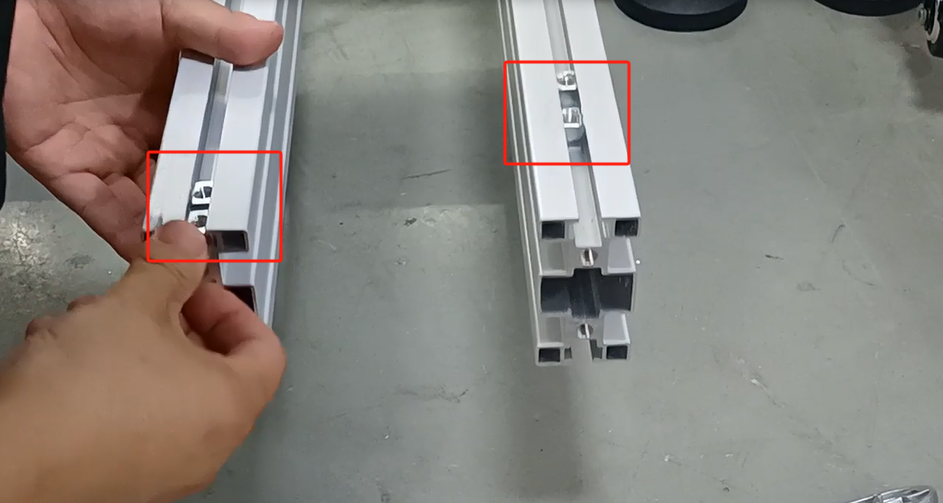
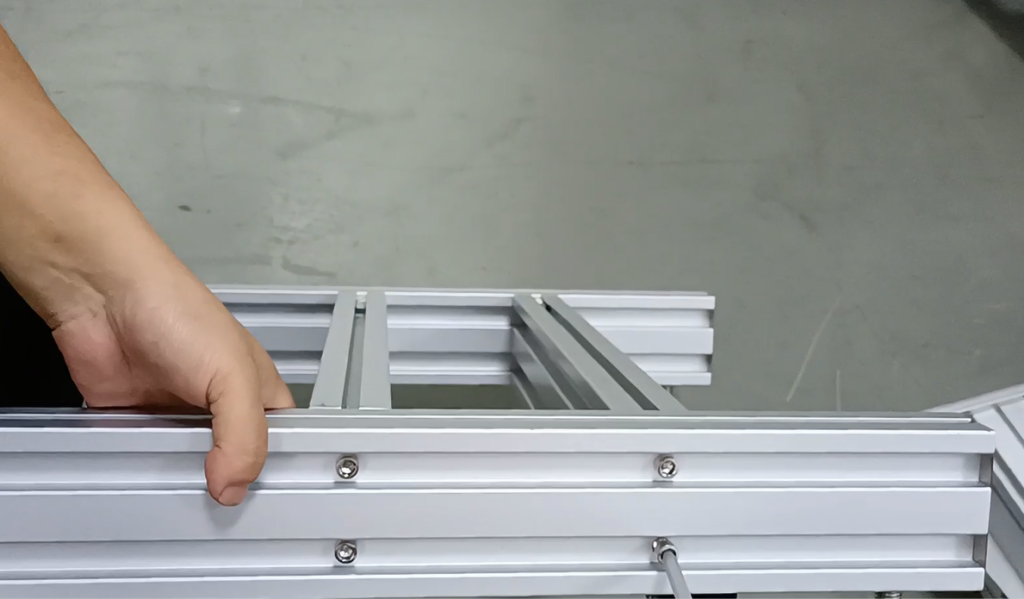
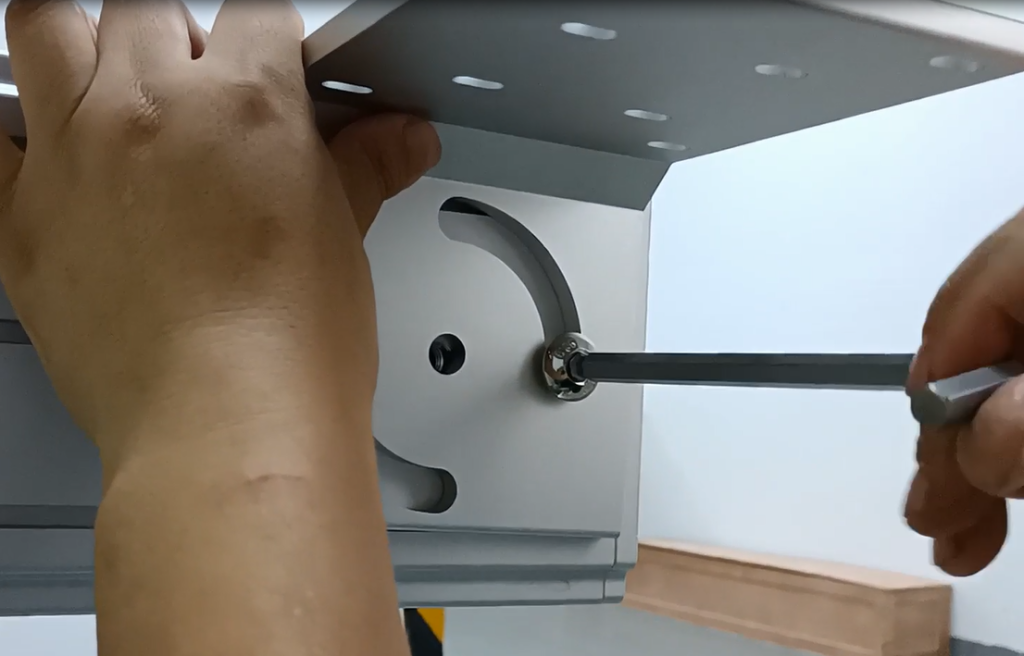
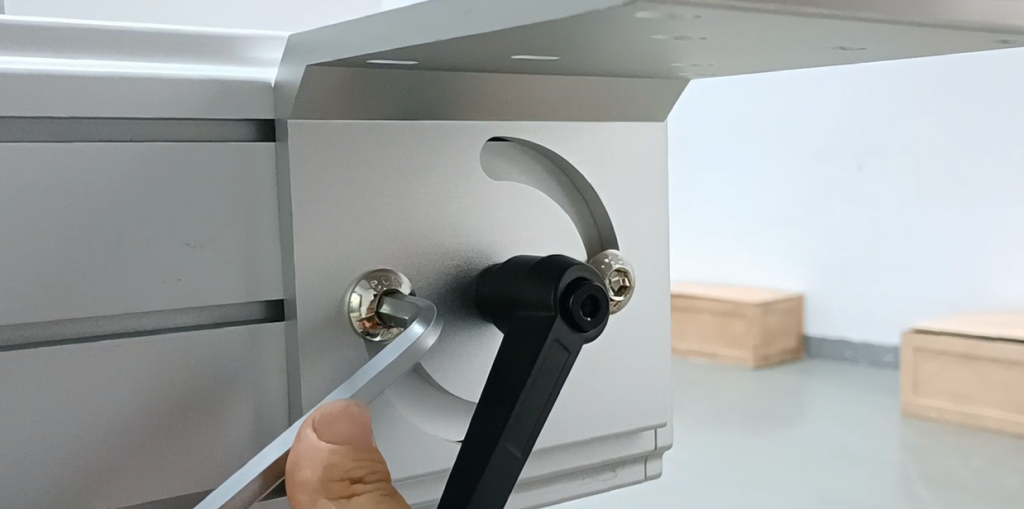
Then we install the vertical arm, the 1.2 m thick arm.
Screw in.
You can take it down like this.
Then I can take this.
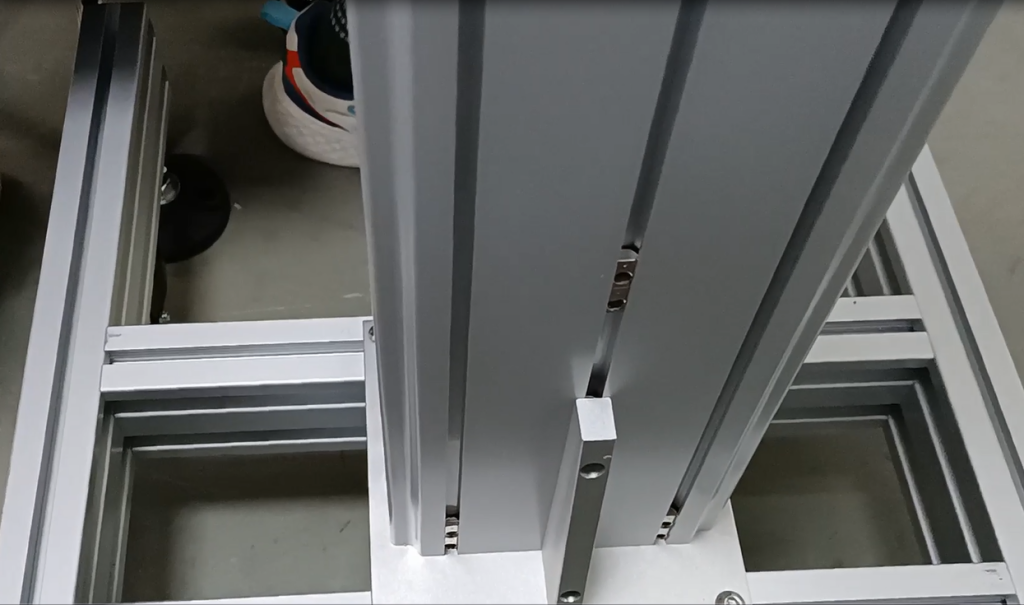
Then we will shut it off and screw it again.

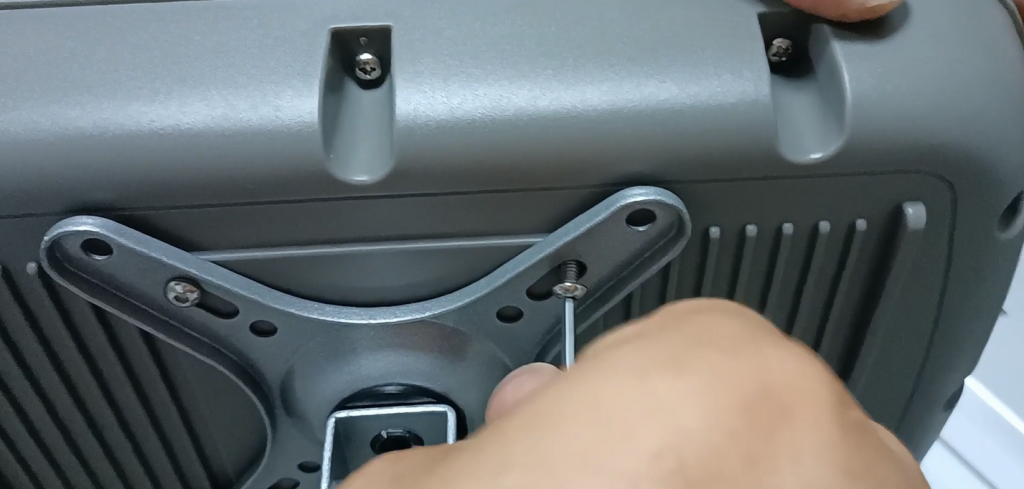
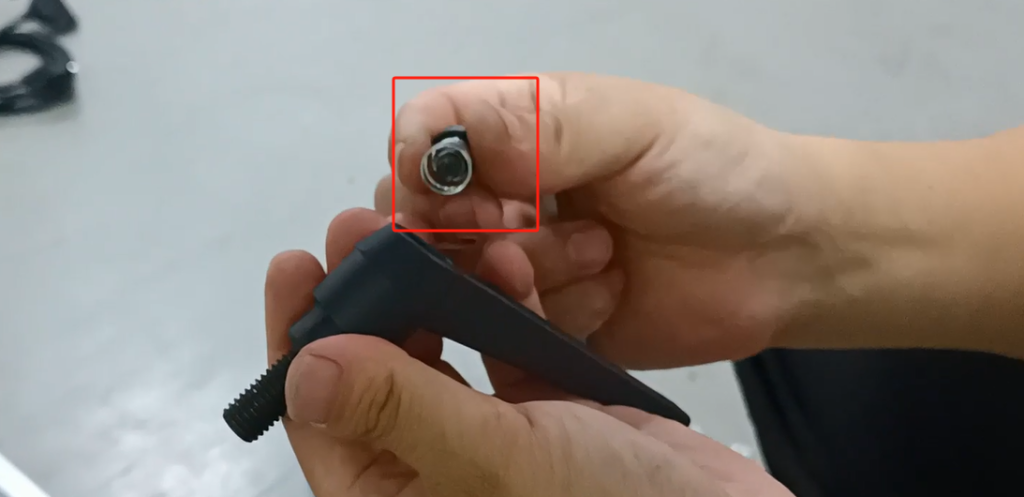
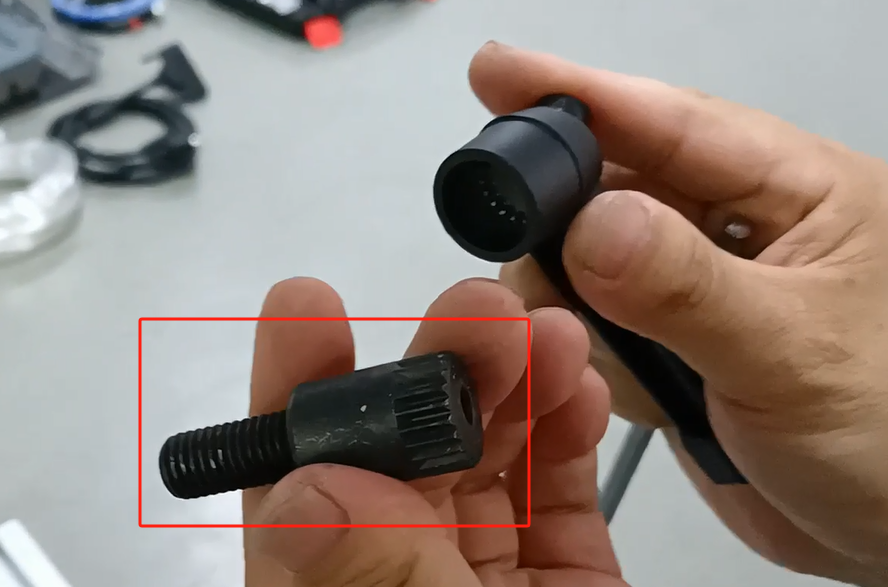
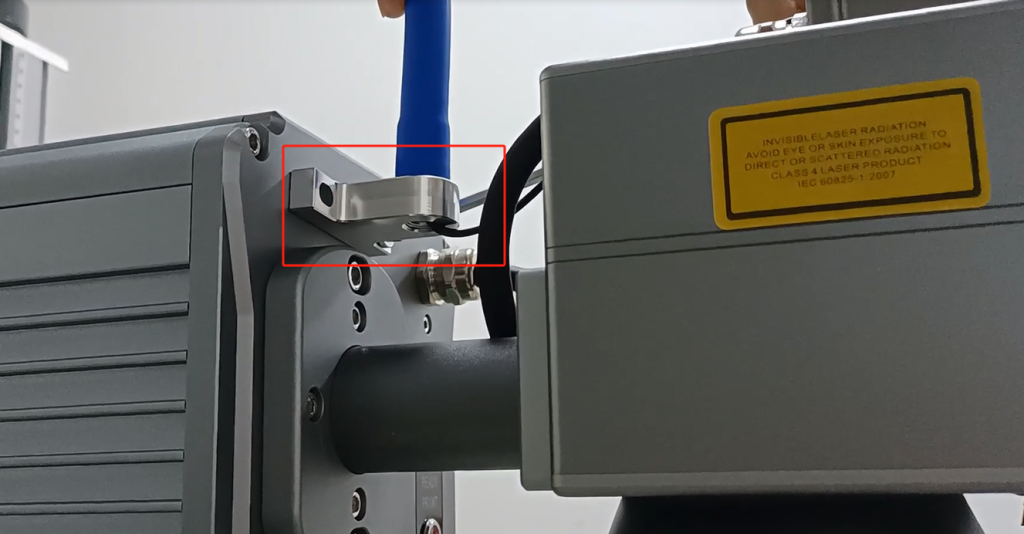
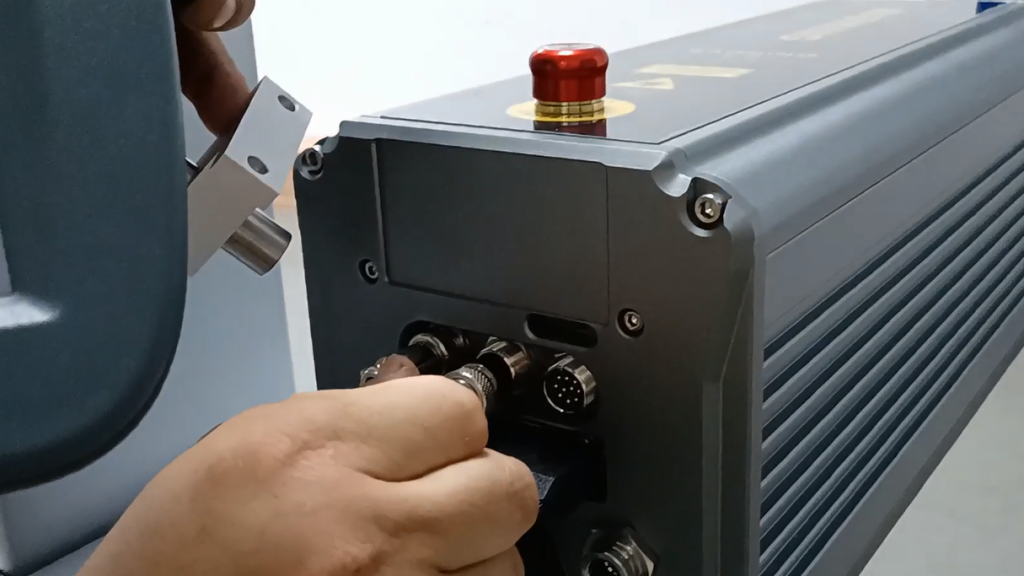
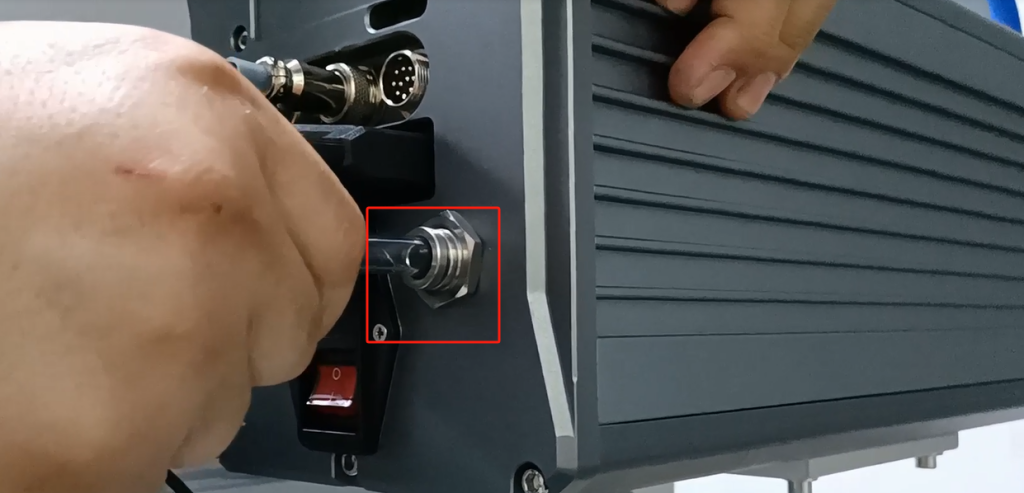
We should plug the laser screw hole. Put a gasket on top of the screws before installing. Fit one to another hole and put this screw nut inside.
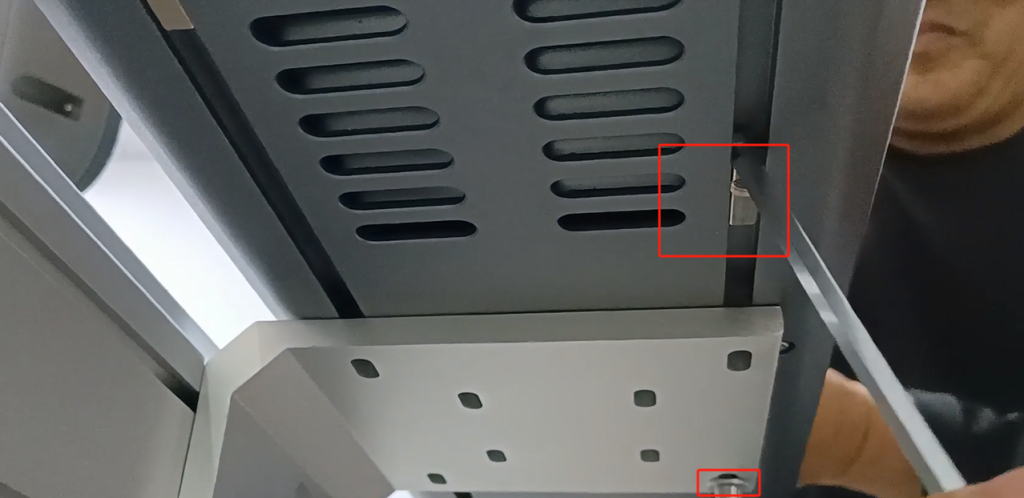
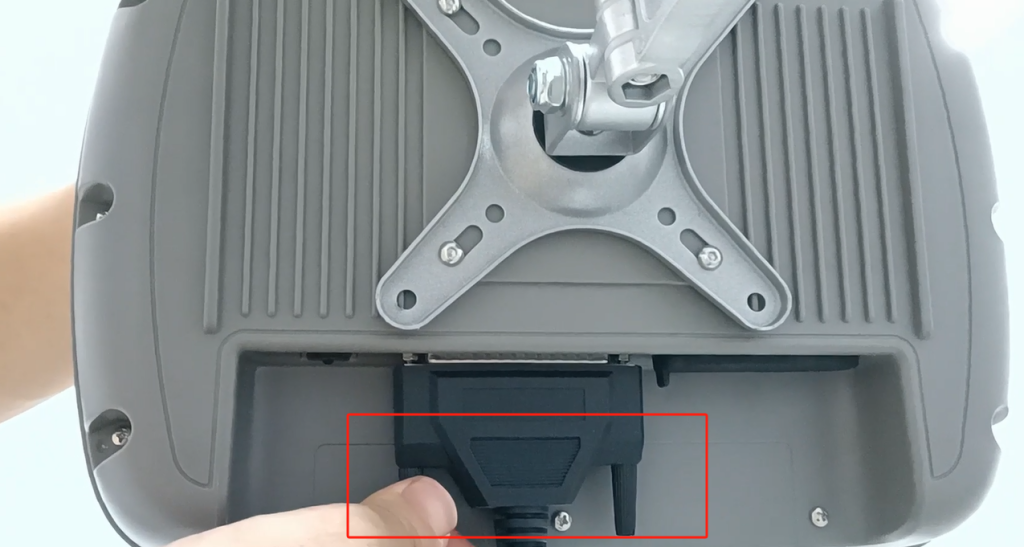
The other end is connected here.
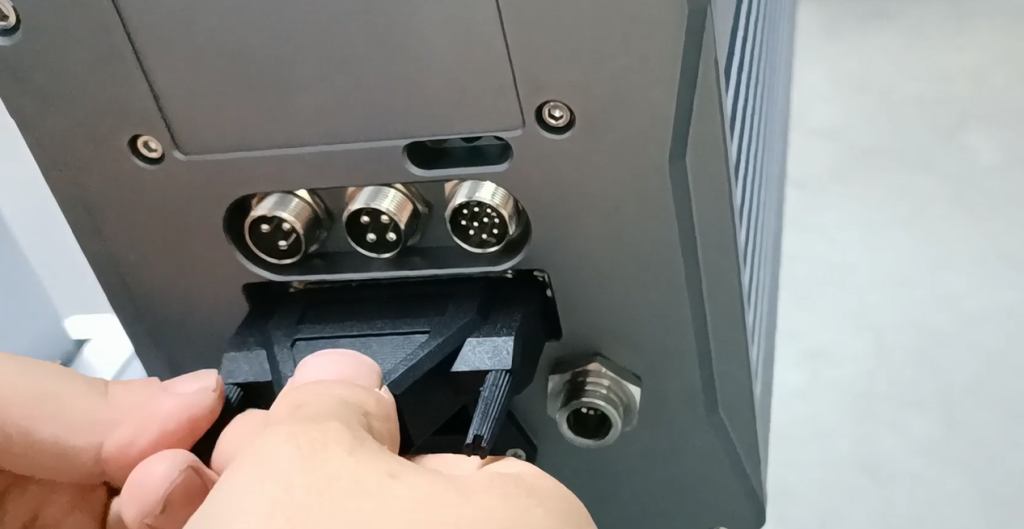
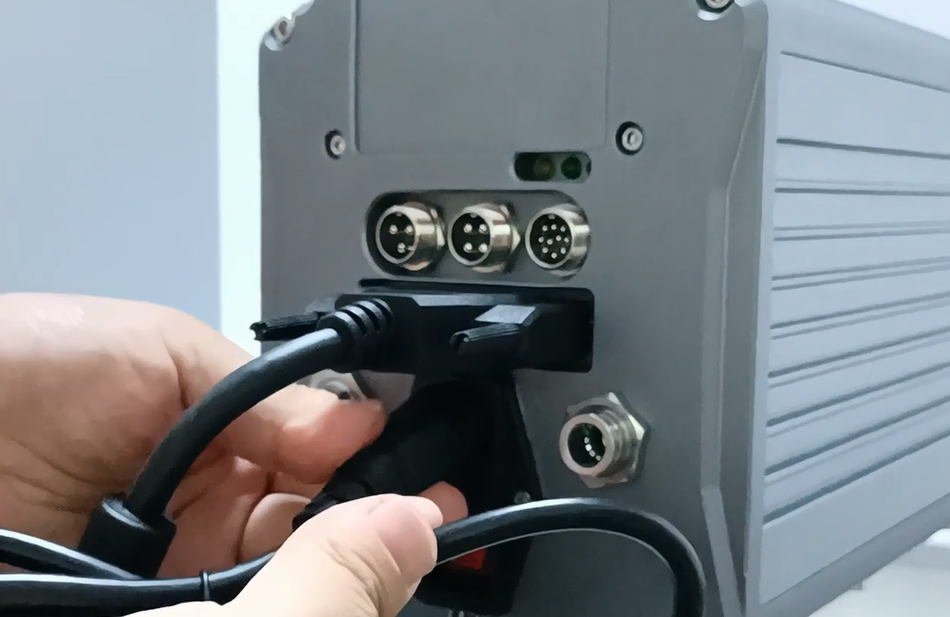
Photoelectric assembly is placed with us.
The encoder is plugged in in this position.
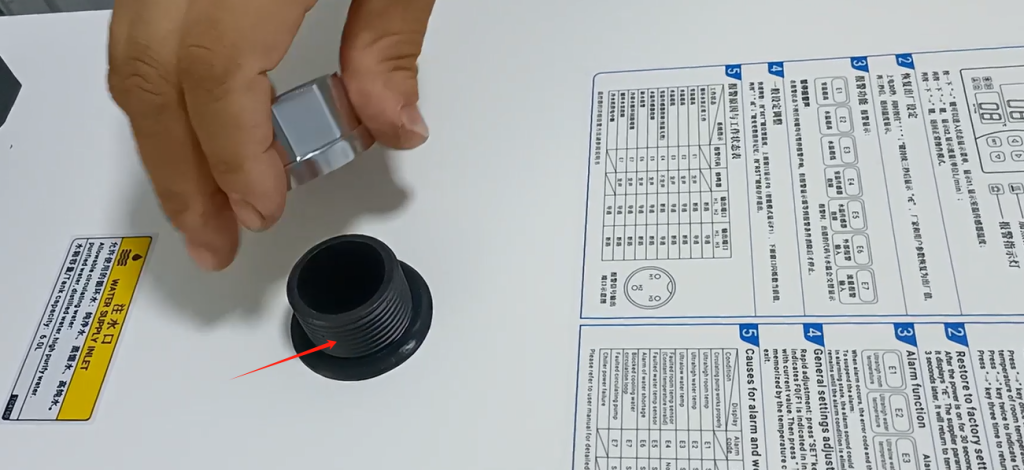
Then we injected pure water into the water cooler, drink pure water, tap water is not good, must be to drink high pure water or distilled water.
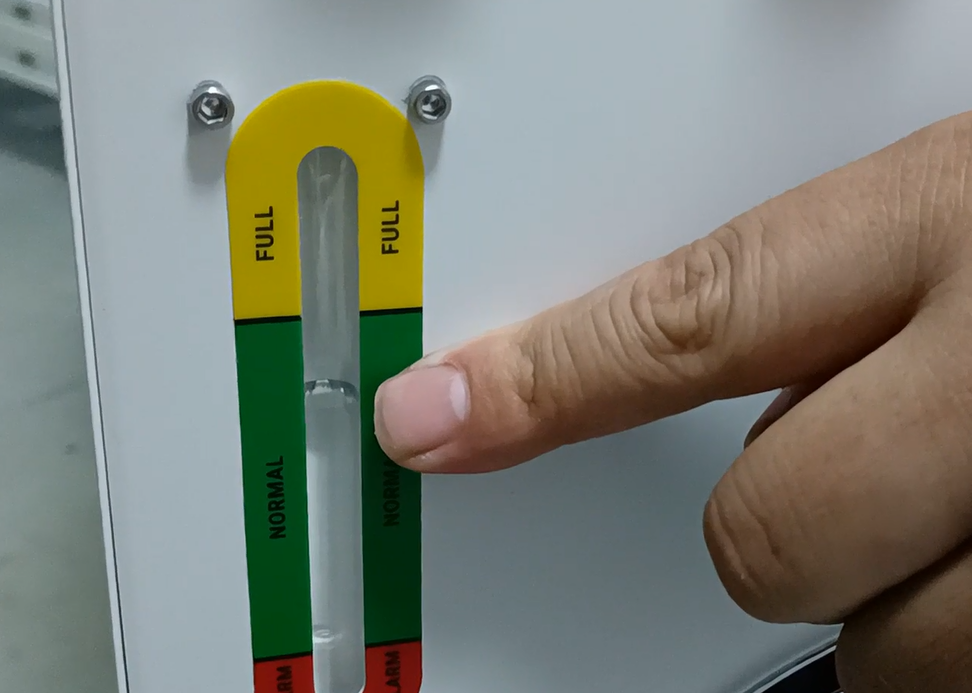
We can see the liquid levels on this side. We’re going to fill to about this level. Anyway, after we boot the machine, and then after the cycle, the water must be in the green this inside.
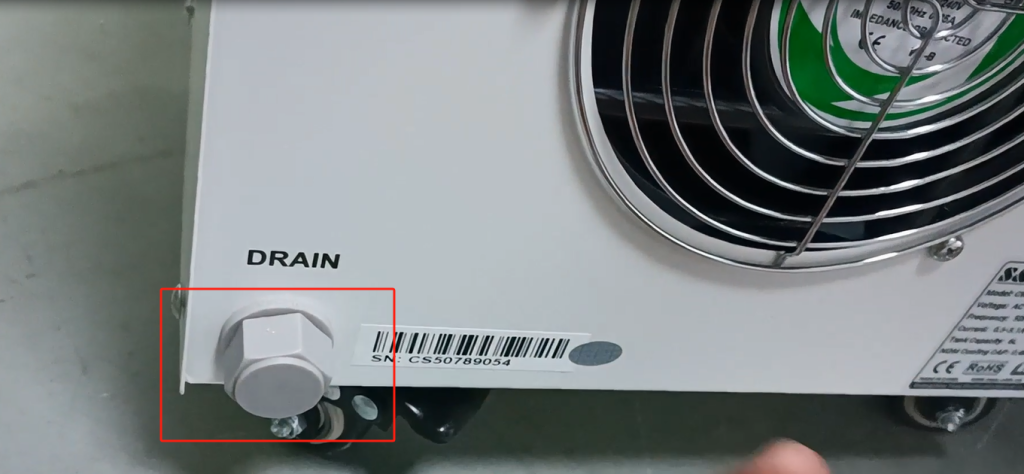
This water is recommended for a replacement every three months. There is a drainage outlet here, and if you twist it, the water will come out here.
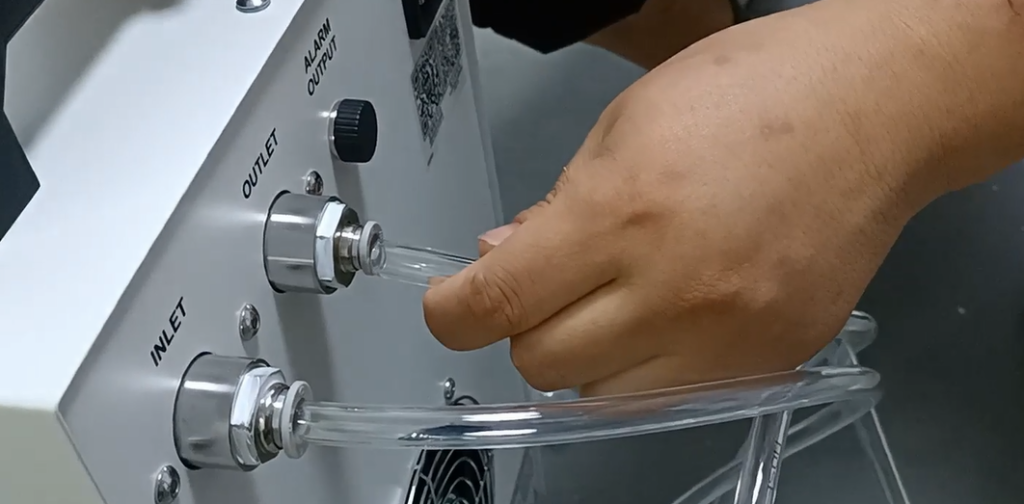
Then now we can connect the tube. This one must be fitted with raw tape to prevent leakage. Make sure to use raw tape and then tighten it to prevent leakage. And then we hook it up and make sure we plug it in.
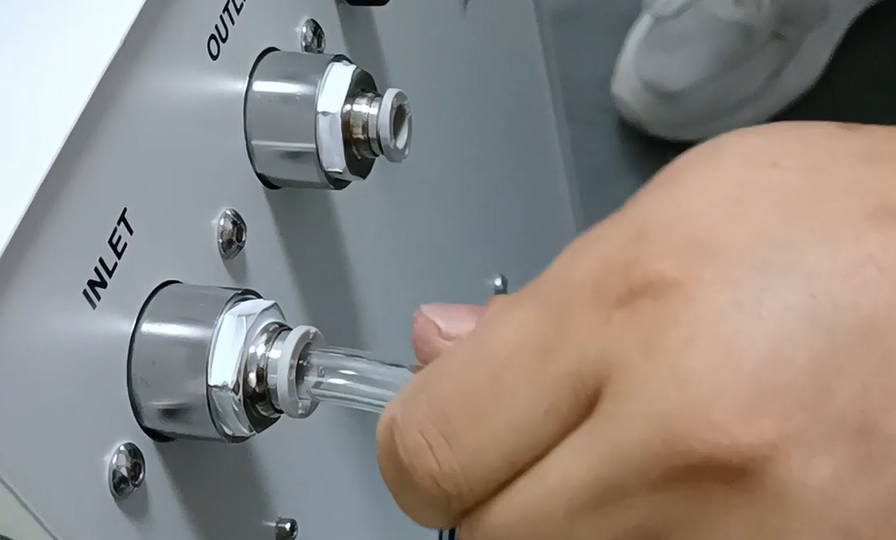
Then at the other end we can plug in this position, we also put it tight, make sure to plug him tight.
Then another tube is inserted in this position.
We connected this water-cooled power cord. Then his entire assembly was finished.


