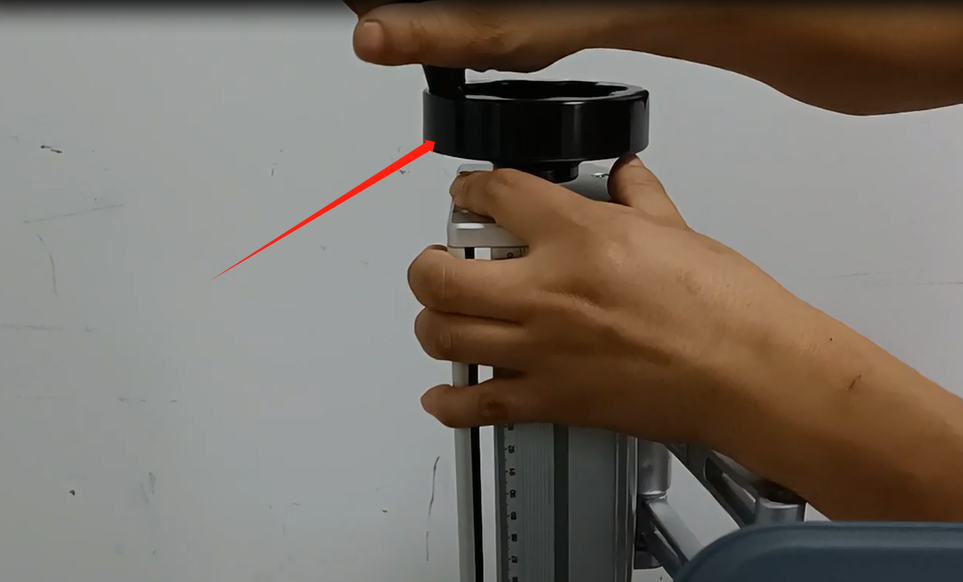
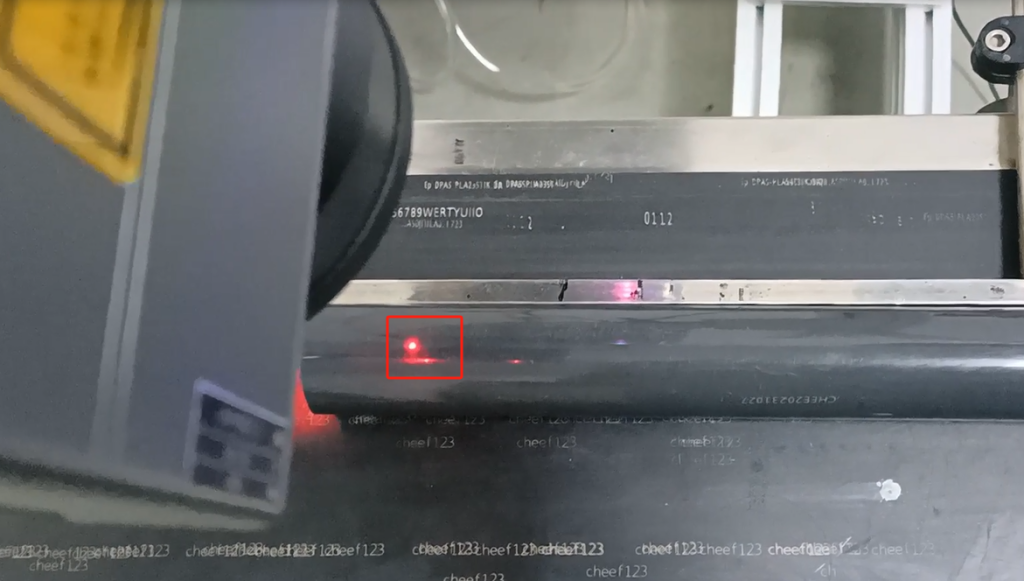
Pipeline mode explanation, suitable for this CFB 2 laser machine can be used. First, first step, let’s set the focal length. The top and bottom should be adjusted. Be sure to bring a point. If our two points do not overlap, we must overlap them two.

To achieve the best focal length. By rotating a force, we can bring it to a point, which is the optimal focal length.
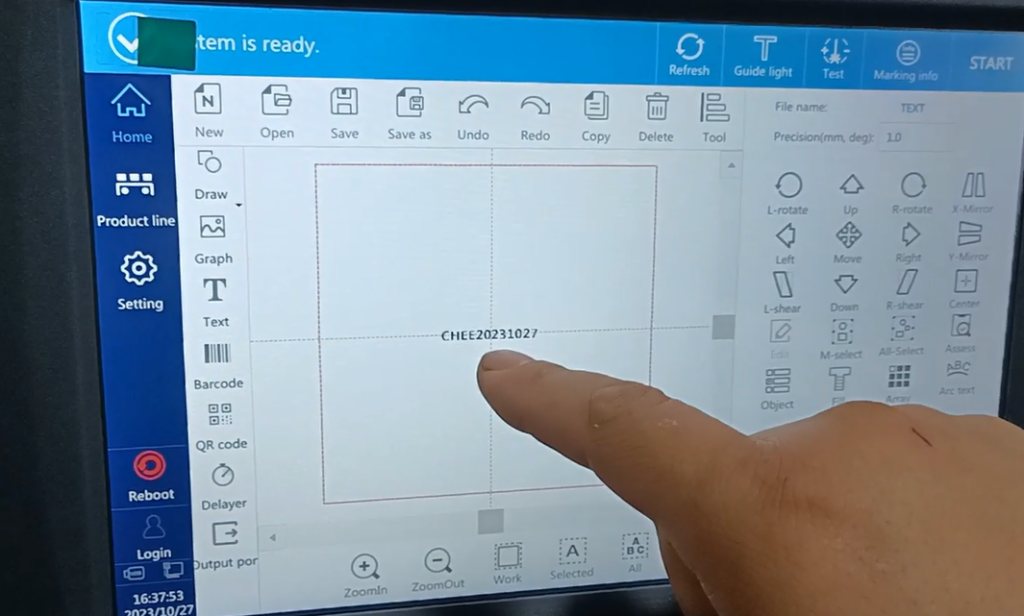
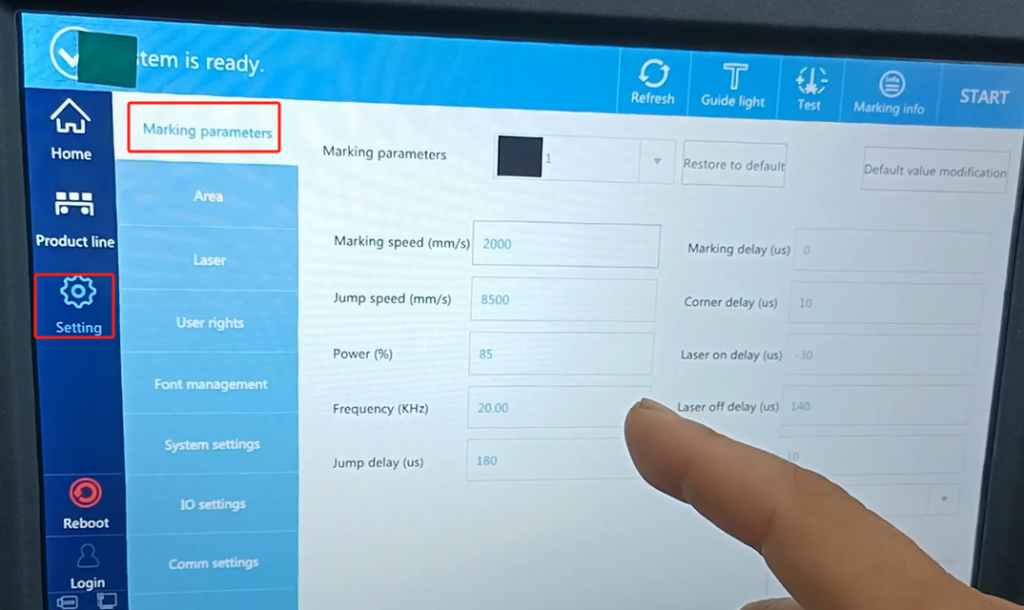
Pipeline mode doesn’t need our photoelectric, the photoelectric doesn’t work. We just need to set it up. This is a message that we want to print out.
After we set the information, it can be adjusted into pipeline mode in this production line setup here. In the pipeline mode, our side is a gray one. Can’t say that our side of the photoelectric is not effective. If you don’t use optoelectronics, pipeline mode and if you plug it in, it doesn’t work, and it blocks you out. Do not use photoelectricity, it achieves printing through this value.

Let’s our encoder, we input this value, and then we encoder just turn, we will print. In the pipeline mode, the encoder must be enabled. First, we should choose the direction of our product movement from left to right or from right to left. Look at the real direction of motion. Then we hook the coder off it, be sure to use the coder. Flight mode, whether in the pipeline mode or that normal mode, it requires an encoder. Then we must enable it here.

Once enabled, we’re going to set this value below. This value is mainly the following value. What does this value of 300 mean? So we say the distance between the start positions of our two information points. Let’s print it in a while and measure which distance. It’s a gap between our two information a, the first information a and the second information a, where we set this value. We now set a 300. This 50 is when our machine first started, so we said it was 50 away from our product. Let’s say the encoder 50, and then every 300 intervals.

Once this is set, we can print it. We’re going to set this up before we print. Through our flight marking, the set parameters are the same. Normal mode and pipeline mode this makes it consistent. As for how much the setting is, we can look at one of the printing effects when we print static.
We statically print a product, and we statically print on it. Let’s click on the test.

This is an effect of our static printing. If we printed in flight, it would print the same way.

It depends on whether it can keep up with our target speed. Mainly depends on whether we can keep up with this speed. If we get the speed at this point, it’s pipeline mode enabled. Let’s call a product to look. If we can keep up, then we don’t move this value. If we can’t keep up, we can put that number. Give it more adjustment and let it mark faster. Here it and the power and speed, will affect an effect of our printing. With the same printing power, the greater the speed, the shallower the hit. With the same speed, the greater the power is, the deeper the power is. The smaller the power is, the lighter the power is as it is. After we set this up, then we set it up in flight mode. Then we can print it here first. I won’t say the printing words. At this point, our pipeline won’t work. As soon as our encoder turns, it will spray and print and print.

Let’s take a look, and we just start playing here. Because we didn’t work, it started playing at the distance we had just set.

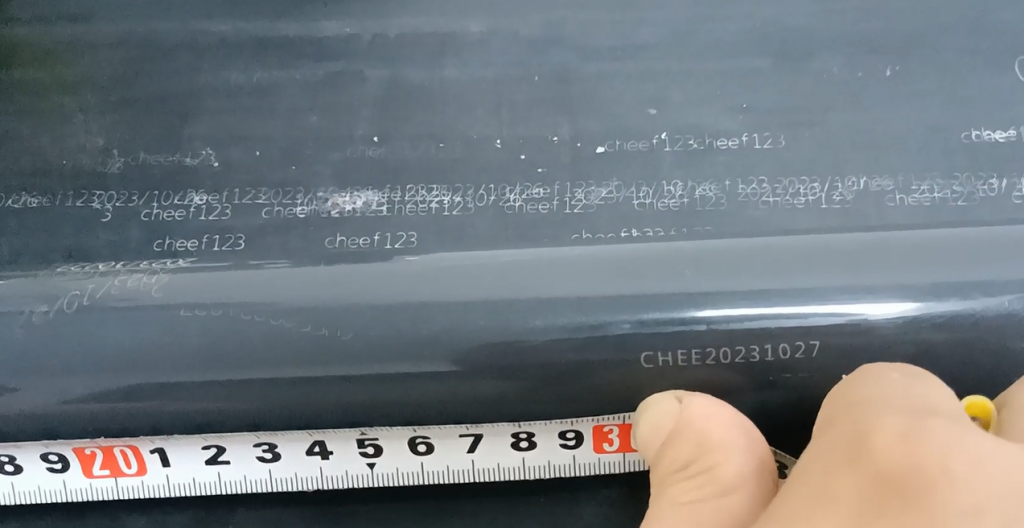
Let’s measure the effect of this print. Let’s look at our distance alignment. Is at $300. Just say the interval between the start positions of each of our two pieces of information. That’s the 300 I thought we just set it. This is the flight mark pipeline mode.