
Click on settings:

The setting is the production line configuration mentioned above, and then the second is the global printing setting, which is also mentioned above, which is to set the printing delay, speed, height, etc.:

In the next advanced, let’s look at some commonly used ones:

This is to skip cleaning, that is, if you select him and click the boot, skip cleaning and start directly:

You can choose which step of cleaning to choose here. Turn on the ink line to directly open to the printable state, directly to the ink line to turn on the reverse, or directly to the phase lock state, you can choose:

Here is a working state of the electronic valve:

Here are the ink parameters, mainly the following, we can see that the ink used is 2BK124, and the solvent used is also 2BK124:

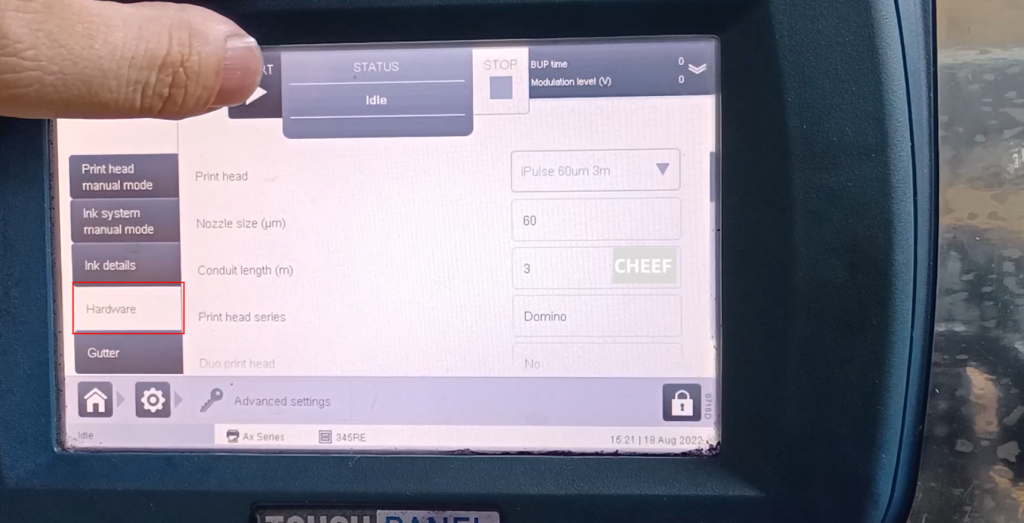
On the hardware side, we can see that our machine has a nozzle of 60 and a throat of 3 meters:
Here we can see a modulation, we can see a modulation voltage, choose automatic or manual, here we are automatic:

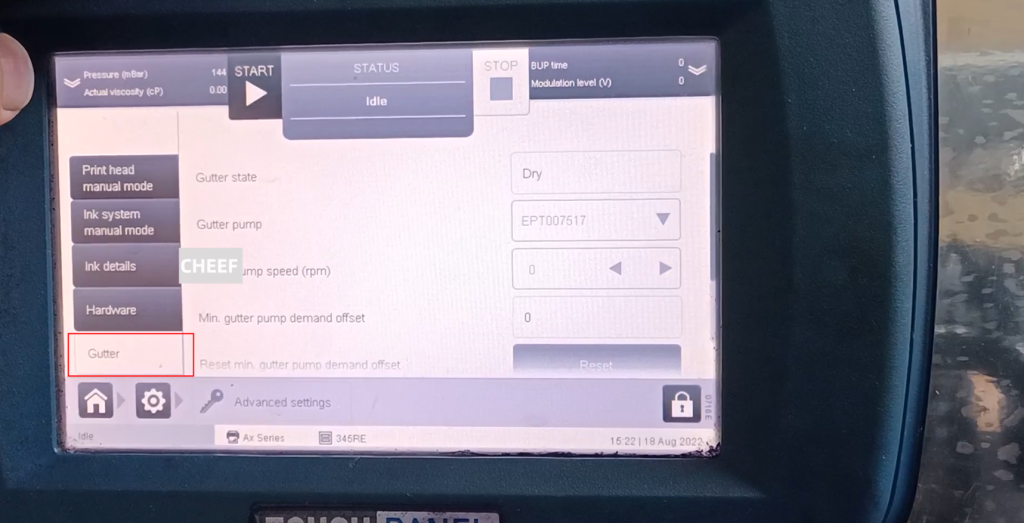
Here is recycling, recycling is the water pump Waterway status:
The next one is diagnosis, which mainly depends on a test:

There are nozzle test, high pressure test, nozzle exhaust and so on:

Then here are some badly printed patterns:

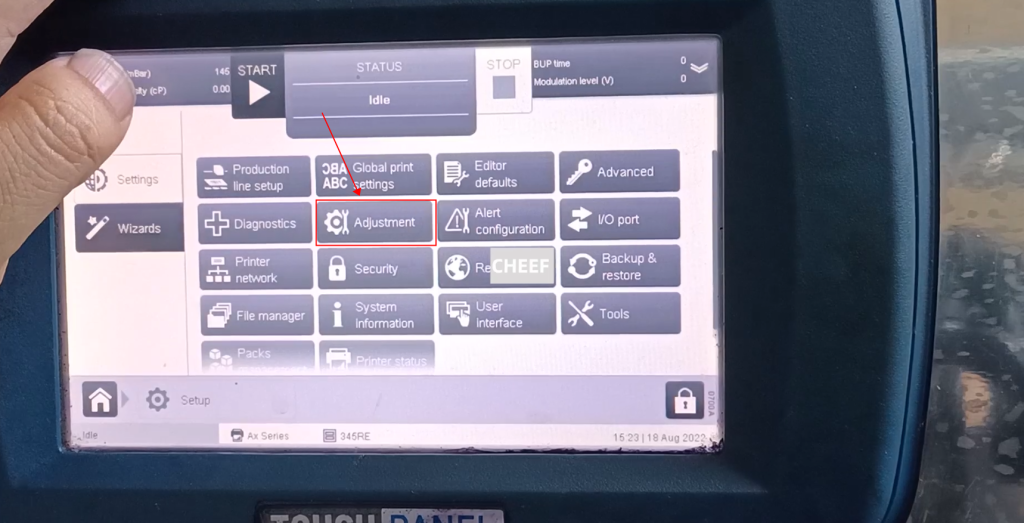
The following is the adjustment mentioned, which includes modulation time, modulation voltage, pressure settings, etc.
This is the language setting I talked about before, the date and time can be modified here:

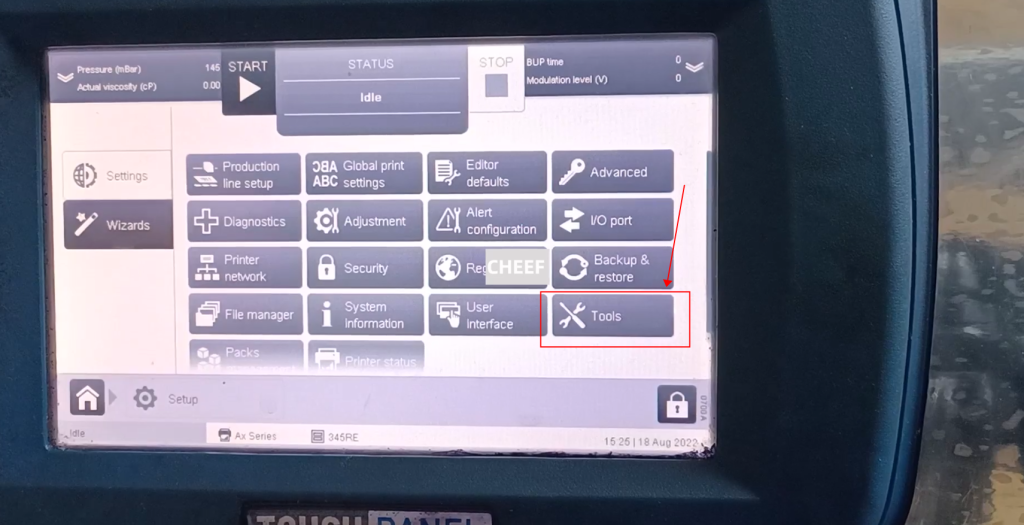
Here are the tools:
The pattern is saved here, and there is a selection pattern, which is the pattern you have seen before, this is to delete the existing pattern, this is the drawing, this is the eraser, set the zoom, width and length:

Click on this drawing, control the direction to move the brush, if you don’t draw a second click on the brush to pause, continue to draw and click on the brush again, if you draw a mistake, click on the eraser, and press the arrow keys to erase:

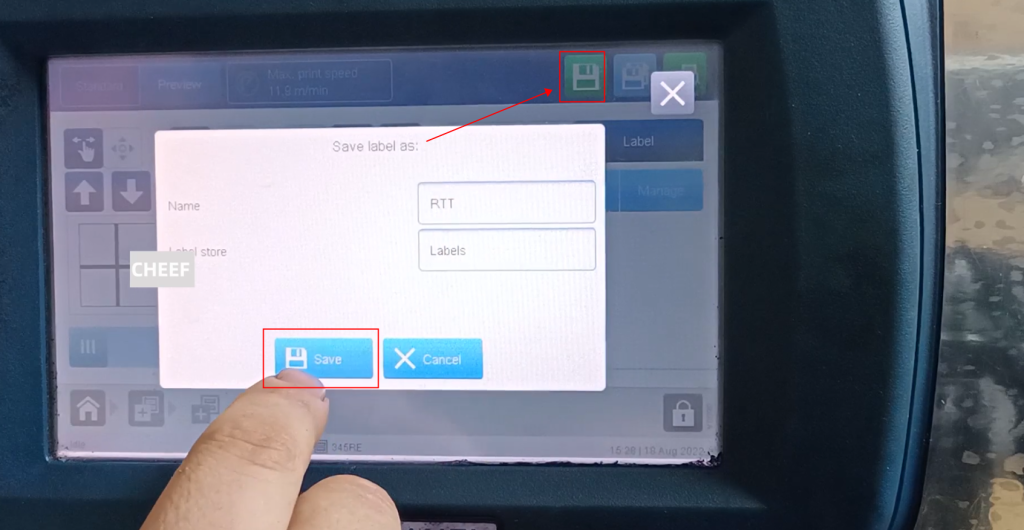
Then you can save as:

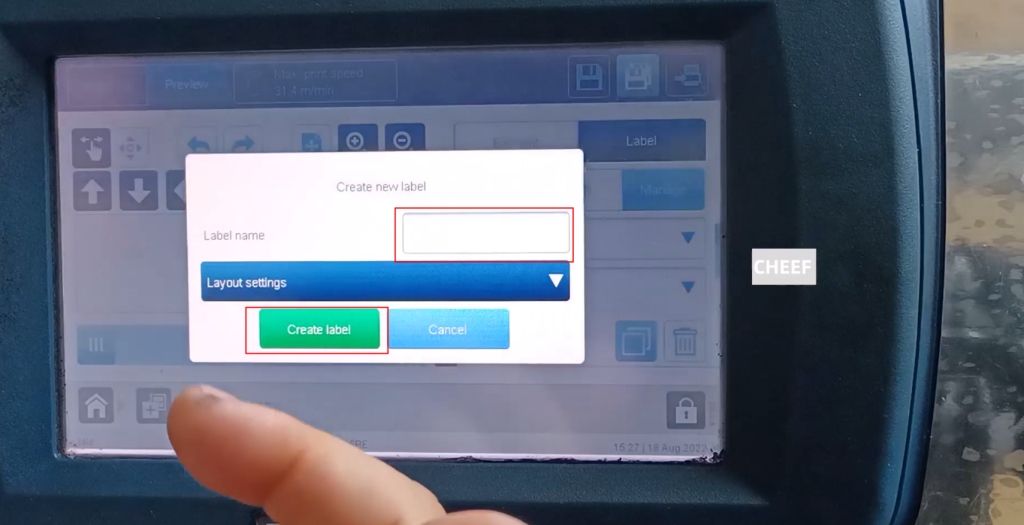
Give this picture a name, and then confirm, we have compiled it, and then click Save:

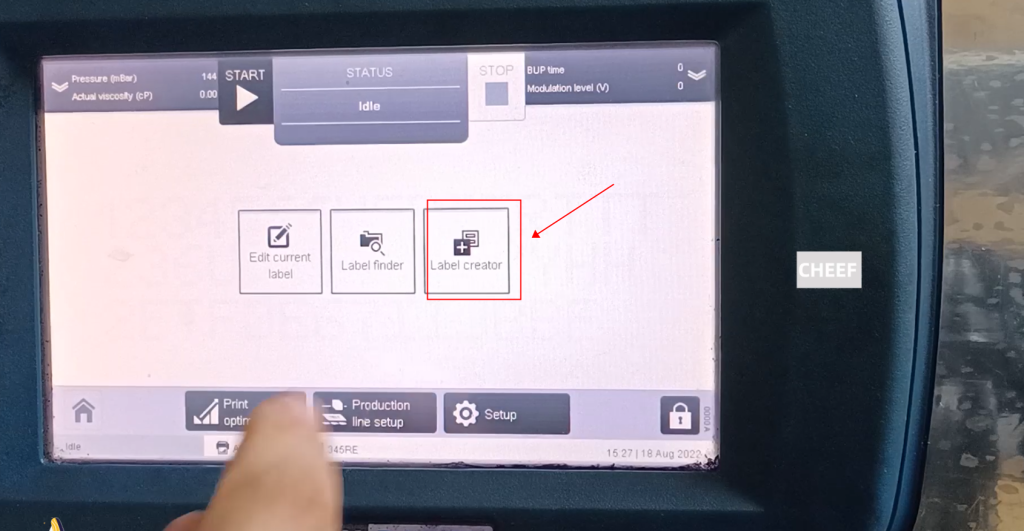
Return to the main interface, to see the picture just edited, you need to create a new message and insert it, press OK:

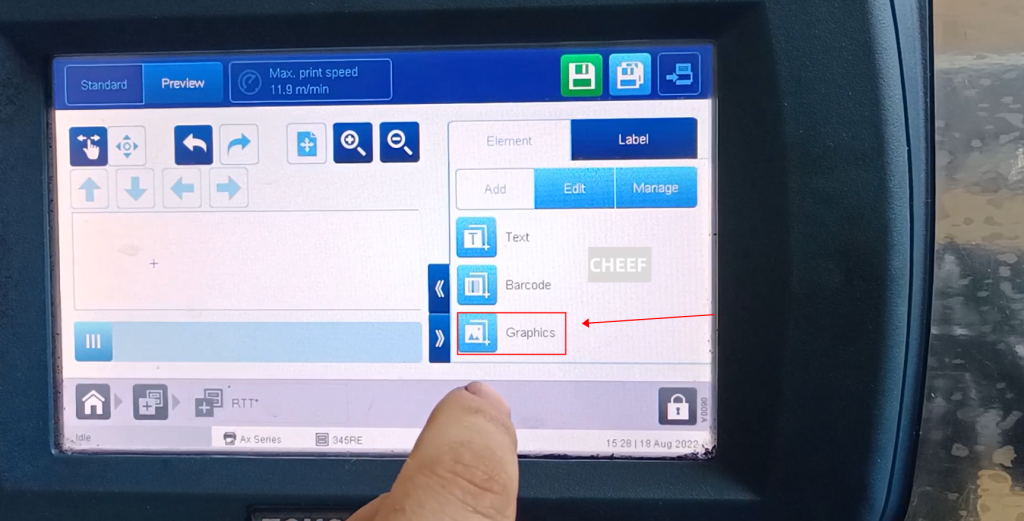
First set the height and insert the picture just now:
Then we click on save, and we can use it directly after saving:
There is also the following printer status:
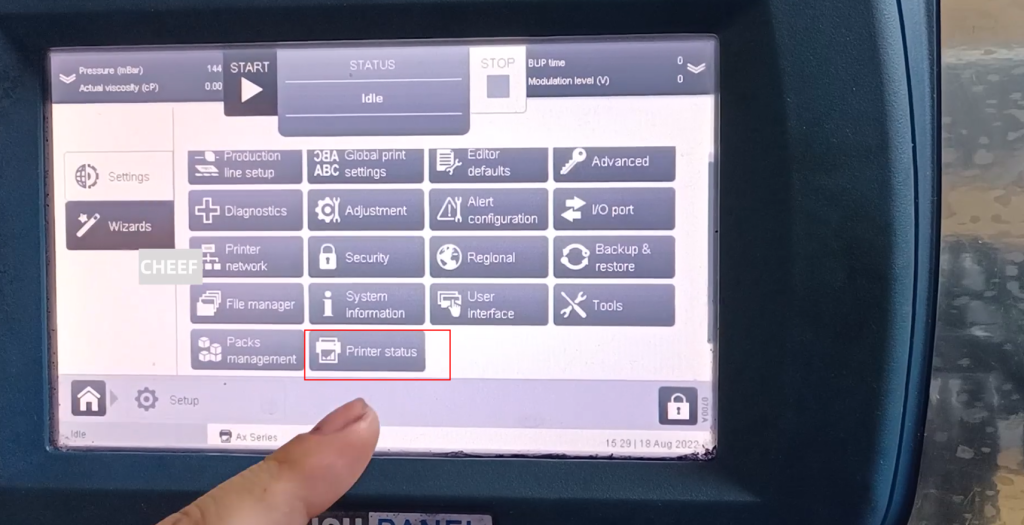
Mainly look at the consumables column, you can see an expiration date of ITM, the expiration date is August 17, 2023, and it will expire on August 17, 2023, and it needs to be replaced:


