
After receiving the machine, there was no ink in the ITM. You need to put the ink, the chip, the solvent is the same, plug in the chip. Make the level medium and inject it into the ITM, you can perform it.

Click “Settings”, click “Wizard”, click “ink in”, it is equivalent to exhaust.


Note: Unable to exhaust while the machine is running.
It takes about ten minutes to fill the ink, and after it is completely finished, it can be turned on normally.
Click “Start” and pull the page down.

You can see all the parameters right here here. The ink level “OK”, the solvent level “OK”, you can see the relevant parameters.
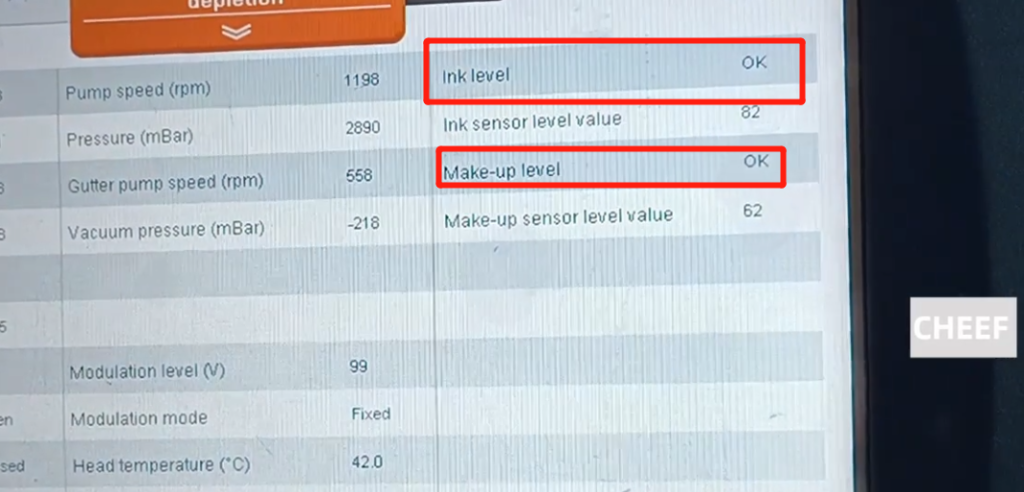
When all the parameters are completely “OK”, after the network cable is opened, you can choose a message that needs to be printed to print.
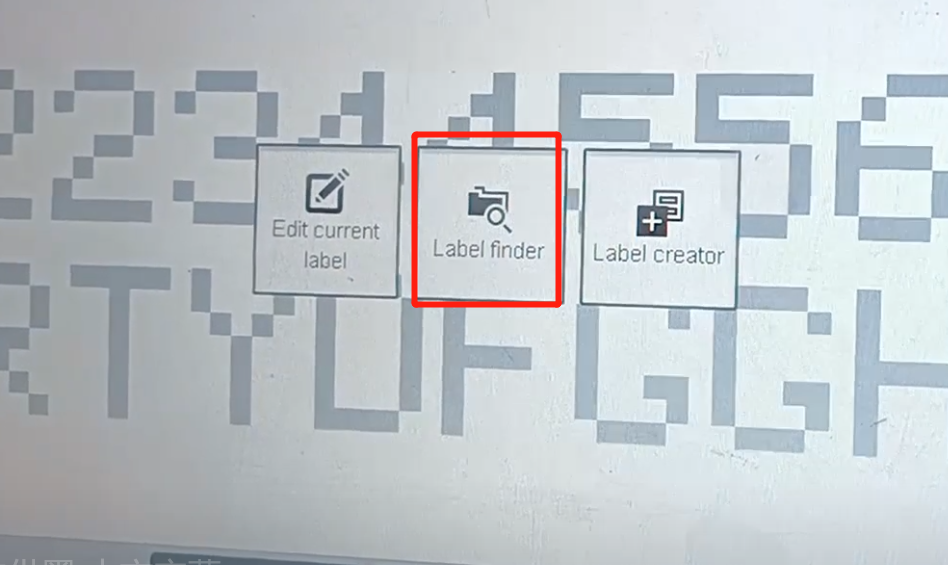
Click “Select information” and click “open”.

Select the message you created, click “Enter Spray” and enter the message directly. If you need other information, select other information and click “Enter Spray”.
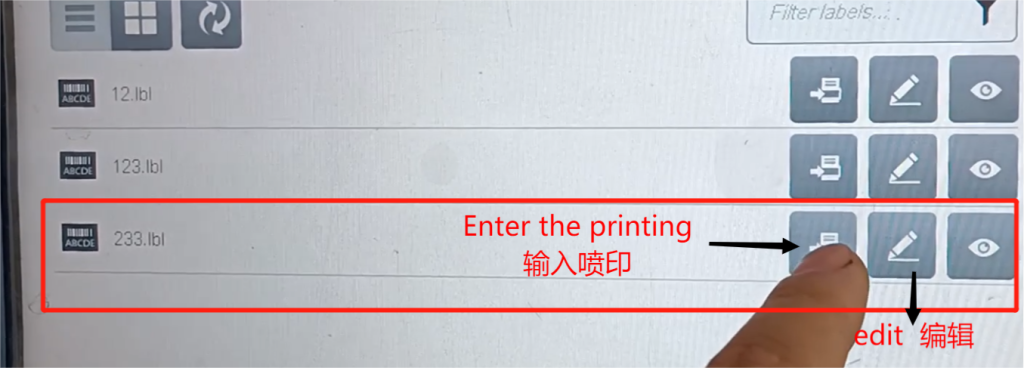
After the information is selected, you can print out the content.
If the printing position is not right and needs to be adjusted, the relevant parameters can be adjusted.
Click on Production Line Settings.
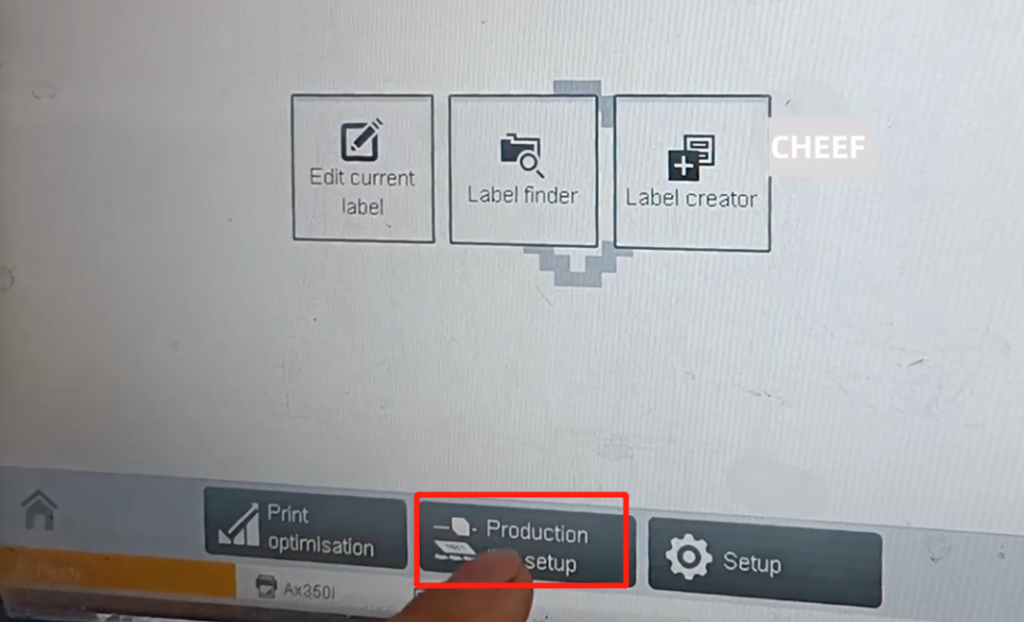
Related parameters can be adjusted here, most importantly, including printing delay and production line speed.

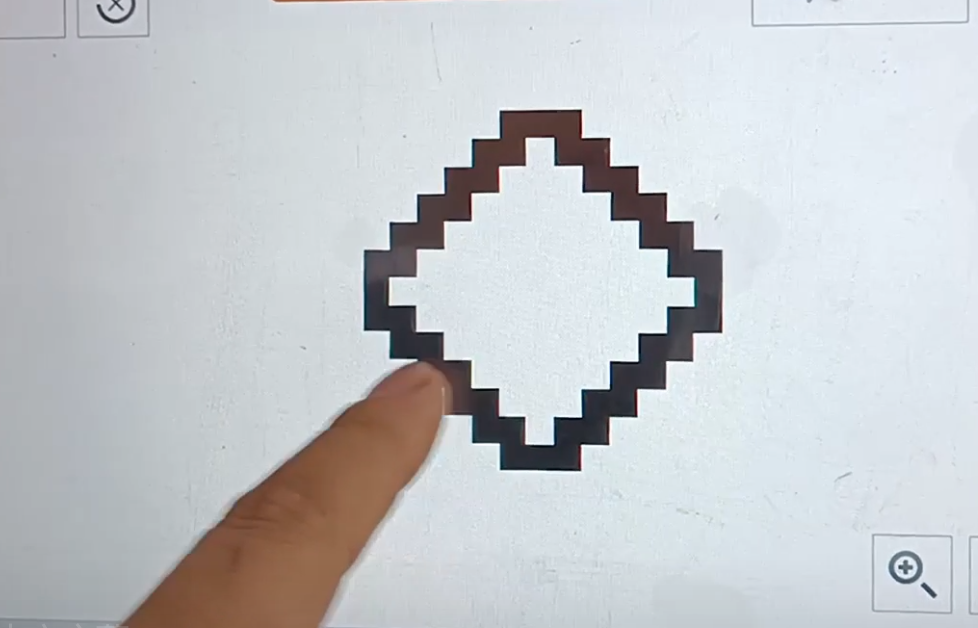
If the printing effect is bad, it depends on the split time. Is there any problem. If there is a problem, look at it with a magnifying glass and adjust it.

You can also turn it into a manual adjustment, clicking “Settings.”Enter the new page and click the position of the marked red box.
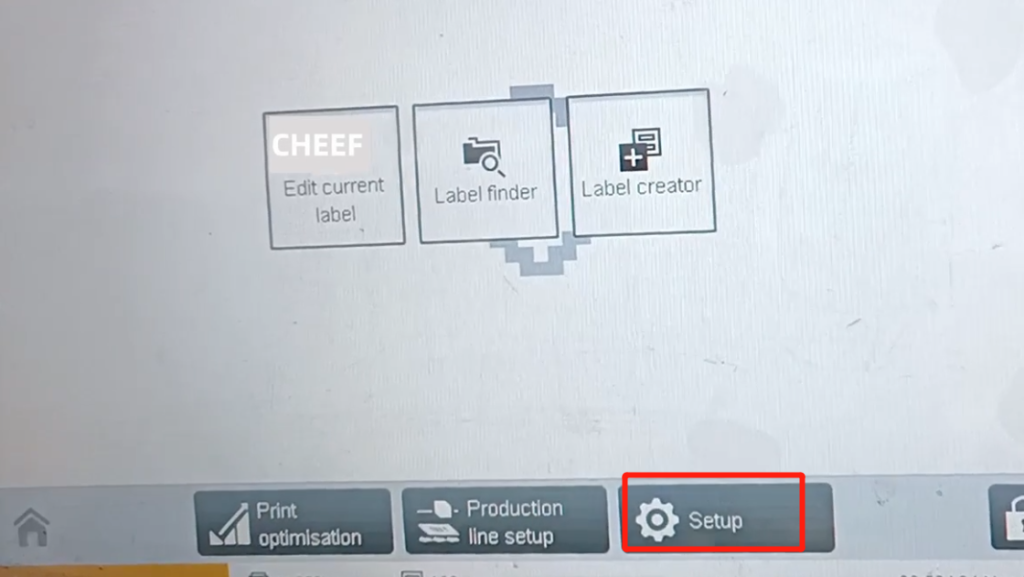

Related coefficients can also be adjusted for here.

There is a modulation here, if the ink point division is not good, you can choose “manual” or “automatic”, or turn it up or down.


