
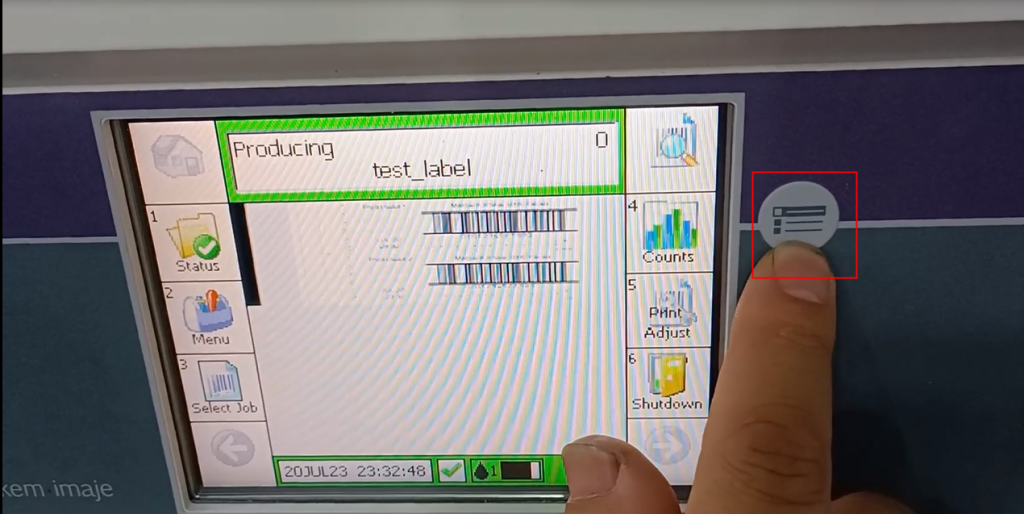
The first one is the status. If it is, we will tick √ because we currently have no faults
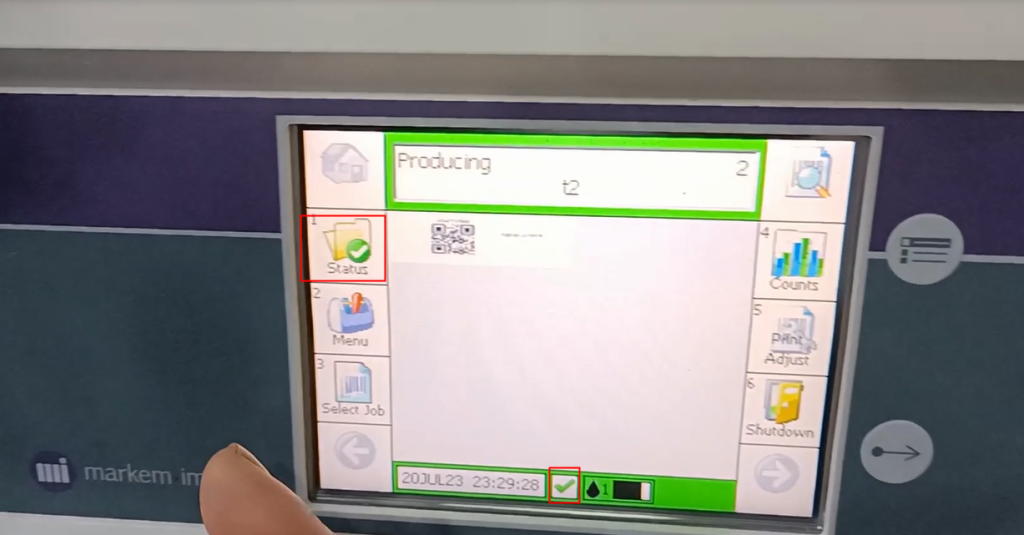
After we clicked in, it still showed no malfunction

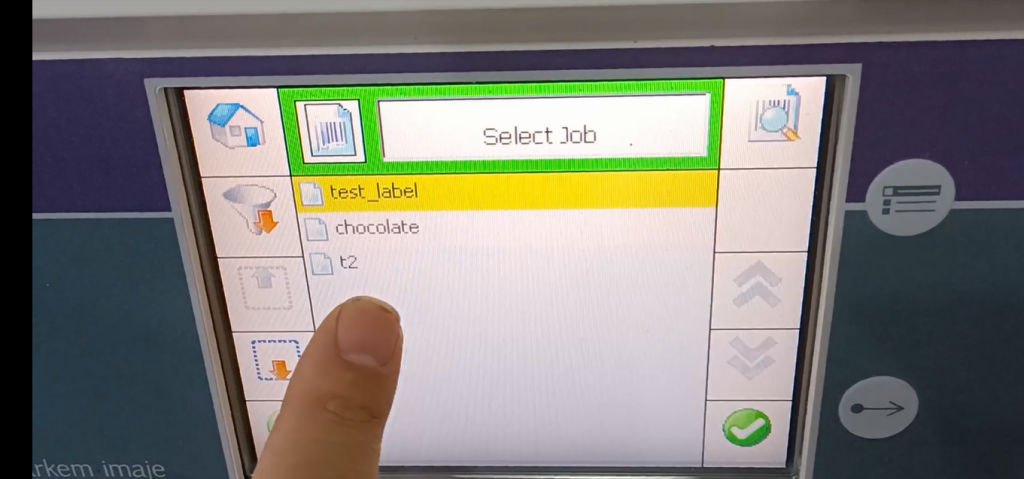
Then the second one is the menu, which we will explain later.The third choice is homework selection. For homework, let’s say we have already created three assignments

If we choose one of the assignments below, we can select it and click OK

Then click OK

And then this assignment can already be printed

And then take a look again. There’s a statistic here

Let’s take a look at the statistics. We have it on the technical side. Explain how many pieces of information we have printed in total, and we can see them here.

There is a printing strip here that can

The printing strip can have a gray/dark color inside

The printing strip can have a grayscale/darkness inside. After clicking on it, we can adjust the depth of the color we print. We can press the plus or minus keys to select the depth, or directly enter it here.

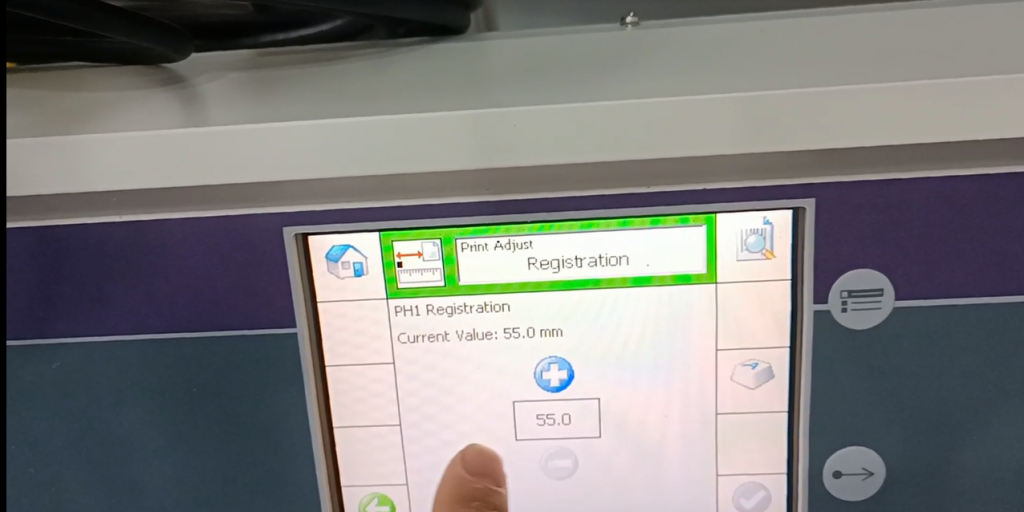
The one below this grayscale is aligned

If it is aligned, there will be a printing delay. If it is delayed, you can also choose it here, also known as alignment, which is called alignment. Other inkjet printers are called print delay, which can be increased or decreased, or we can directly input a value we need here. And then this is the match

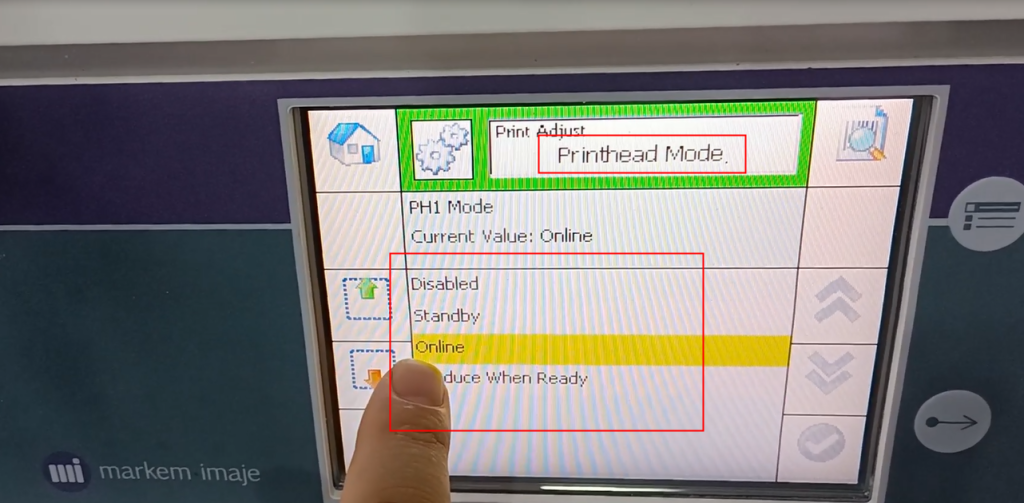
print mode
The printing mode is that we are currently online, which means we are running online printing normally. There are also three options: standby, disable, and so on. If we choose the above two options, we will either standby or stop, and we will not be able to print. If online, we can print anytime online. Always print and run normally

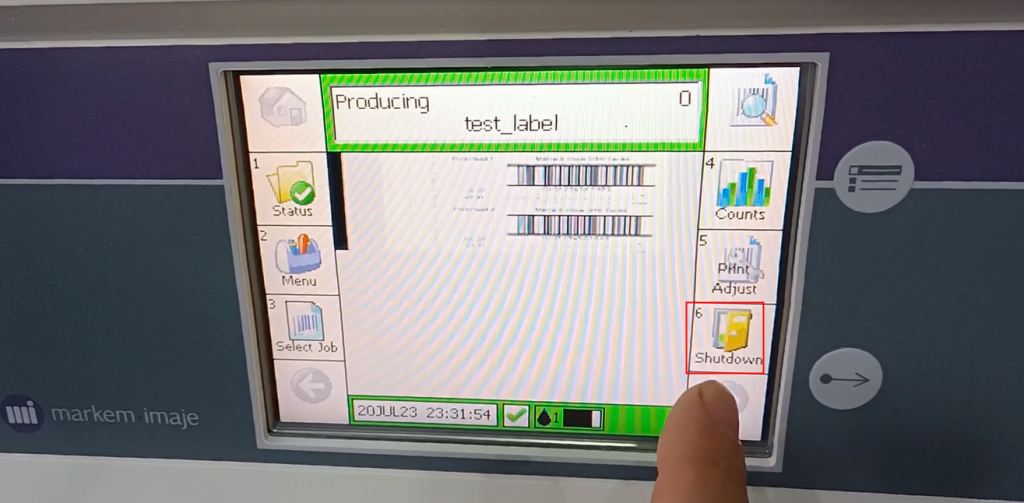
This is a shutdown
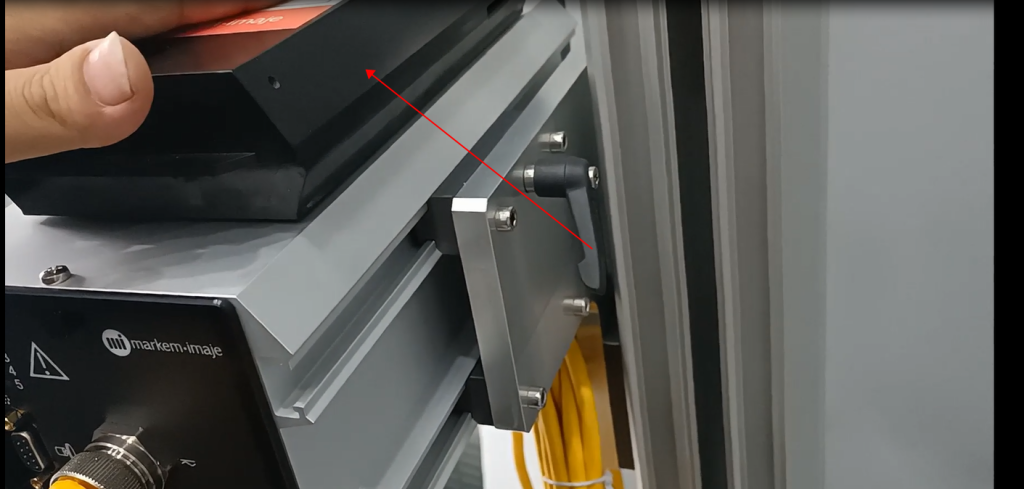
If we close it, we can say that the ink cartridge is already heating up, and it doesn’t feel very hot when pressed against it

Then if we click ‘turn off’, we can stop heating. The heater stops heating, which is equivalent to its complete cooling, taking about half an hour for complete cooling.
It is important to shut down the machine when it is not in use.

If it takes half an hour for the ink cartridge to completely cool down after the dot has been turned off, we should not move it or touch it during this period. If we move it, it may cause some malfunctions.
Let’s take a look at the menu again. It’s mainly in the menu
And then we have a button here, which directly corresponds to the selection information,

We click on it, which is a shortcut key for selecting information pages
And then our button is the print delay/alignment button
Clicking on it means printing delay,

This is just a shortcut key.
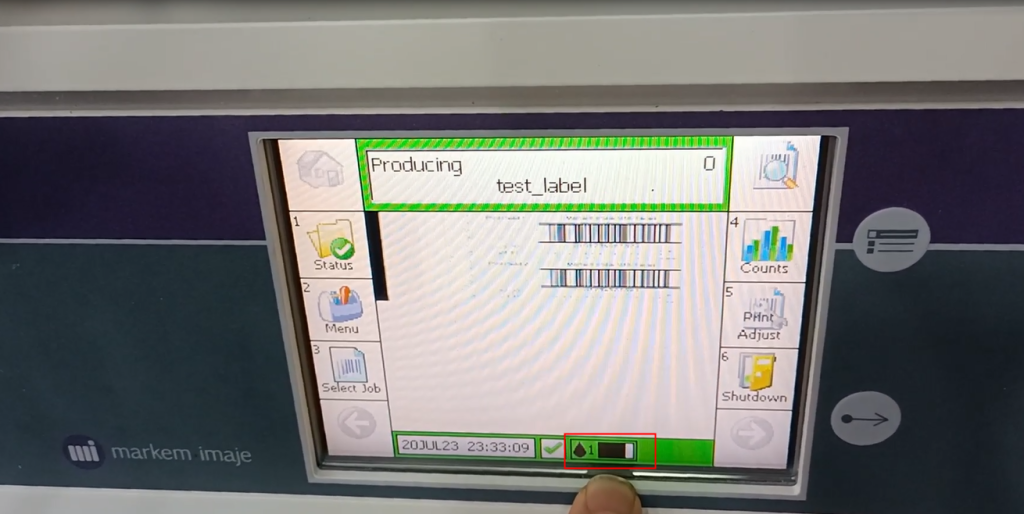
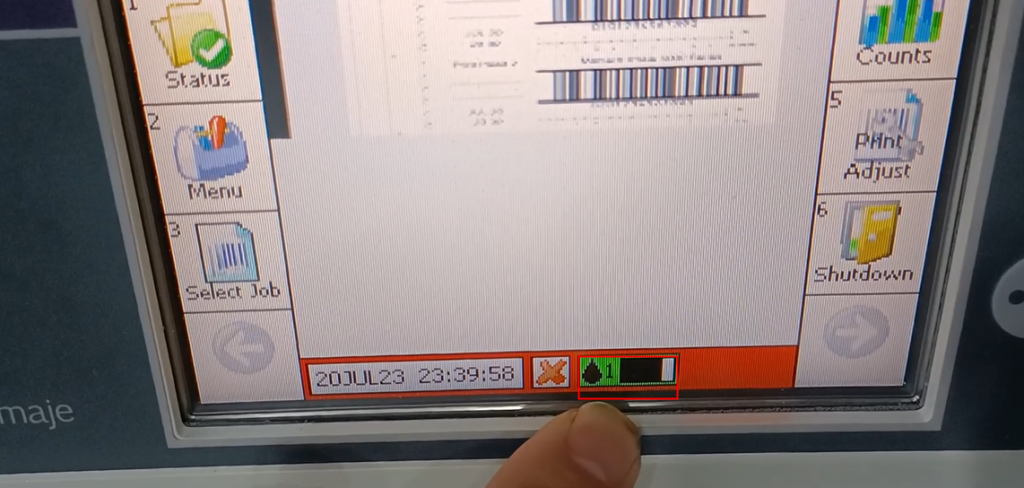
Then we can see the quantity of one ink cartridge and the usage of the ink cartridge. And then it shows black, which means it’s normal

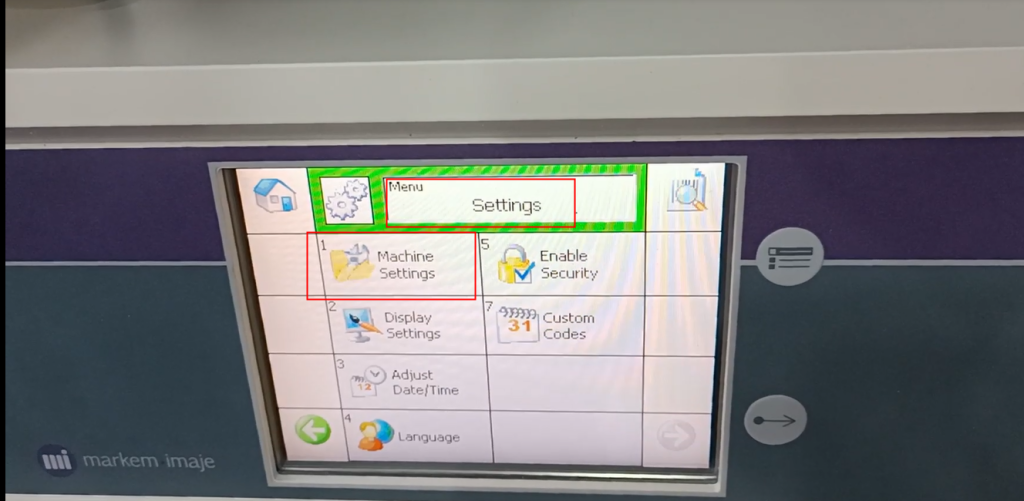
Then let’s take a look at this menu. There is a setting in the menu, and click on it to enter the setting
We have a system time here and a language here

Language can be selected, and if there is a language available, it can be selected here

Then the time system allows for selection of time and date

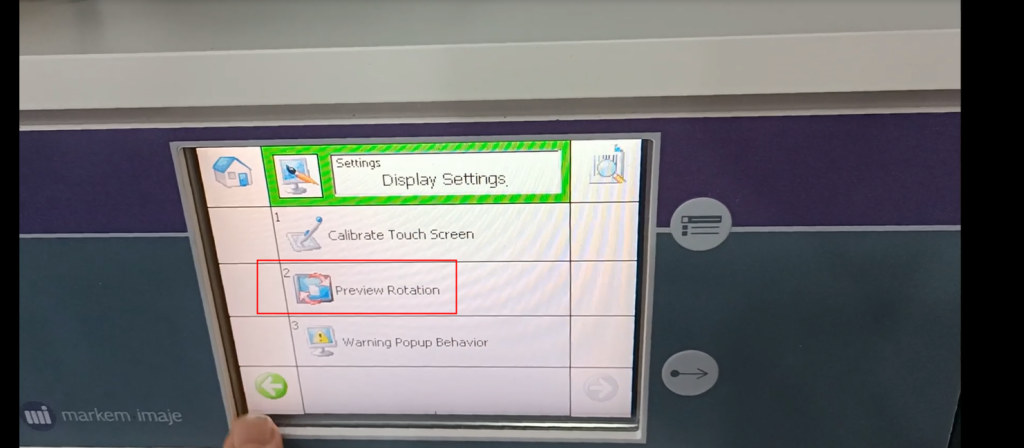
This screen displays a screen calibration. When our touch screen is not working properly, we can perform screen calibration

Another one is to rotate the screen
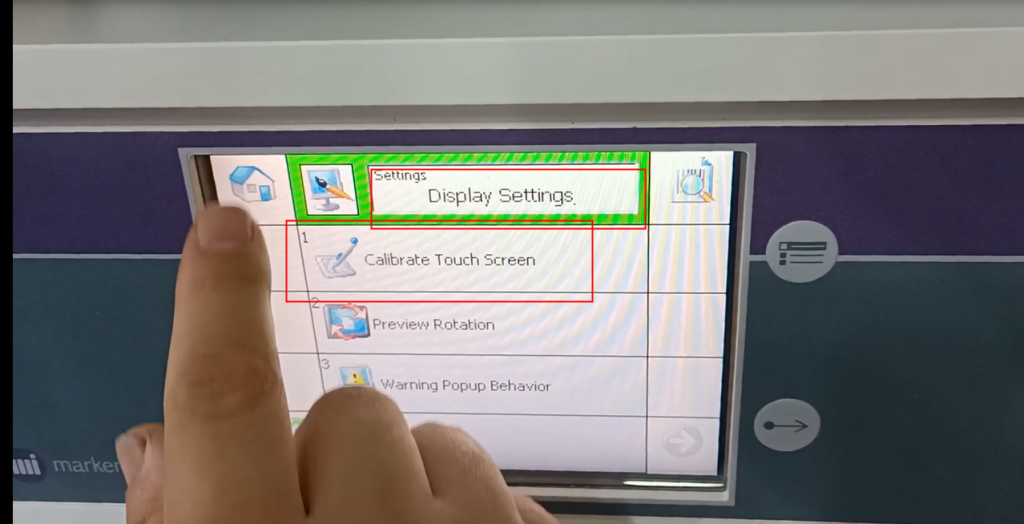
Mainly these two.
Then there are machine settings here, click inside the machine settings.
The first thing we can see is that pH1, pH1, is in one direction
In the direction of pH 2, 1 represents 1 nozzle; 2 represents 2 nozzles.

We only have one nozzle now, so we can only choose pH1.
You can select it, and if we need to modify the direction, you can click on this

Then modifications can be made: from left to right or from right to left, depending on the direction of our product’s movement. If we go from right to left, we will choose from right to left. So from left to right, we can choose from left to right

Just need to make some power changes to our encoder, that’s all. And then this is the direction.
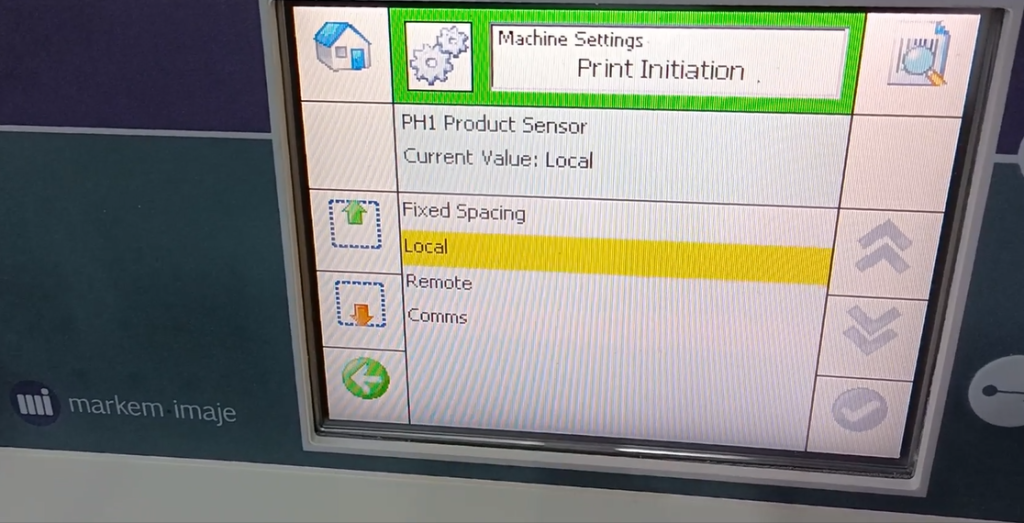
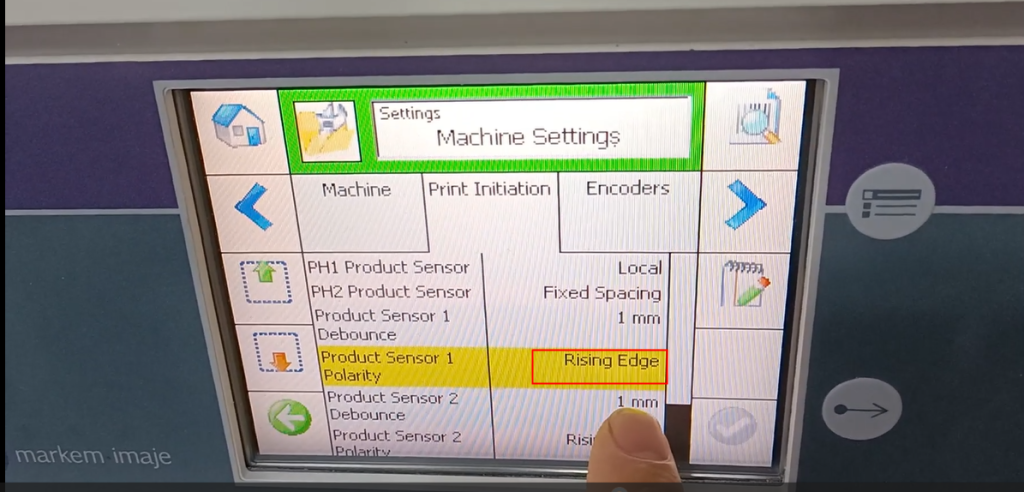
This means that the sensor is a sensor, and for this sensor, we now choose to use local.

Local means enabling external sensors, which means enabling one of our external sensors. We can choose by clicking this

It has local and internal features with fixed spacing. This fixed spacing means hitting a fixed distance at a fixed distance, which is a fixed spacing. It’s equivalent to having an external sensor that doesn’t work and has a fixed length.

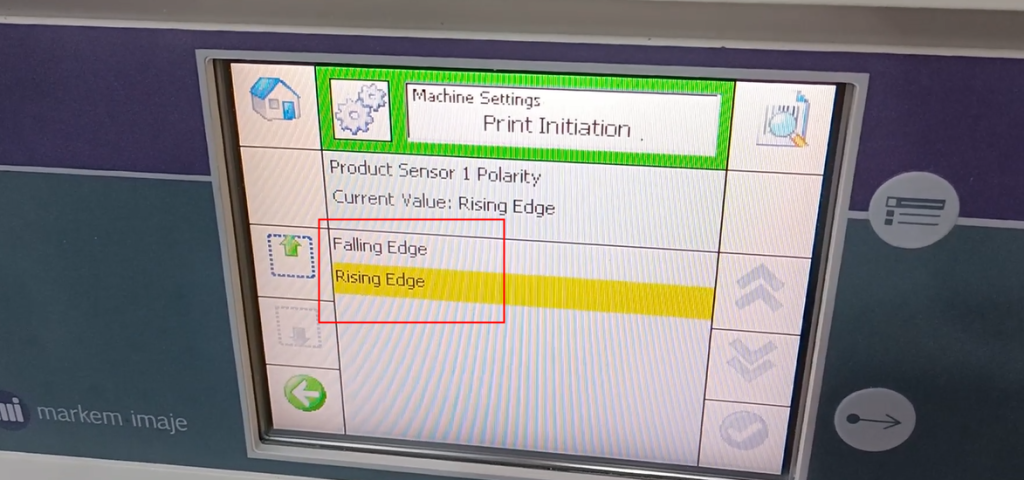
We can choose between one of its rising or falling edges, and you can choose between them
There is an up and a down sensor
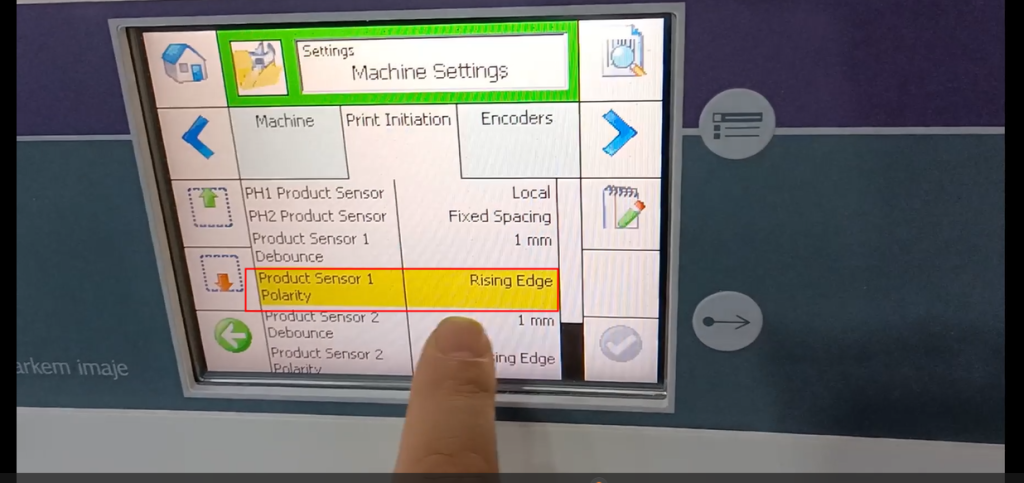
We are currently choosing the rising edge. We can choose the descending edge as needed
There is an encoder here.
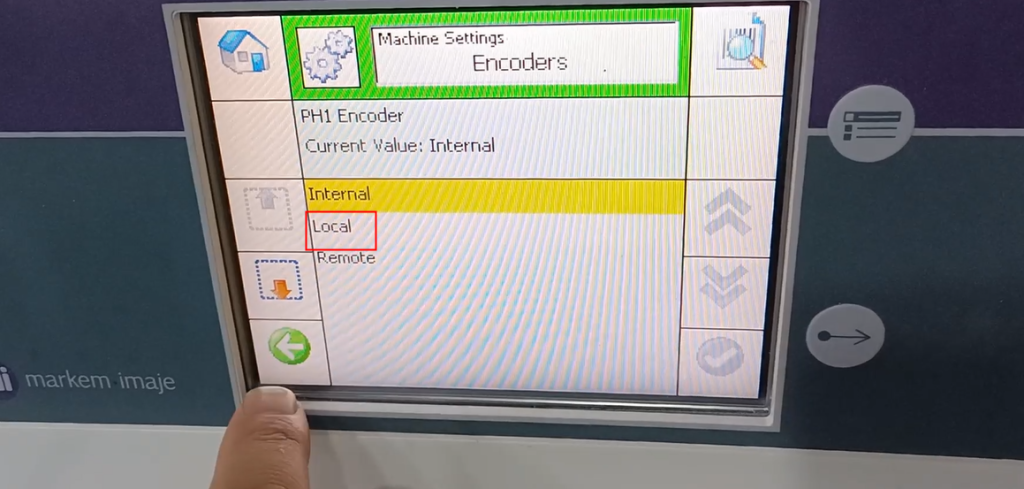
The encoder is not currently enabled because we do not have an encoder installed. So the encoder chooses internal
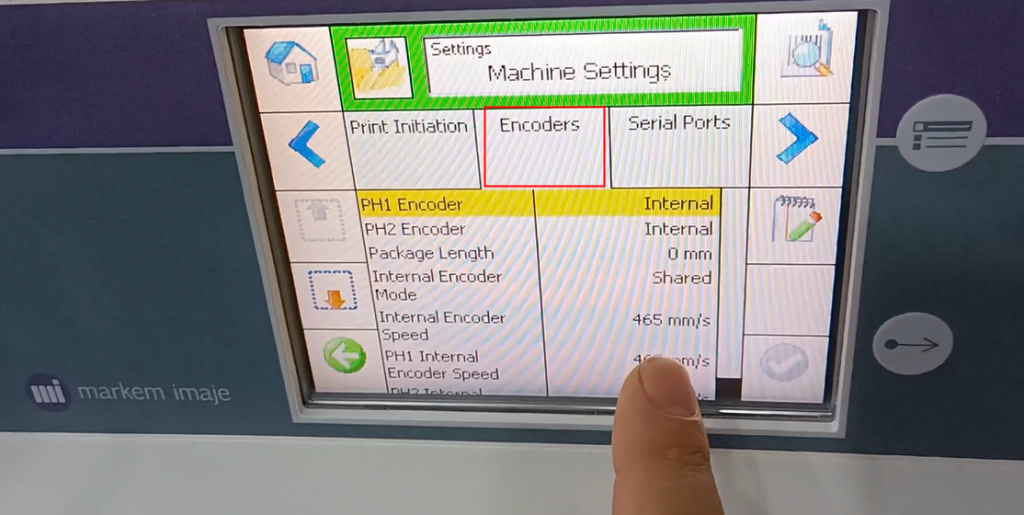
If an encoder is installed, we need to modify it and select Local
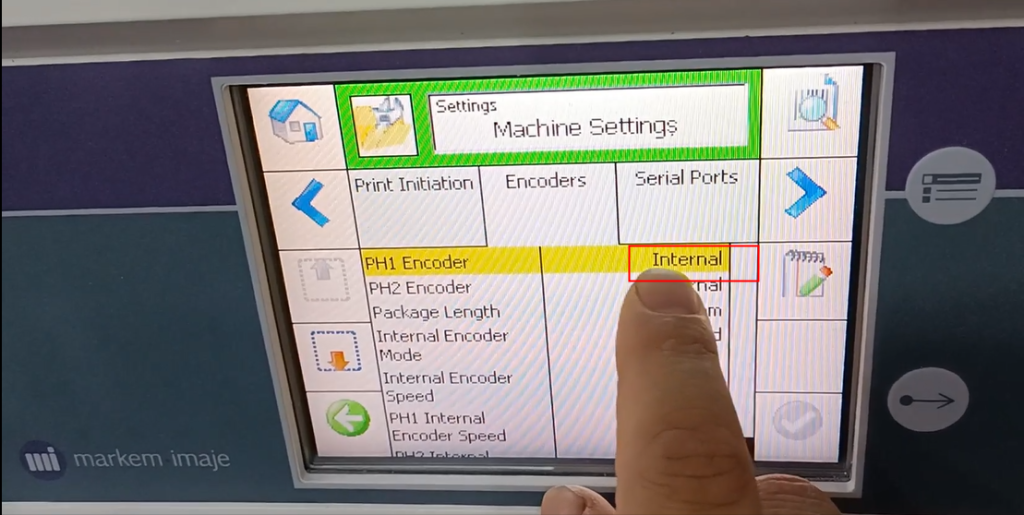
We don’t have it enabled now, so we’ll just choose internal.
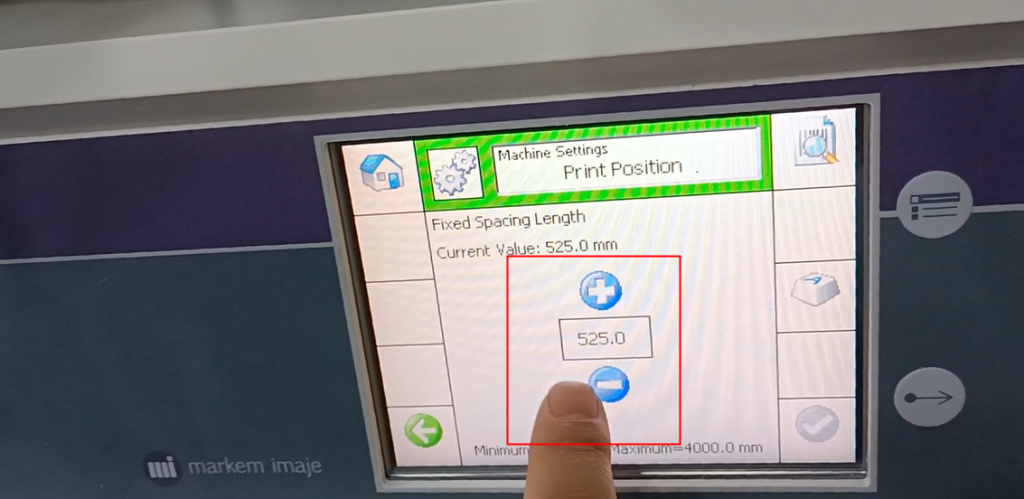
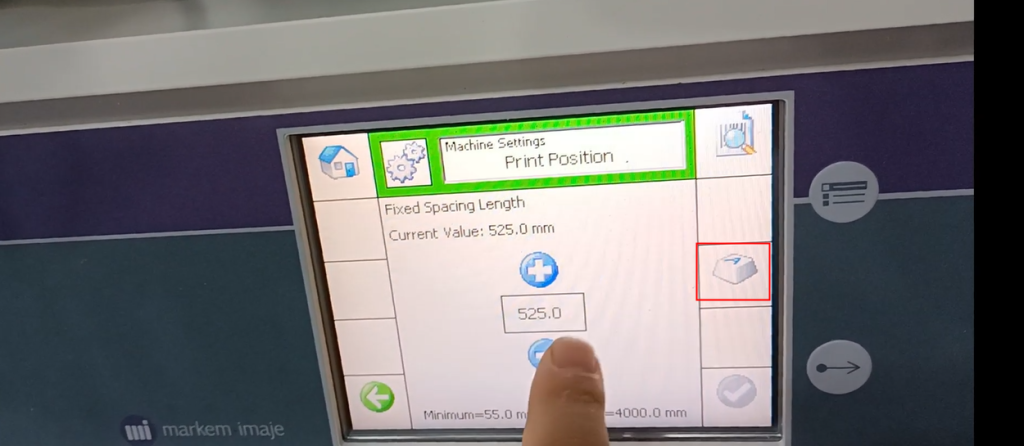
Here, you can see a fixed interval of one spacing. If we choose a fixed spacing for the sensor we just mentioned. What we mean by this is that we can choose from multiple sources of information
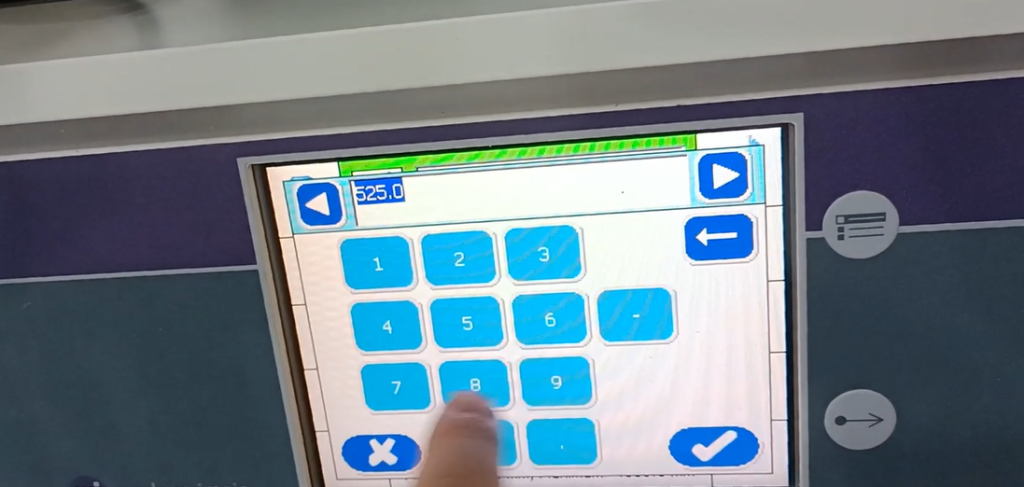
Can be modified here

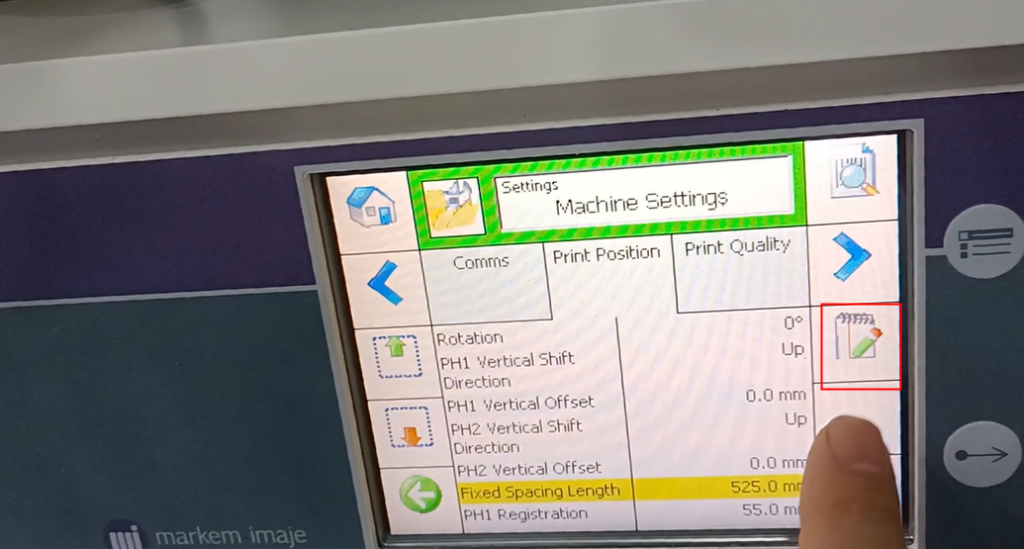
Or simply click inside to make changes. Unit is millimeters
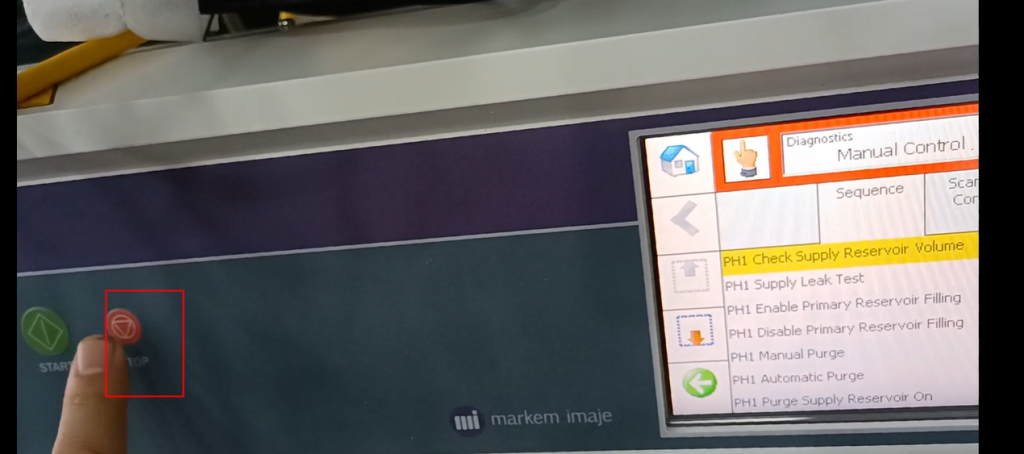
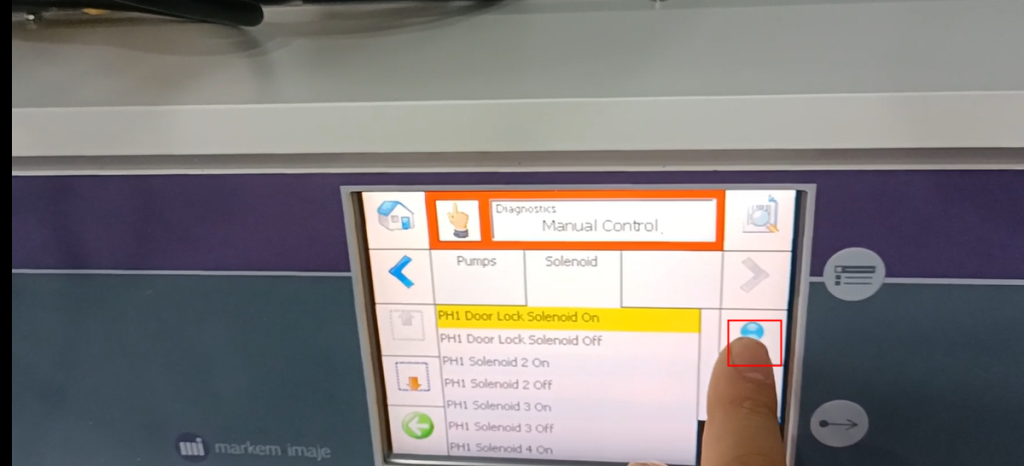
That’s the end of the setup. Then let’s talk about diagnosisThere is a manual control in the diagnosis
determine

If we choose manual control

What we can pause is called the ready state

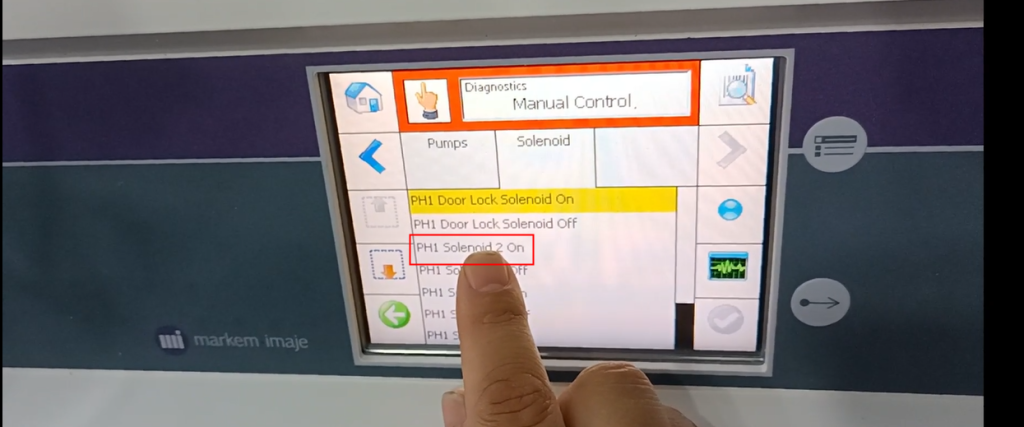
We have a lock here, which is our ink cartridge and lock
If we manually want to open it, we will select this and click on it
And when our light turns blue
We can hold it down and then lift it, which means we can open it
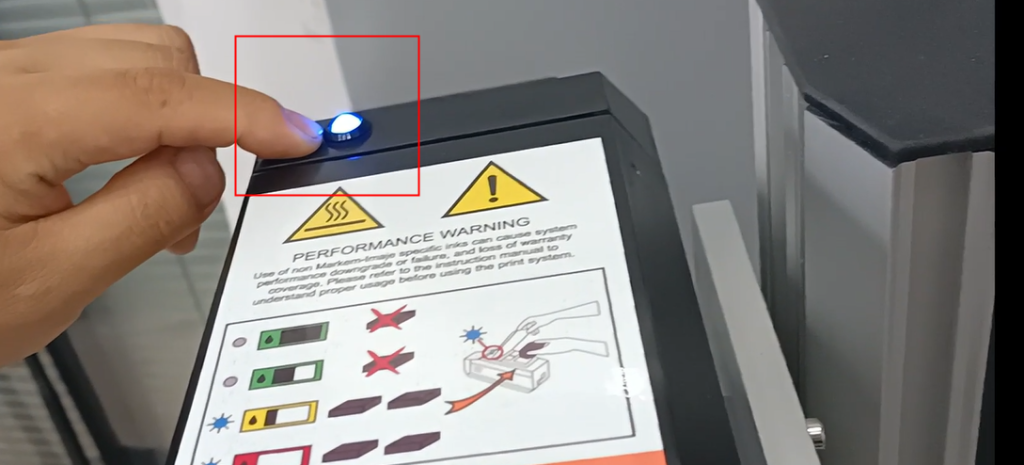

And if we close it, we just press it once to close it

If this light is on, it means it hasn’t been locked

Then we can order this again

Then the light will go out, and we can lock it up

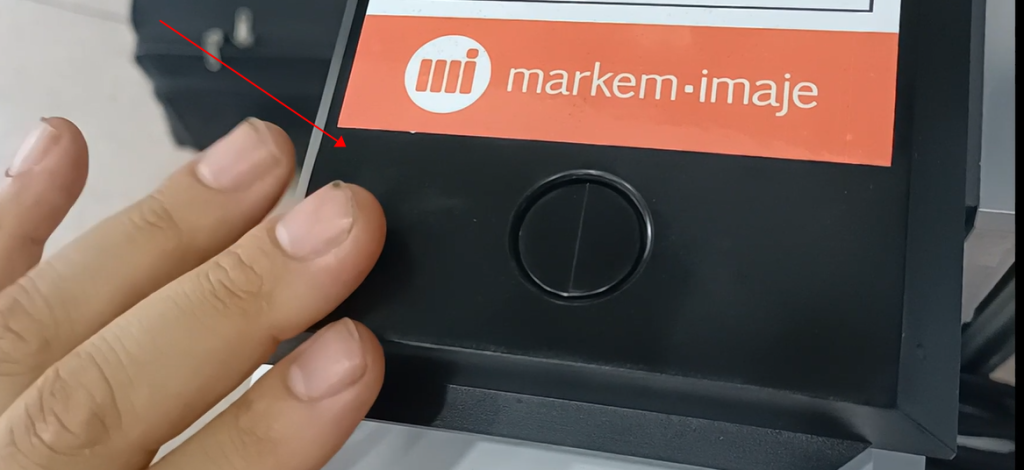
In fact, under normal circumstances, if there is a shortage of ink, we can see it here if there is not enough ink. Our side gradually turns red,

If it turns red on this side

We can choose. This light will automatically turn blue. We just need to open it directly from the outside, so we don’t need to go into manual control
This is some information we can see in the diagnosis
We have finished our main content menu section
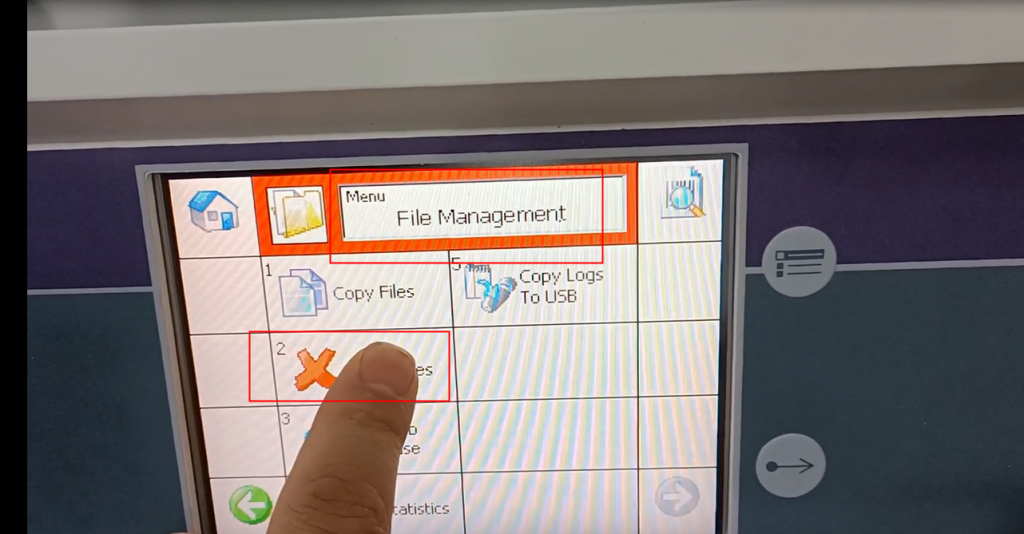
Let’s take a look at where the information was deleted or copied from a USB drive
Let’s click on the menu and in the folder options, there is deletion information here

If we click to delete information, we select it, select the information we want to delete, and after selecting it, we click to confirm this × Number it and it will be deleted
And then there’s an information replication here

On the information replication side, usually if we copy the information from the machine to USB, we choose this option

If we copy USB information to this machine, we will choose this one

If we have an image logo and copy the images from this machine to our USB drive, we will choose this one

Another aspect is about information, a software version, and so on, a version of machine software


