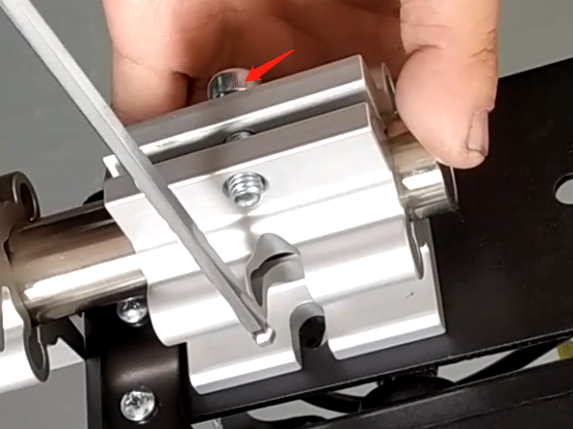
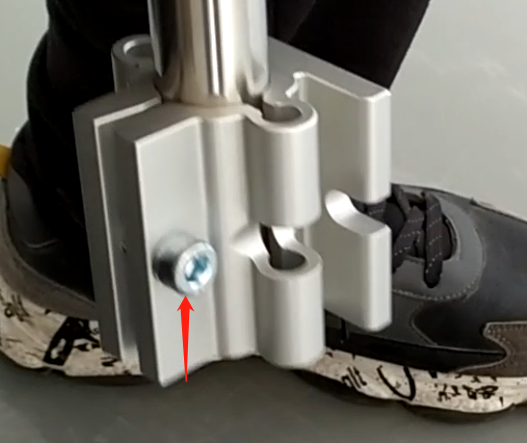
Install the two fixing blocks on it, and install the screws on both sides
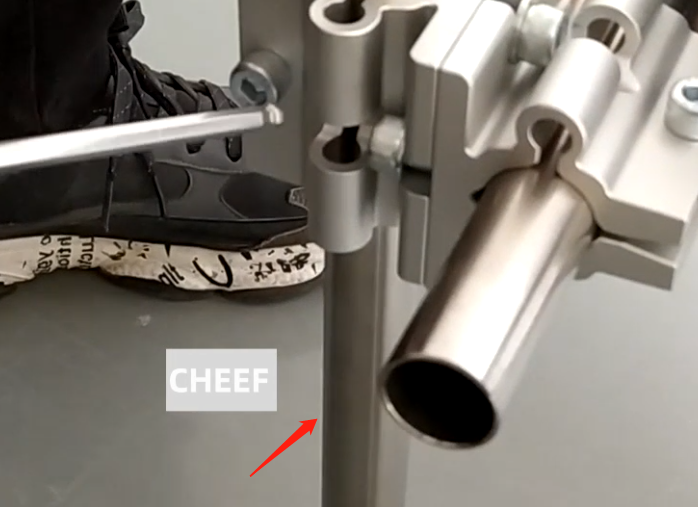
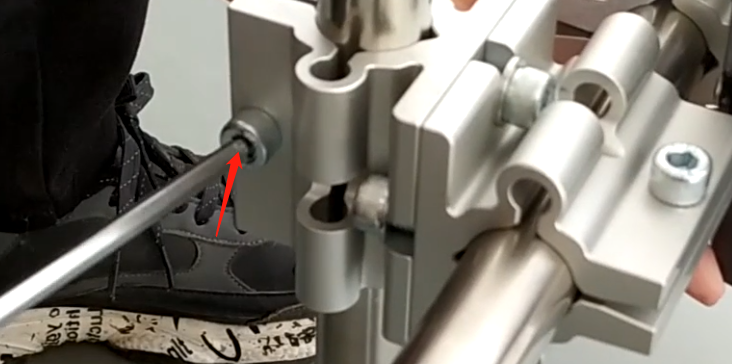
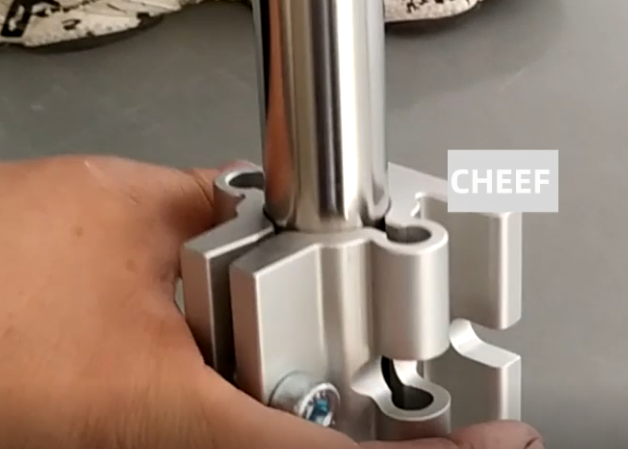
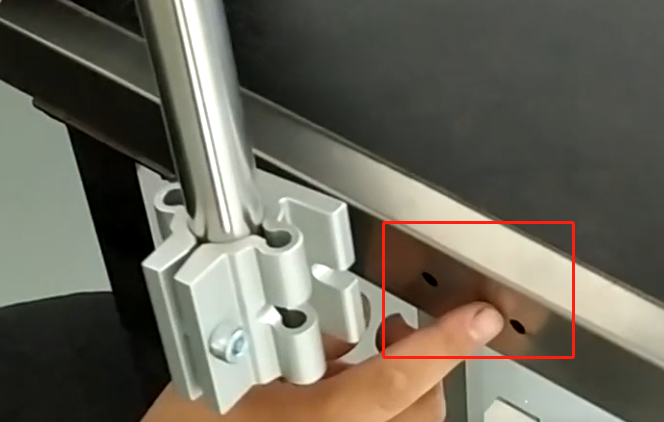
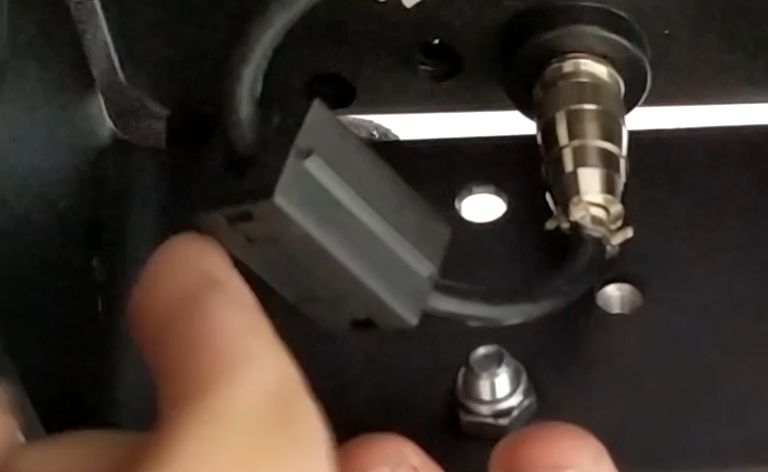
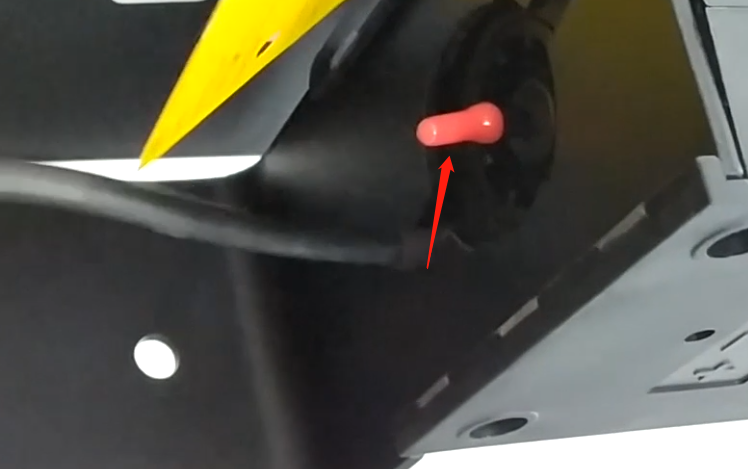
Then put this bracket cylinder through and tighten the screwsAfter tightening, there is an adapter block here, which is a whole, the overall adapter block, and then put the bracket cylinder into itAfter the sleeve is in, tighten the screwAfter the screw is tightened, put the stainless steel cylinder below into this side and tighten the screwAfter tightening, there is a fixing block fixed on the conveyor belt below. After putting it on, tighten the screw. After tightening, the bracket is assembledDrill holes here. After fixing the bracket, install screws on both sides and tighten them. Then fix it on the conveyor belt, or fix it on a matching equipment we want to print on the shelfAfter the rack is ready, the electric eye recognizer can be inserted hereThen, unplug this, replace the ink cartridge, plug this thing in again, and then you can power on and test
Cheef
CIJ,DOD,TIJ,Laser Coding Machines.
Machines, Spare Parts, Consumables.
One-Stop Coding Marking Solution
20 + Years of Industry Experience
Welcome to Inquiry at any time