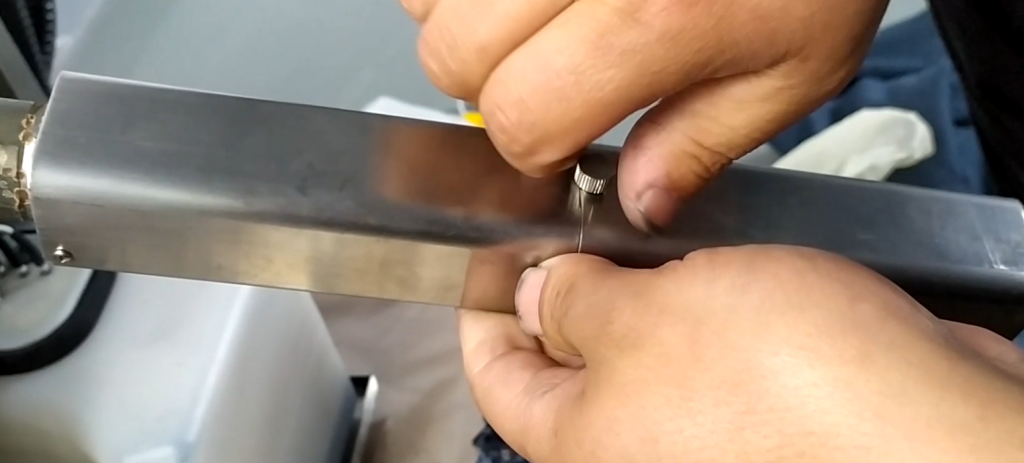
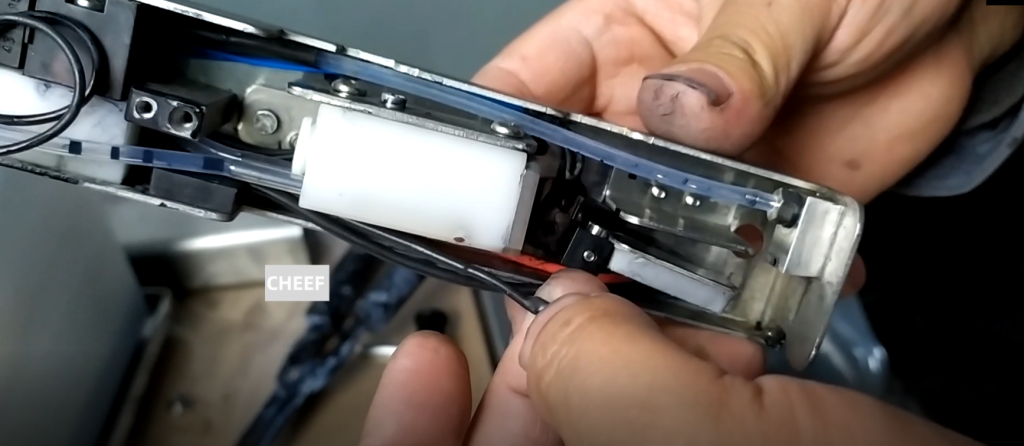
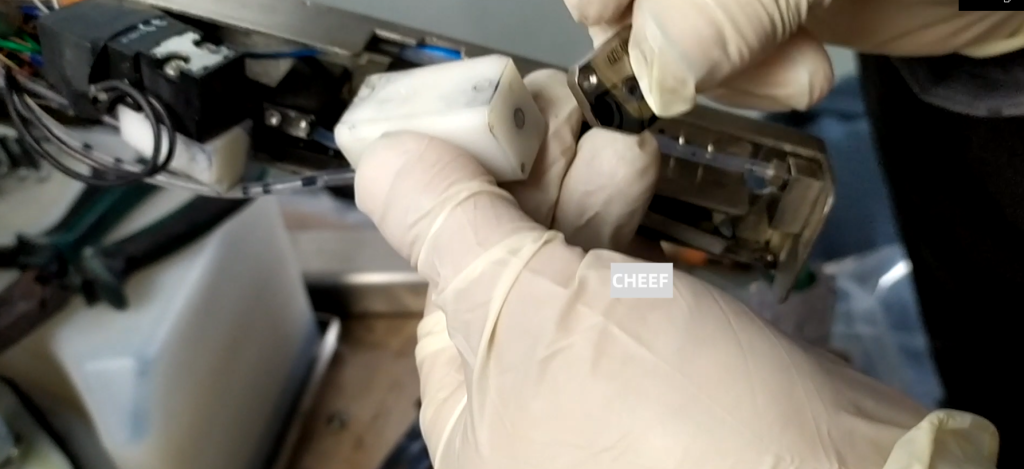
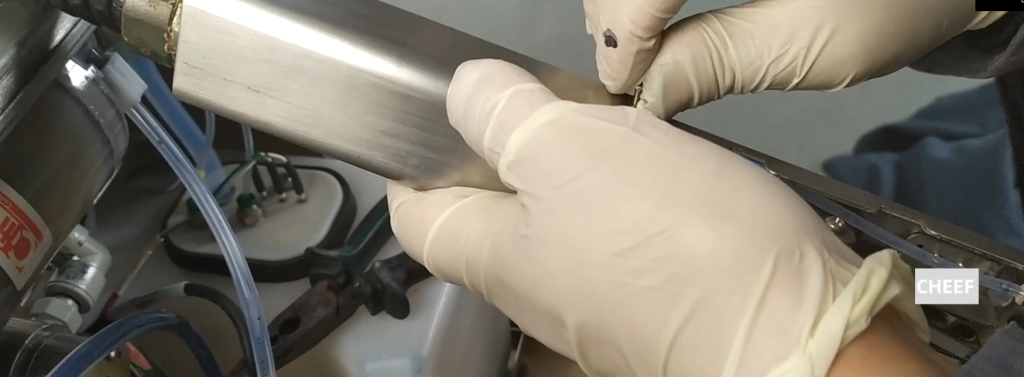
If our charging tank is removed, there is only a screw on it, and then we directly loosen the screw, and then pull it out, and this one comes out.
Then when the installation should pay attention to a point, it has a ground line, charging slot line. Be sure to press it with this screw, and press this thread to install it. We will now load it up.
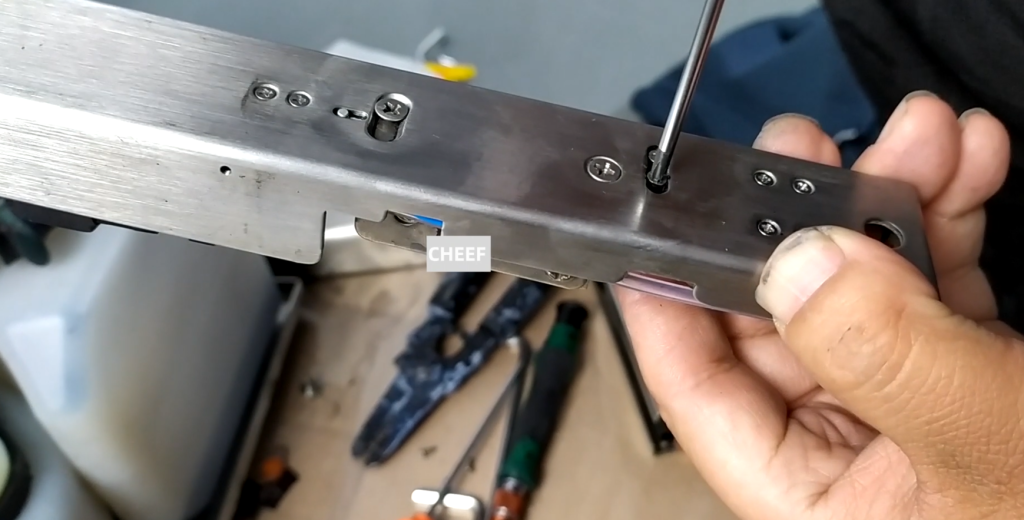
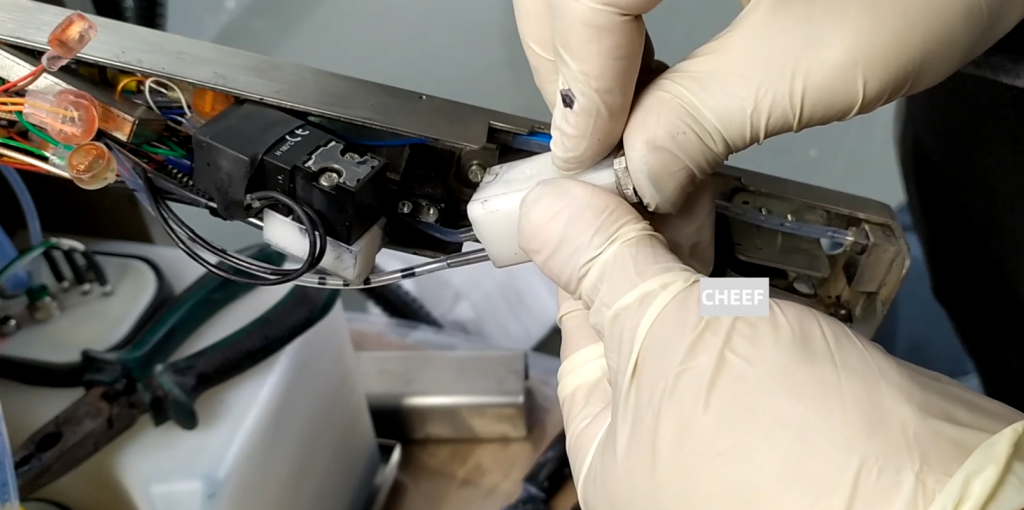
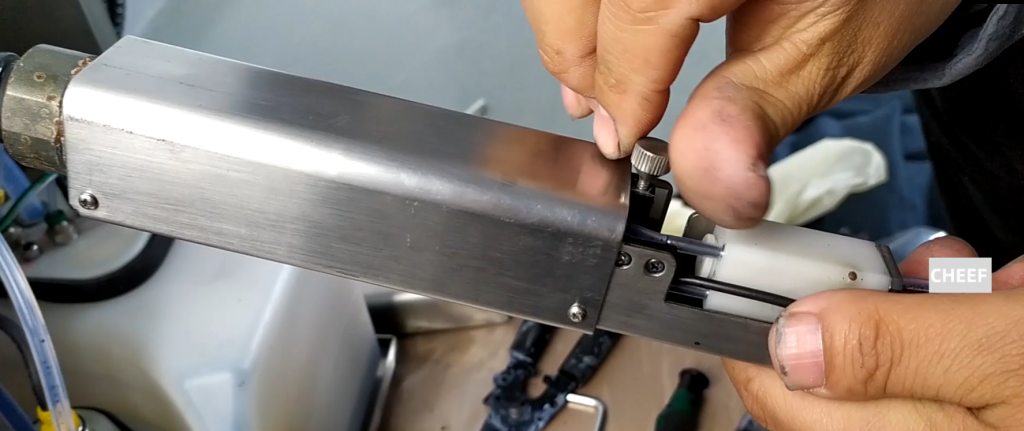
Let’s remove the base of the charging tank for it. With two screws in the back, remove them. Our base was removed.
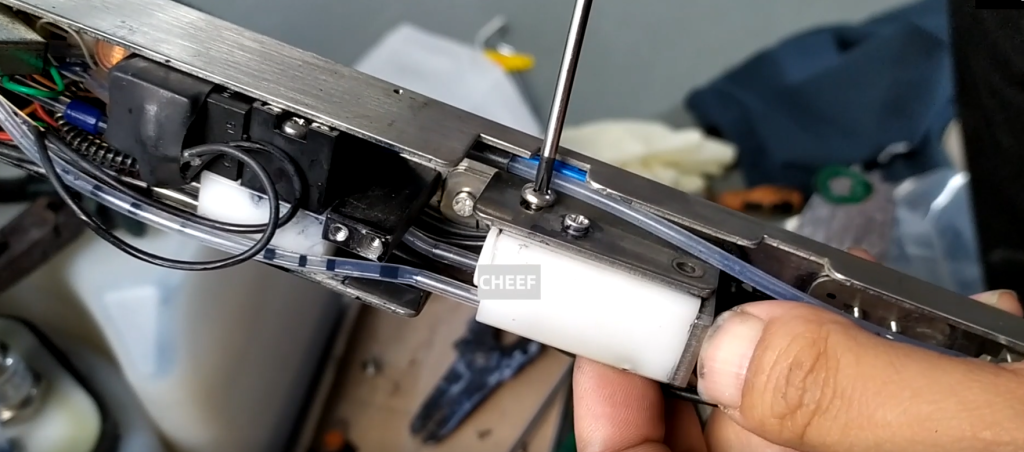
Our charging slot can be installed directly. Pick out this line.
The most edge of this charging tank must be flush with the most edge of the black base.

Then we put the base on it. Two screws are slightly refixed, and then this is installed.
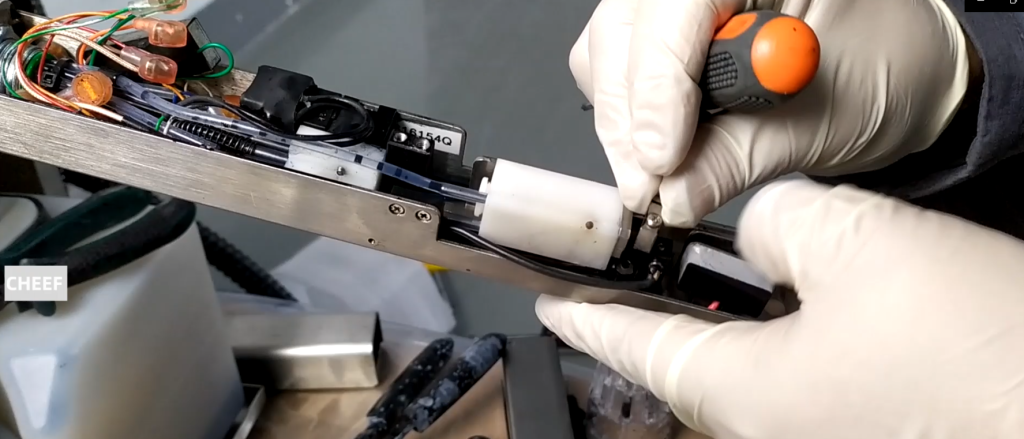
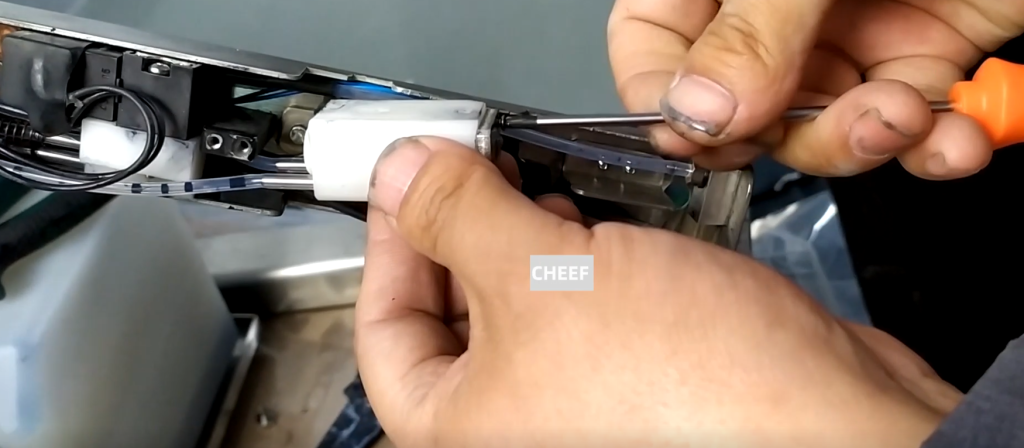
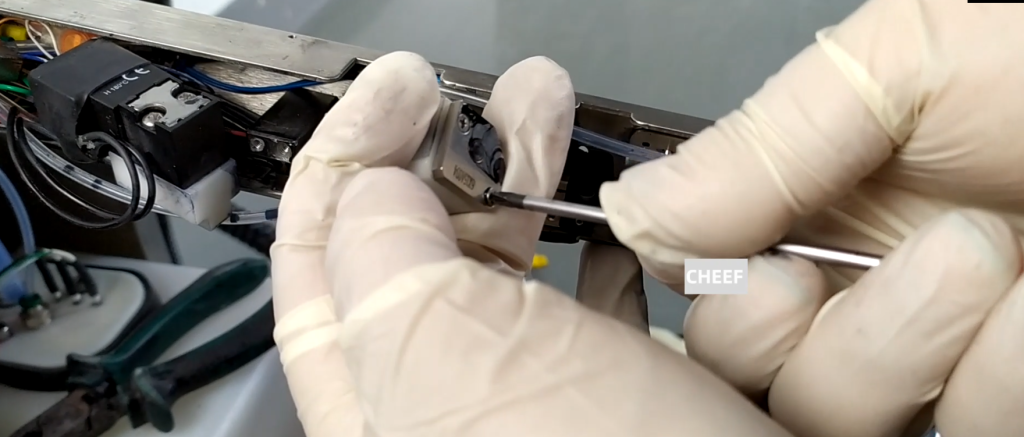
If we remove the nozzle, we need to take this off. Remove this screw and this screw.
Then, then, the nozzle comes out. We removed the nozzle into line.
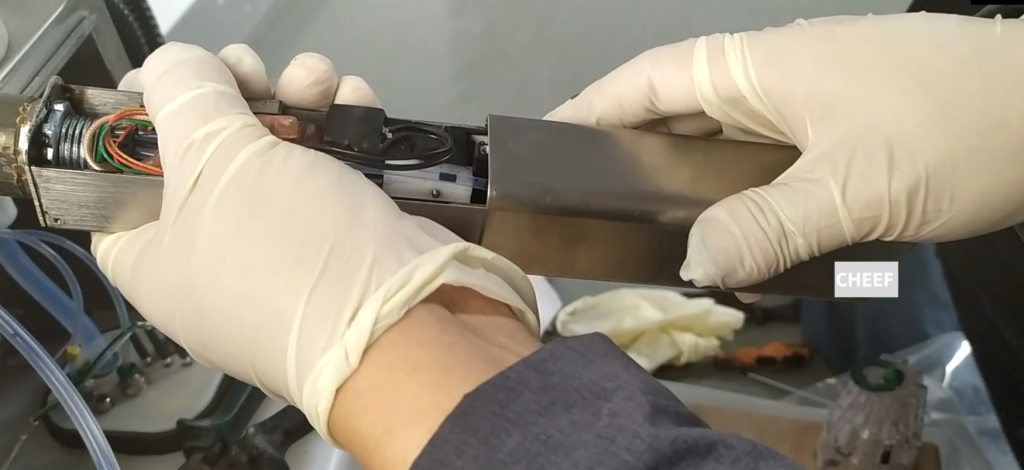
This nozzle can be taken off, and then we pull it out. If the nozzle is blocked, we can put it in the ultrasound, and we can install it after it.
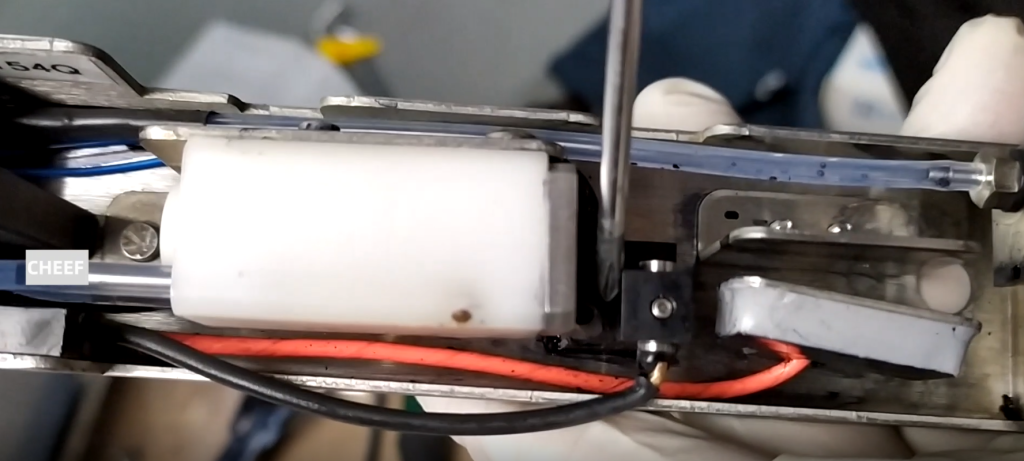
Then put it in there and press it hard.
Diss After going in, install the two screws again. Then tighten the screw to it.
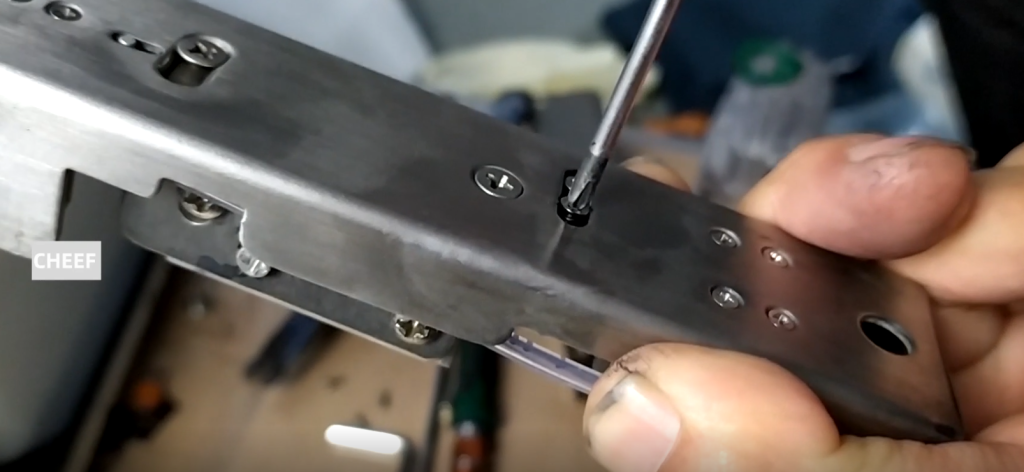
Put the back cover on it. The back cover is oriented.
Put the four screws, and then we cover them.
Then we put the nozzle hand screw screws.
Then cover this cover.