
Under normal circumstances, the new machine for ink for the first time to see how to operate. A new machine that has not been installed. There’s a power switch here. Let’s turn it on first.
Wait for a little minute or so.
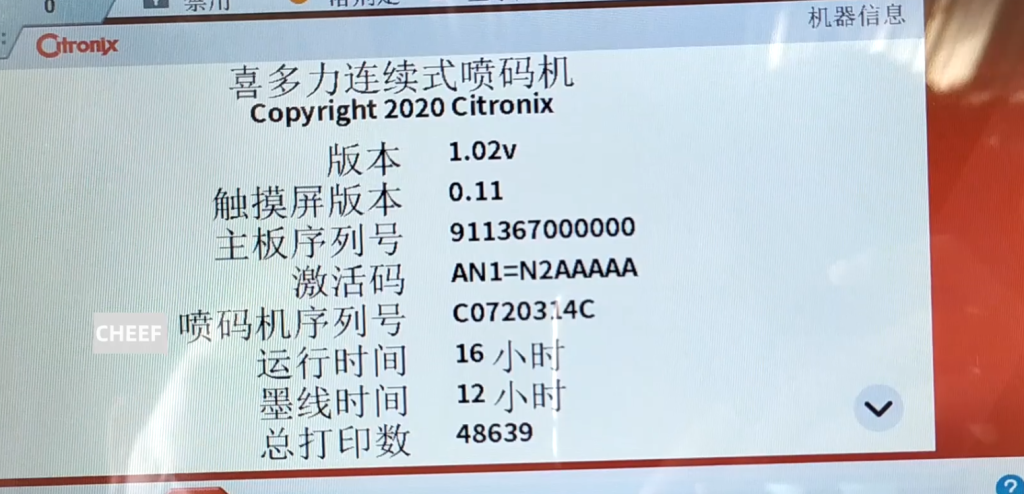
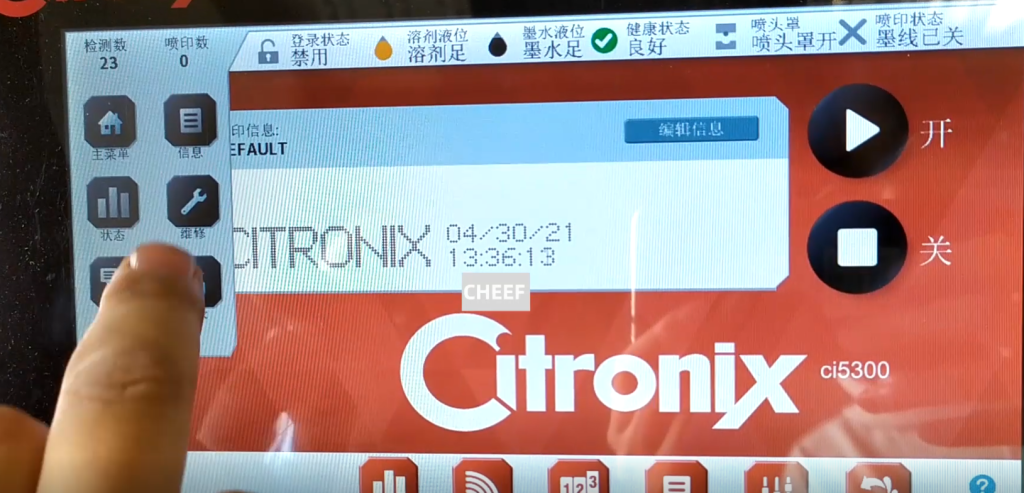
If this machine defaults to 1001 ink and 1006 solvent. Let’s take a look at the new machine, and let’s click on the status.
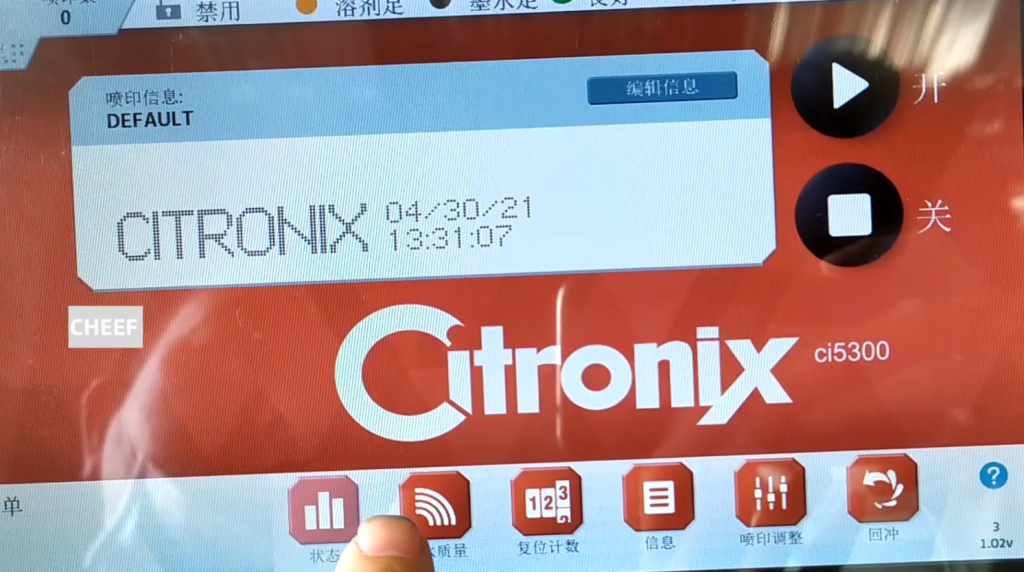
Click on the Machine info.
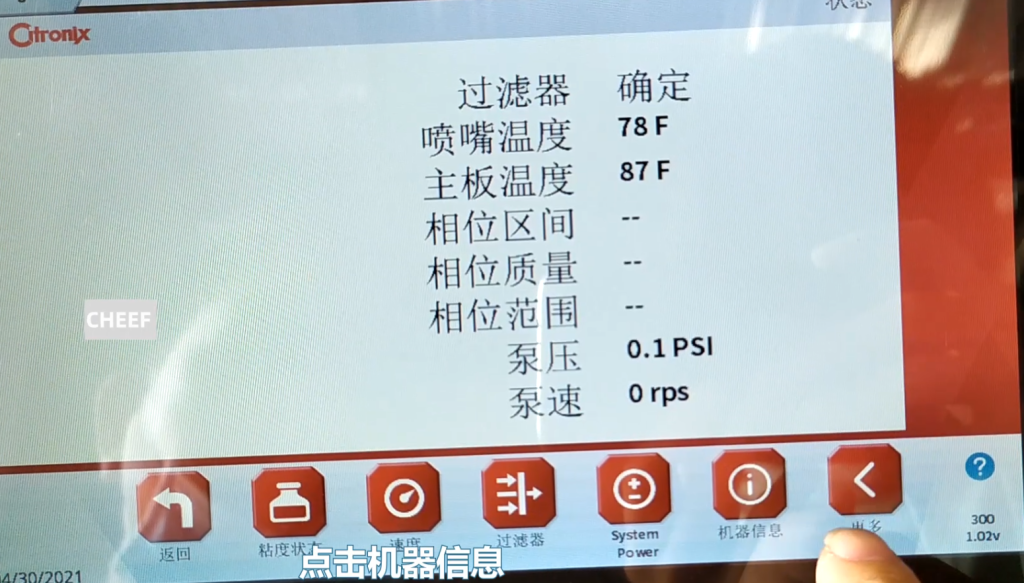
Then, we see, the running time is 16 hours, and the ink line time is 12 hours.
If it is the first time to provide ink, we have to brush the quality code. Back to the home page, if you want to use 1001 ink, we can directly brush its ink quality.
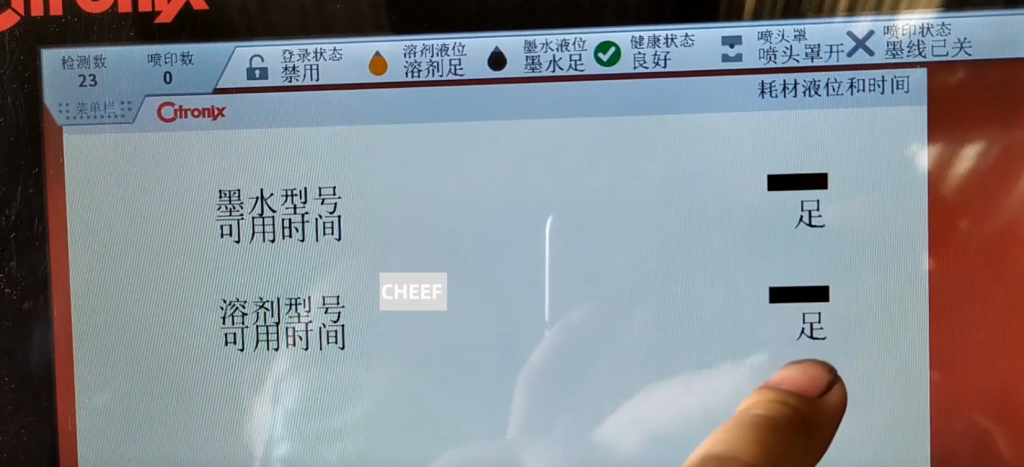
We click on the ink quality.

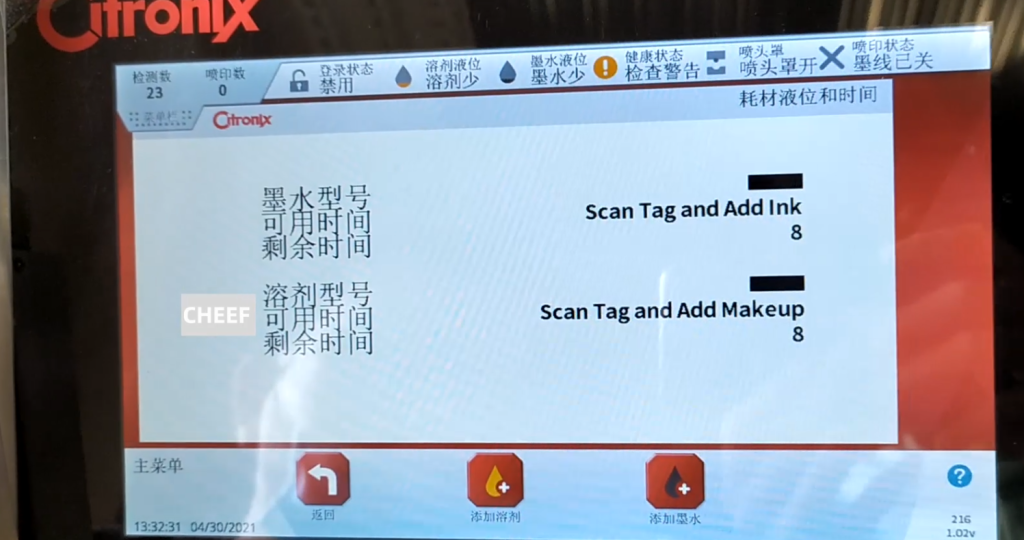
Ink quality here, it is the new machine. It has this remaining time only 8, then the ink model is not.

Now the label I have posted, we this solvent is 1006 and the ink is 1001 ink. Then we have to brush the ink and we have to click to add the ink.
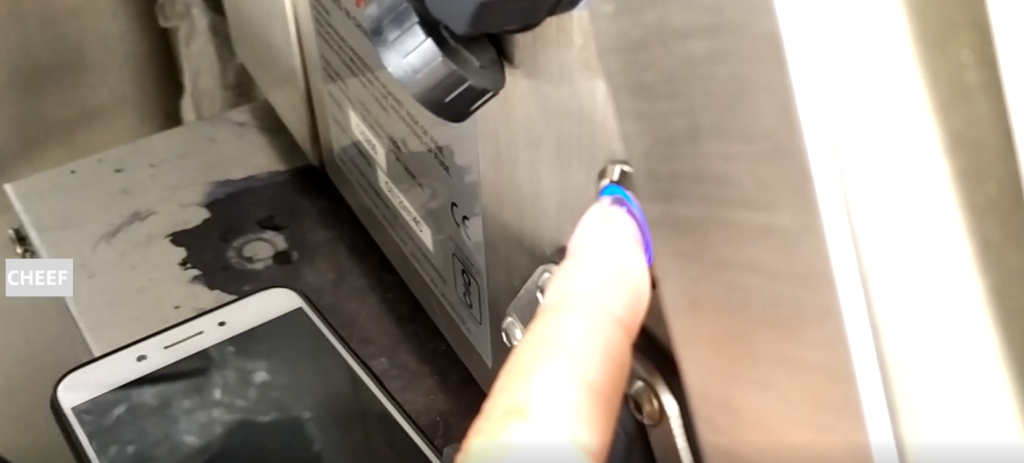
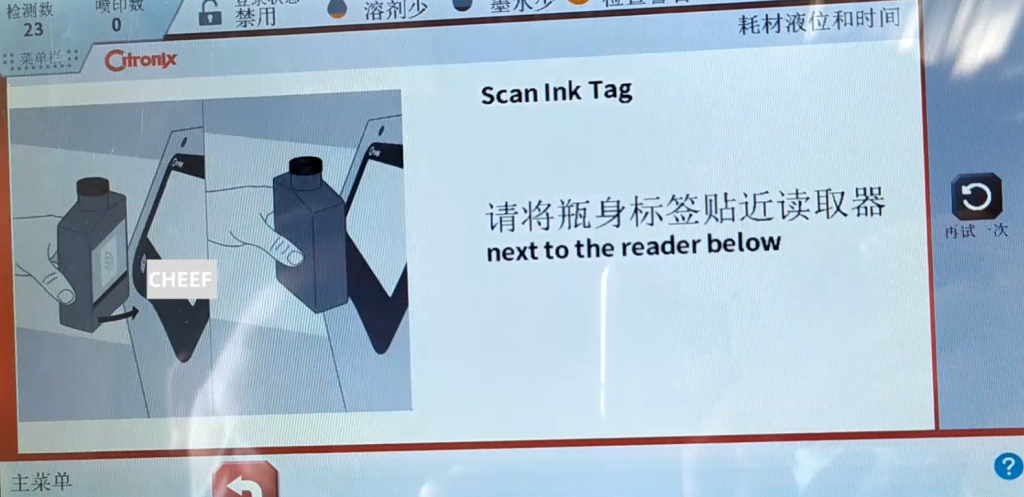
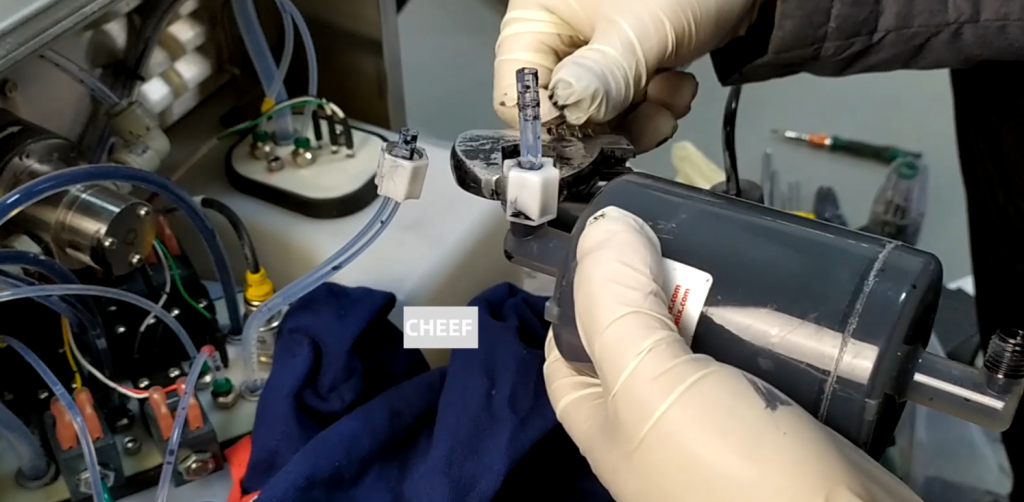
Then you have to point the chip at the sensor area.

This has the ink chip, and then we put it into the induction zone.

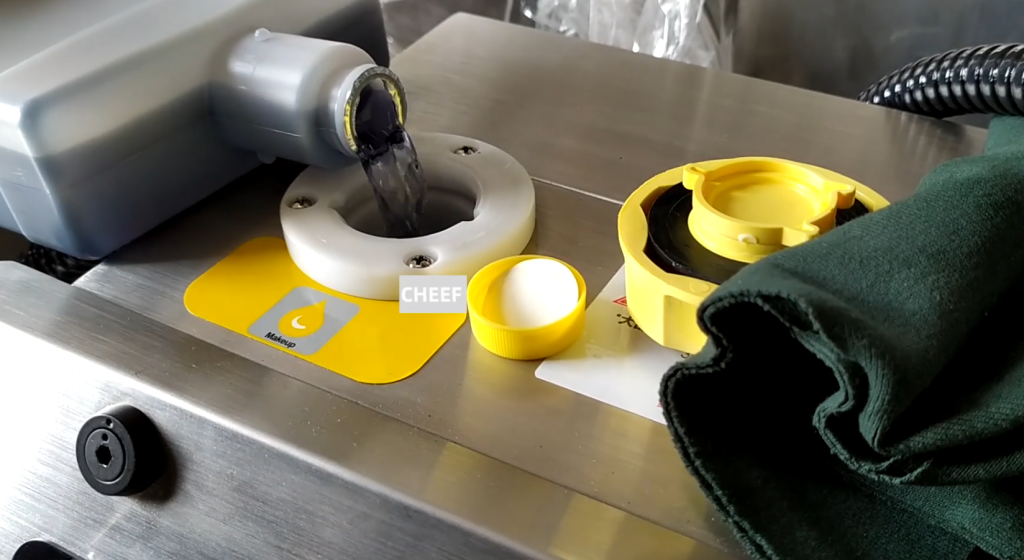
It shows pouring the ink into the ink injection port.

Then we pour it in.
Then we pour it in.
Then we brush the solvent and add the solvent. We chose to add the solvent.

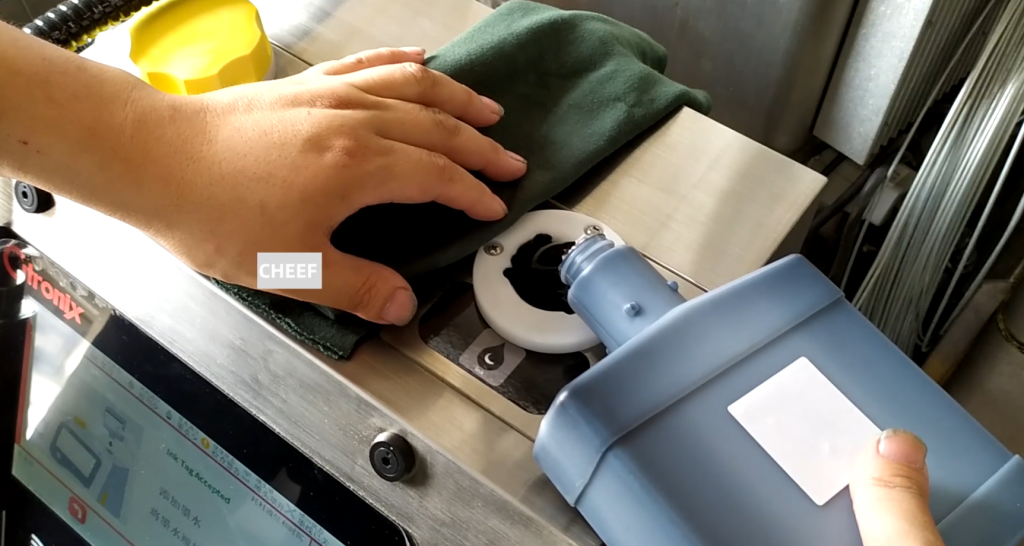
We swipe the solvent chip against this position.

Once identified, insert the solvent bottle into the solvent injection port.
Now the solvent is also showing the foot.
Because it is now no ink inside the pipeline, and then, we have to run the ink pump. Let it fill the main filter and buffer with the ink. Then we choose to repair it.
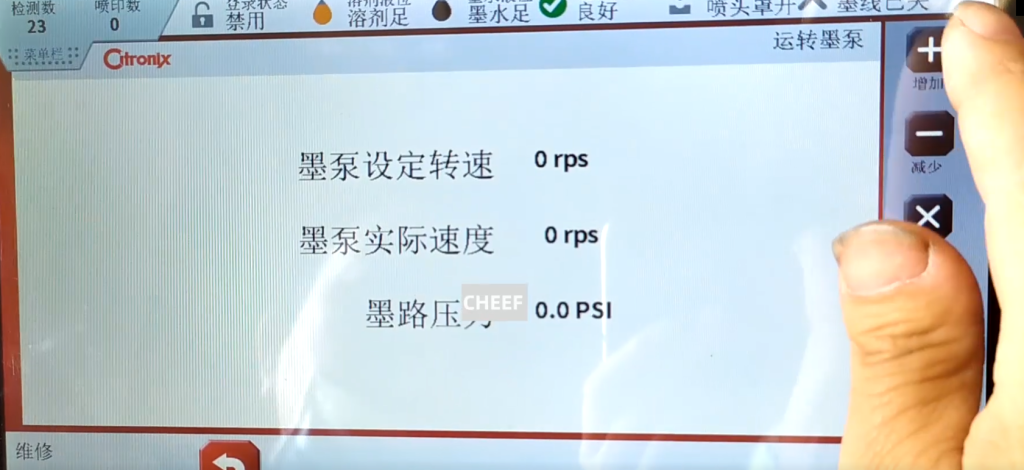
There is a running ink pump, select the running ink pump.
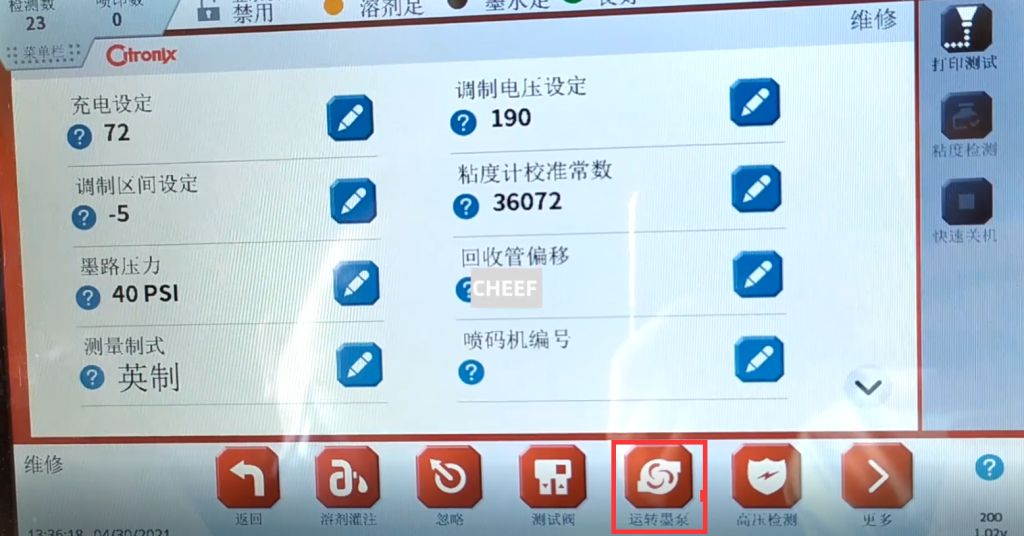
We give it a pressure, click to increase. Give it a speed, it will have pressure, we give it a 35 speed. We asked it to smoke in, which would take about ten minutes. Run for ten minutes, prompting the main filter and buffer to fill the ink. Now we click on Cancel and get it back.
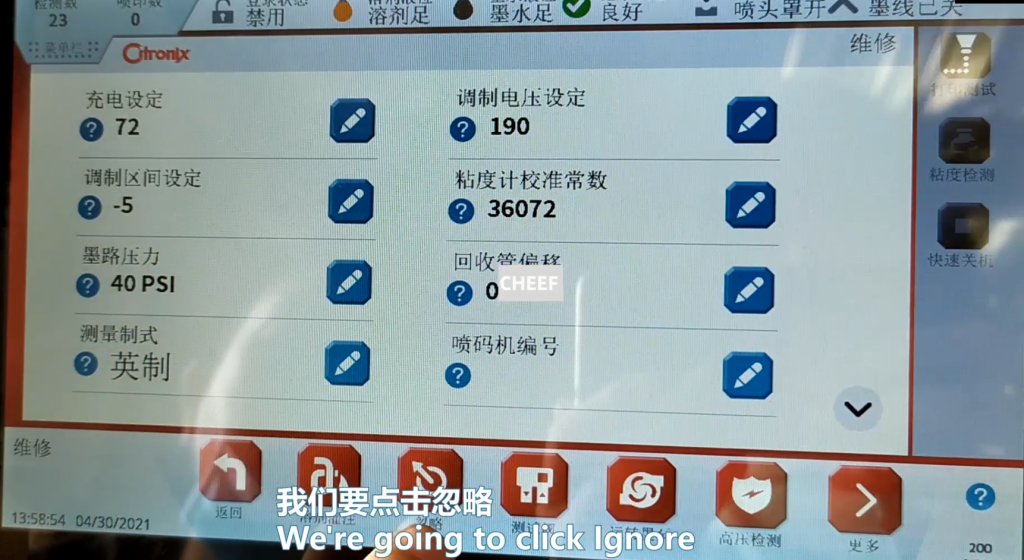
Then, for the first time to boot, we have to click to ignore.
Let’s ignore the first three.
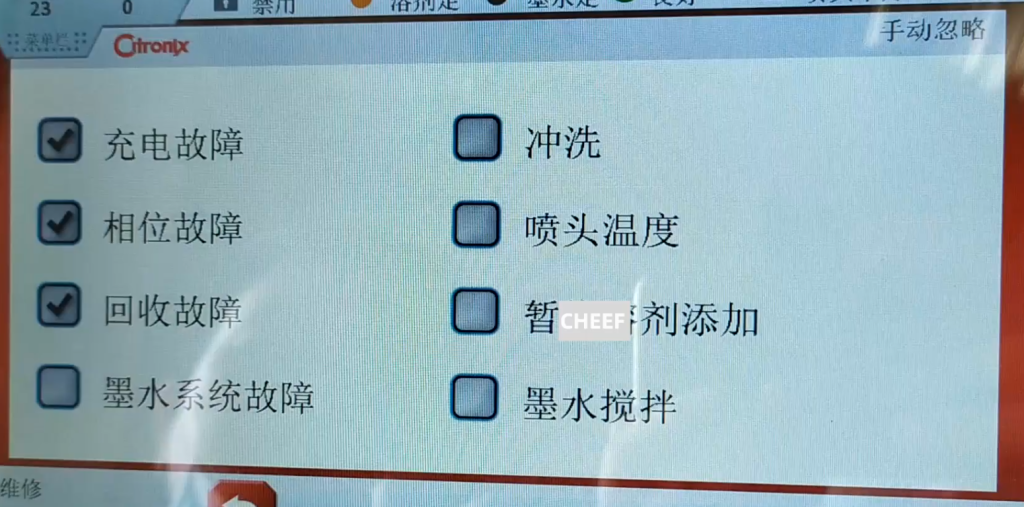
Then click Back to go back to the main page. Then we will click on again.

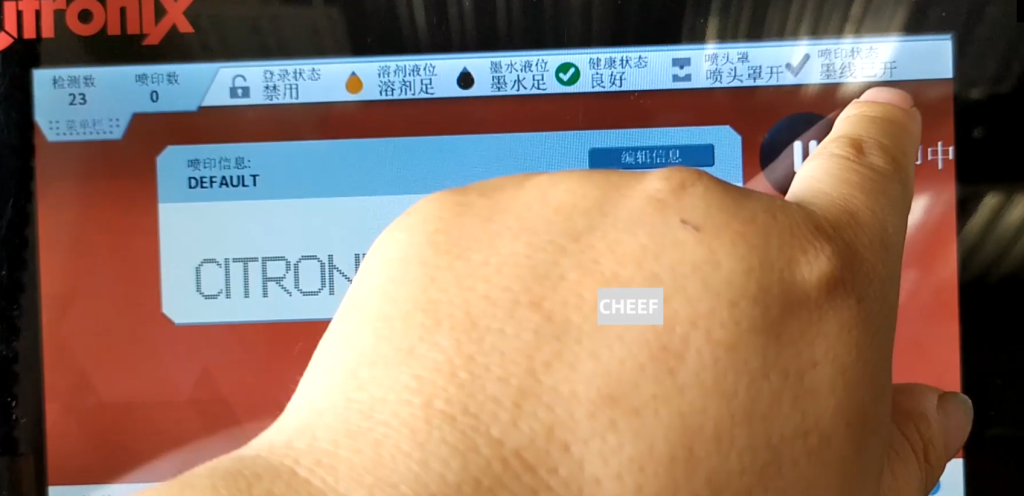
Now it shows that the ink line is open.
Let’s take a look at the following. We heard the sound of recycling and watched if the ink line shook.
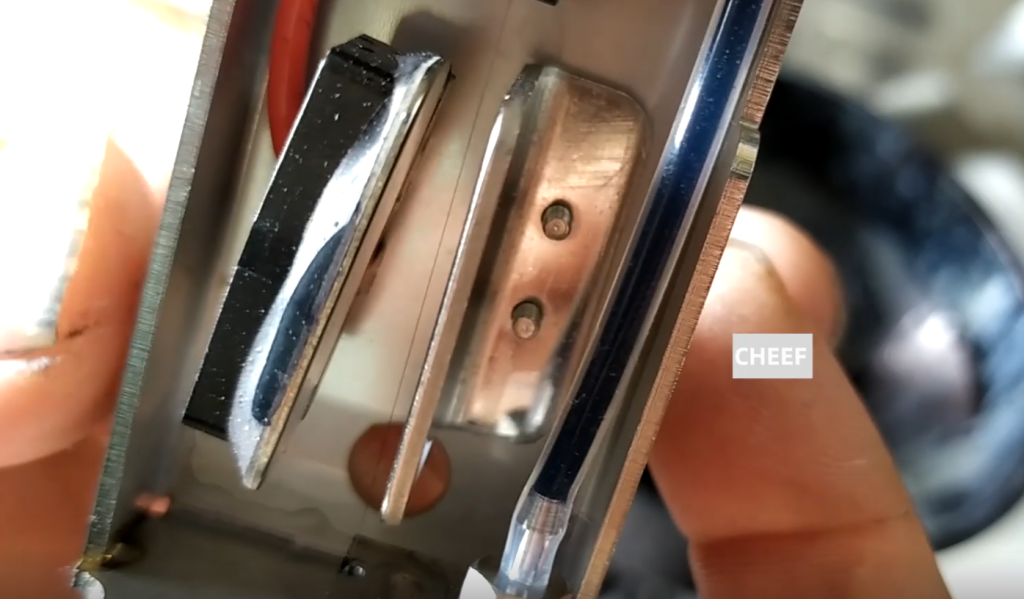
Let’s see if the lower ink line is in the correct position of the recycling slot. If not, we can pass this screw, here we have to loose this screw.
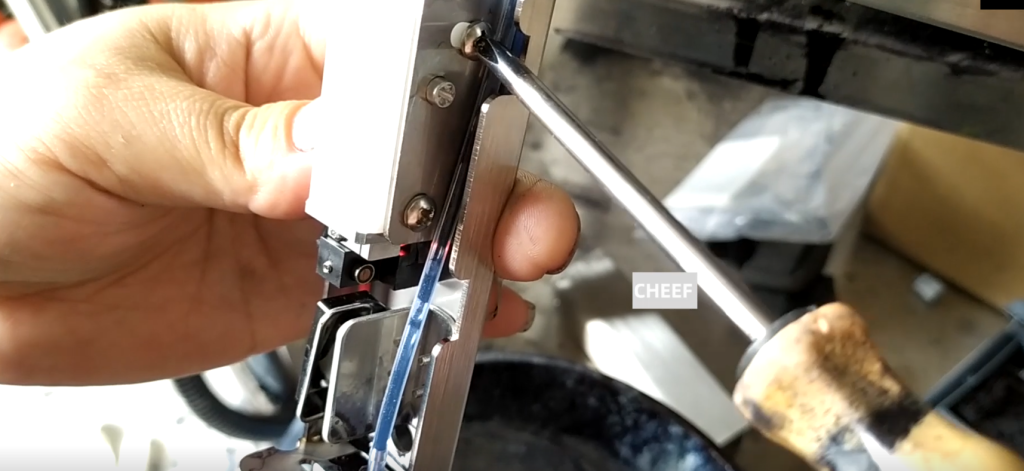
Then adjust this screw, and we will tune it in front and back.
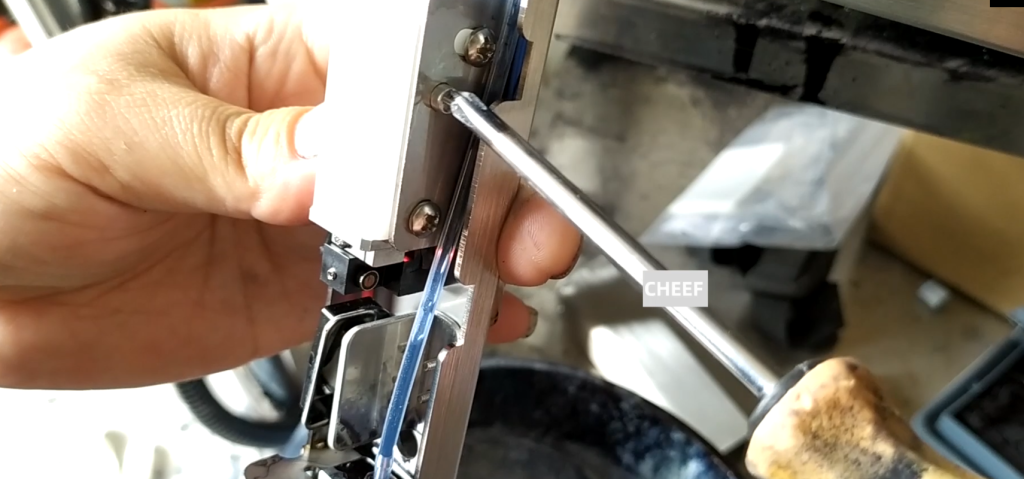
If you screw left and right, loosen this screw. Then set the ink line to its position.

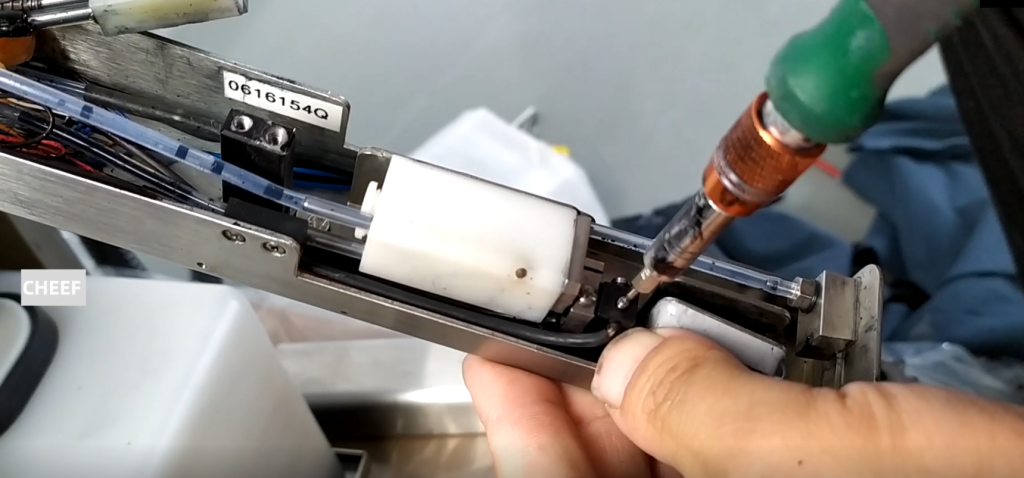
If the ink line is biased, if the nozzle is blocked and the ink line is biased, remove it and clean it with ultrasonic wave. Under normal circumstances, wash it with the cleaning liquid on the nozzle side of the nozzle. If we can’t wash it out, we need to remove the two screws, and then the spray gun can be taken out. Take it out after the removal of the two screws above the nozzle, the nozzle can be removed. After dismantling, put in the ultrasound for super.

Make sure the ink line position is correct or not, so we set it to the correct position of its recycling slot. Then we look at the status.

The phase mass of 100, indicating that the point splitting is very good. You can see that the pressure is 40, the pump speed is 37, and the parameters are OK.
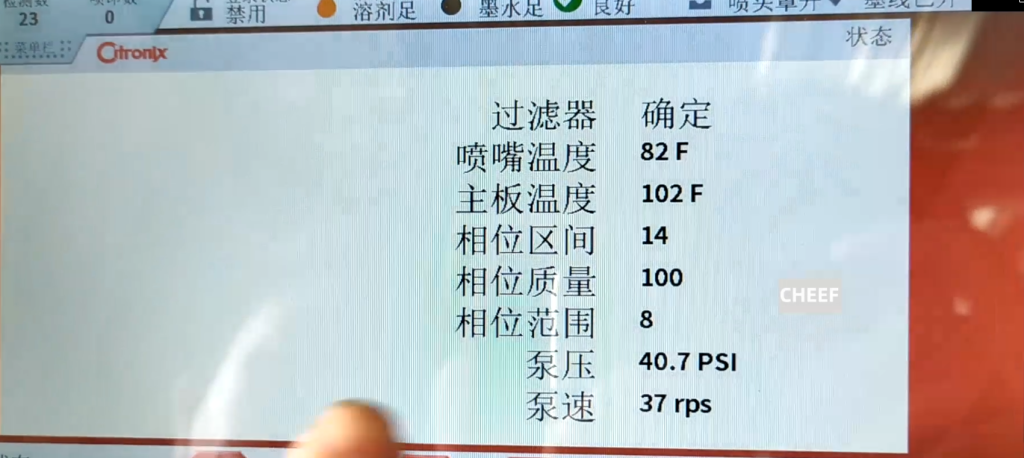
And then we just look at the viscosity. The viscosity is a little bit high, and now it is stable and stable, but the actual viscosity is a little bit high. It then automatically adds the solvent, and this will run for a while.

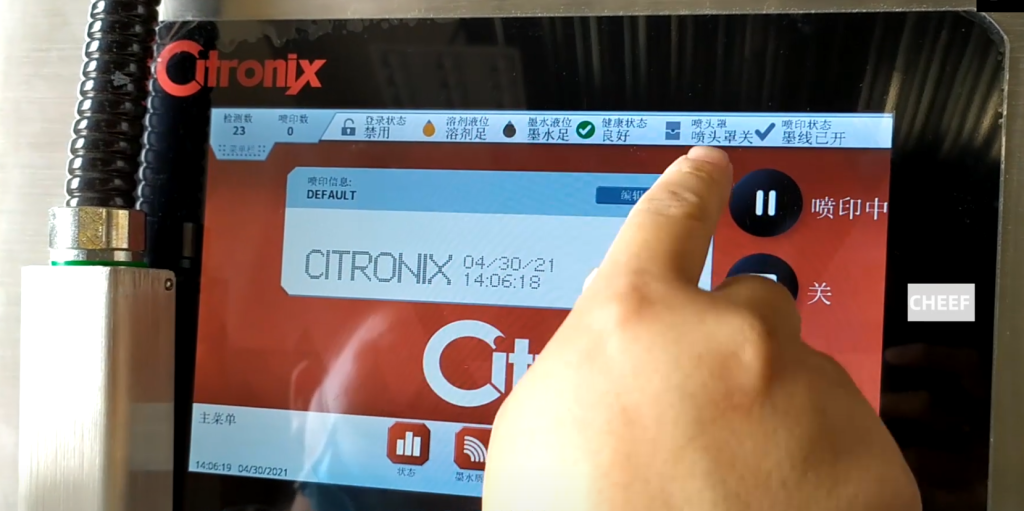
The first time the machine starts the ink supply is this operation, and then the nozzle cover a cover, it will show the nozzle cover. We can just print it out. The solvent level here is full, the ink level is also full, there is no warning, the spray head cover is also closed, and then the printing state can be suspended or can be sprayed.
If you close the ink line, press this pass.
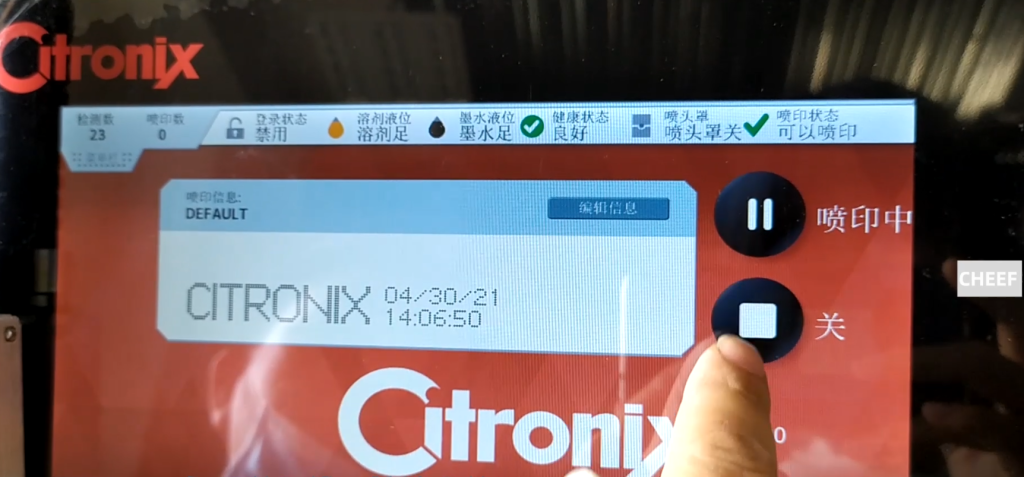
If we switch it to a print pause, we can point this pause print. Spray printing is on and we can start the printing printing.


