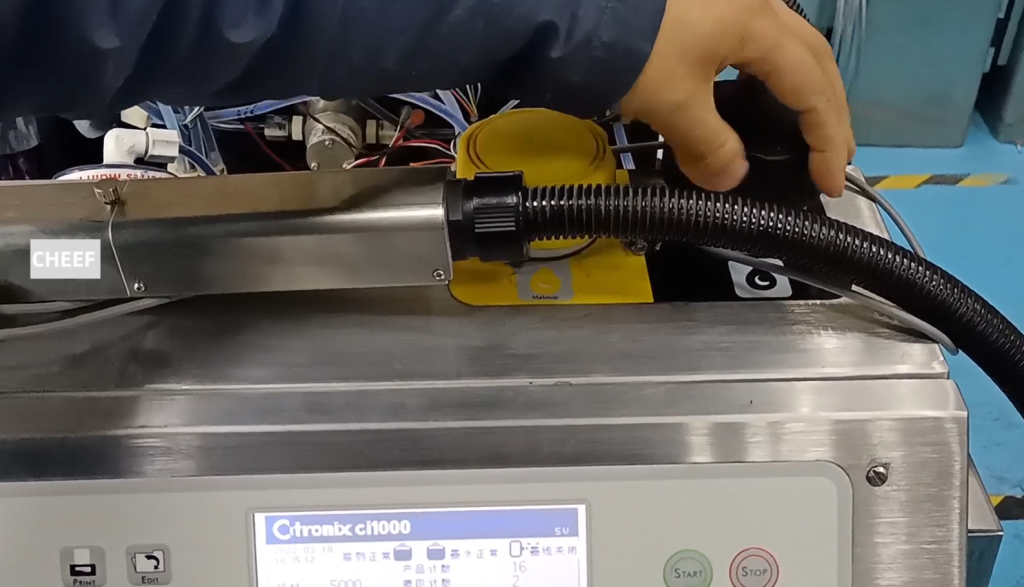
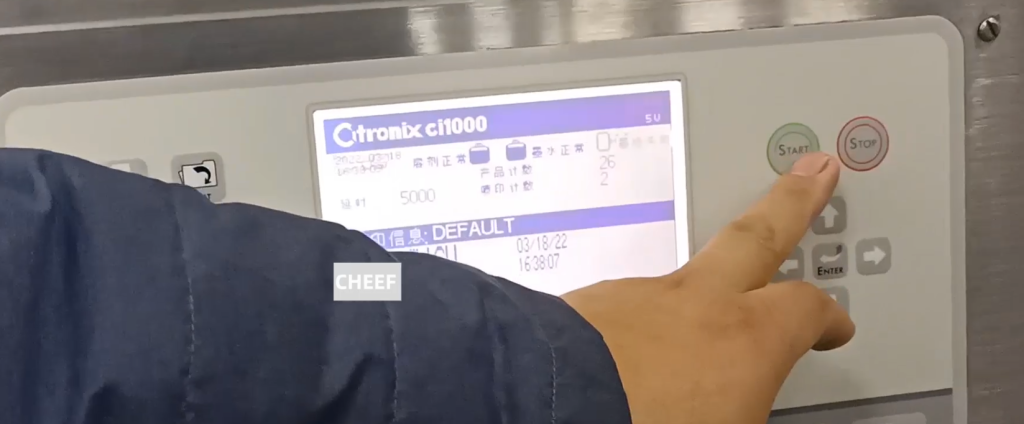
Let’s take a look at how the Citronix ci000 series machine just received. First, we turn the power button on.

The screen then reaches the main page. We then applied 750 ml of ink to the injection ink port.
The solvent is the same, into a bottle is also about 750 ml into the inside, into the solvent mouth. After adding it, we will cover the lid.
After covering it up, let’s press the maintenance button.
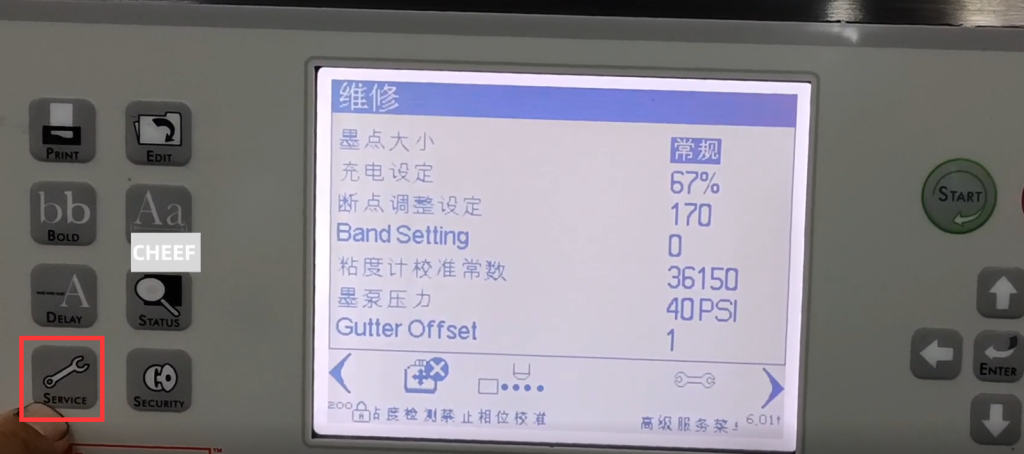
Find the running ink pump.
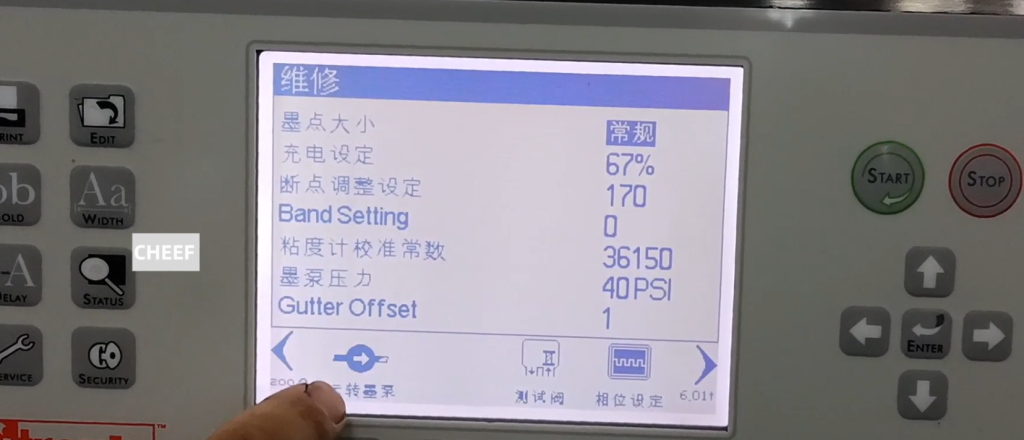
Give it a 30 speed and wait for it to run for about ten minutes. About ten minutes when we click to cancel.

Go back to the main page, and then we open the nozzle cover. Look at the nozzle if this is dirty. There is no dirt on the other side of the recycling tank or on the other side of the nozzle.
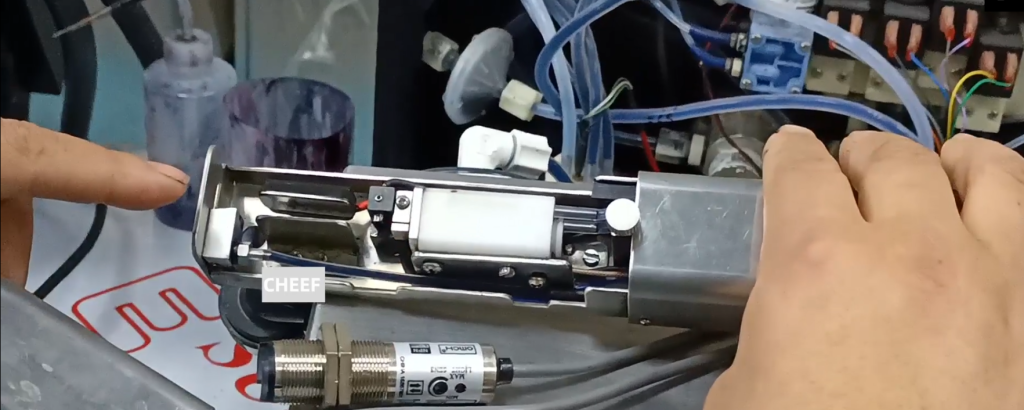
Let’s wash it out if it’s dirty.

Then blow dry.

We directly chose to open the ink line, and this process will last about a minute.
The ink line has been opened, let’s look at this parameter and click maintenance. Look at the state inside, the phase mass is not 100, if 100 words, the general ink point division is ok.
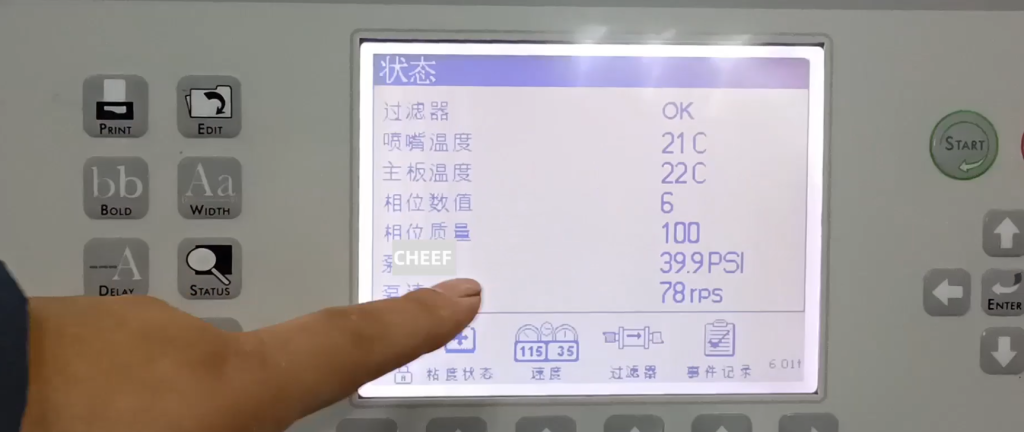
We look at the viscosity state, the viscosity state shows OK, also can. The calculated value is 3.6, then the actual value is 3.8, and if this actual value is almost consistent with the calculated value, this viscosity is normal.

Then the machine is turned on. Then we were covering it.

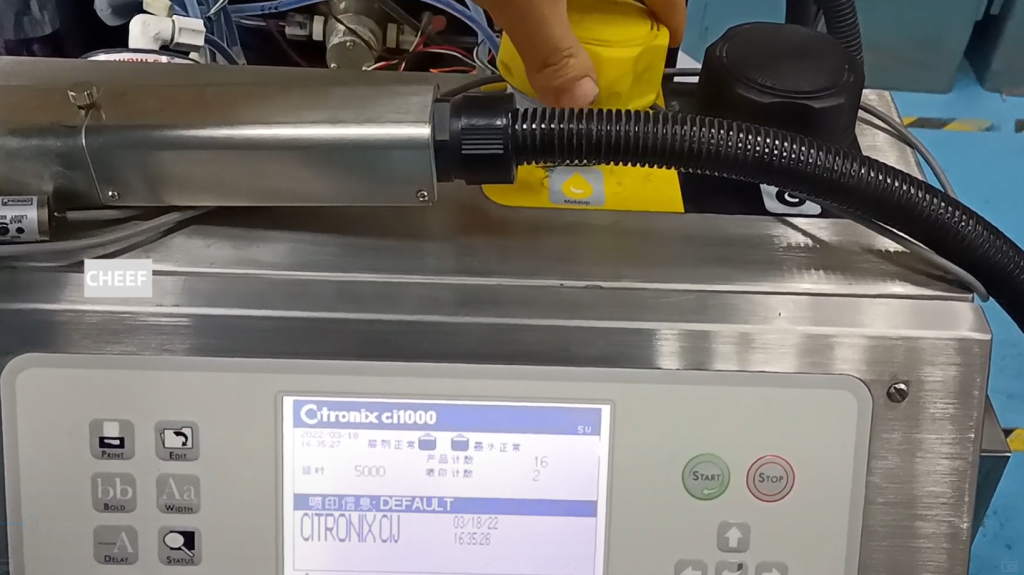
There will be a lightning sign here, indicating that the high pressure is turned on and can be printed.

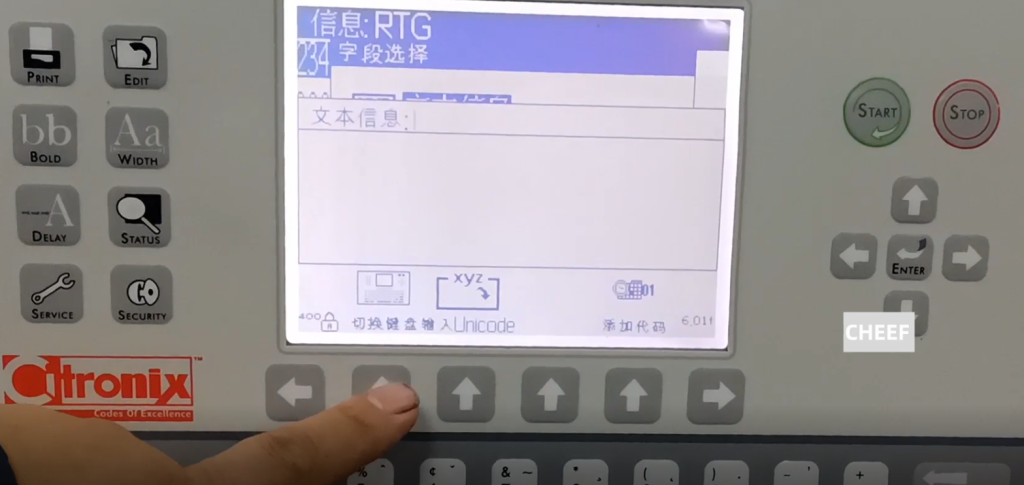
Now let’s edit a message to see how you edit it. With a message on the main page, let’s click on the message.

If you have a new one, click New. Then give it a name, press the confirmation. This text box is blank, and now we don’t edit any information. This text box size we can click X to determine its size, we default 25.

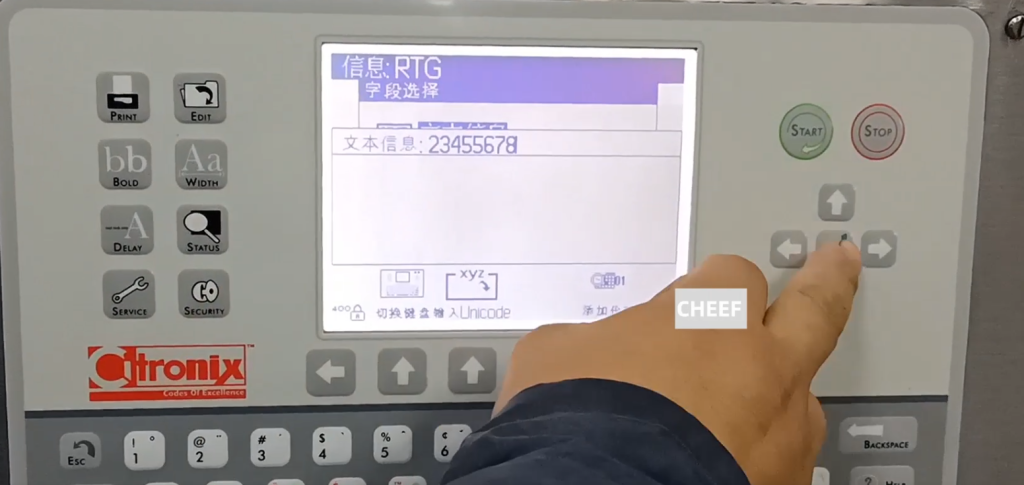
Then we add the field, the first one is the text message, and we press the confirmation key.

Then we press 2345, this information, very short, the customer can edit it as needed. This is the text message and then press confirm.
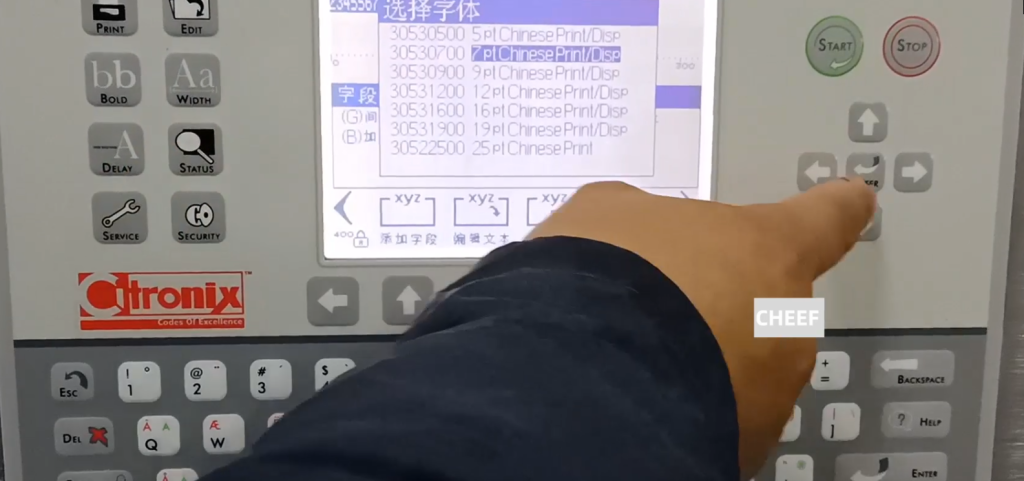
Then the message is made up. This font size can be controlled by pressing F, in the font type. Now7, press F, I can choose 9,12,16. We choose the general size, 7 dot array, and then press the confirmation key.
Then we can choose to add another field.
And then there’s an autocode right here.
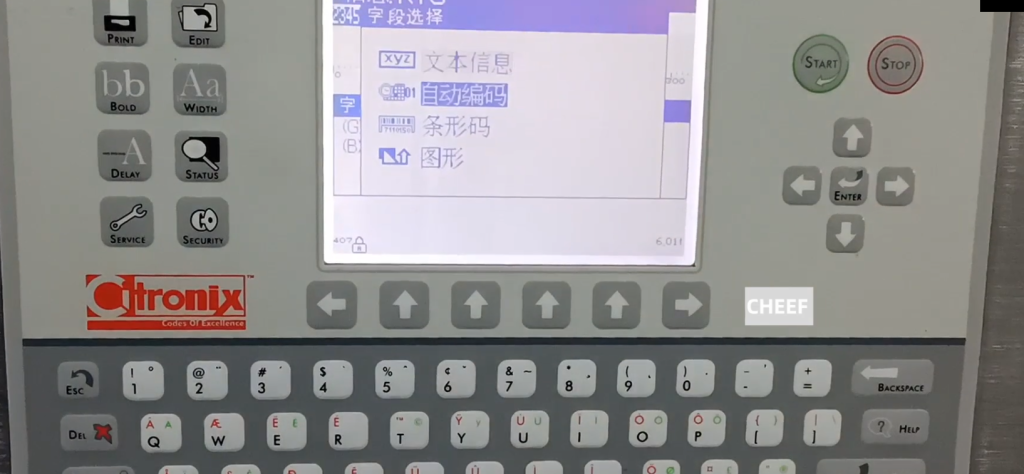
Press the confirmation button, it has a date, time, shift, user, and so on. We choose the date first and press confirmation.

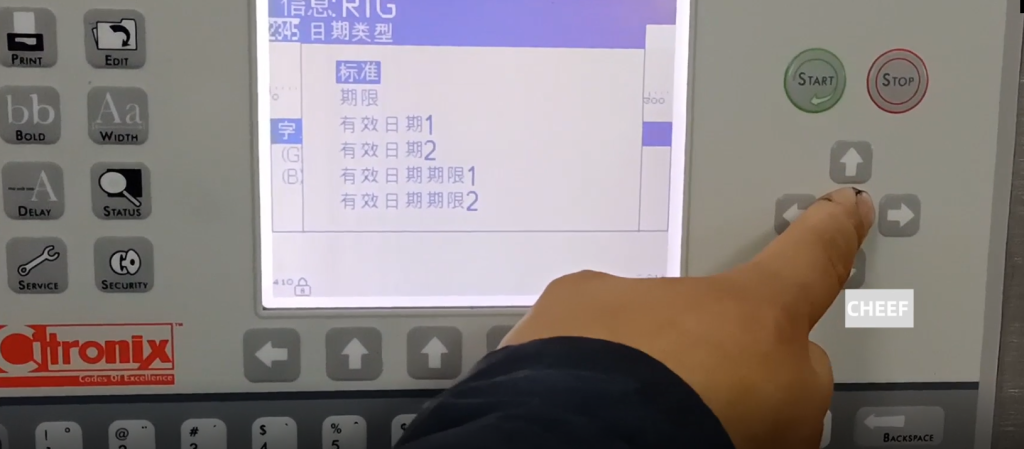
Date it has many formats, we just pick one. Then select a standard.
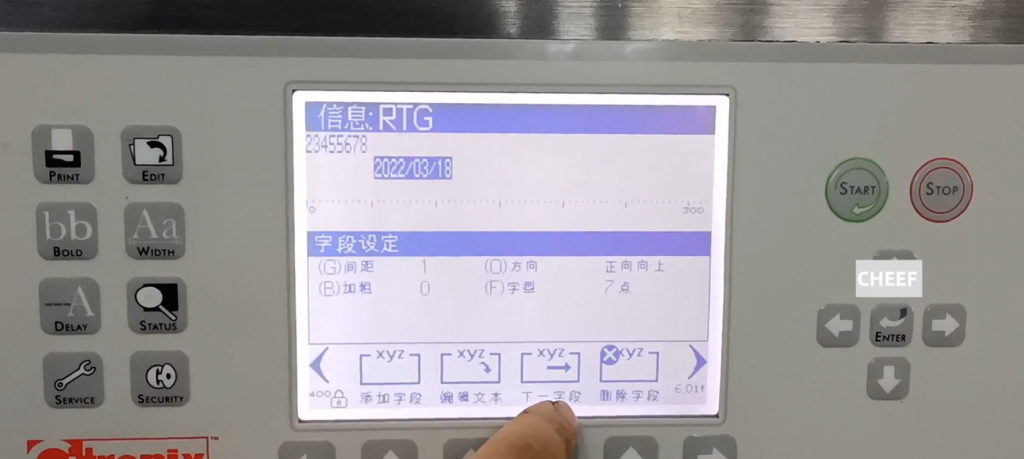
The separator between year, month and day is the definition character, which we use / and confirm.

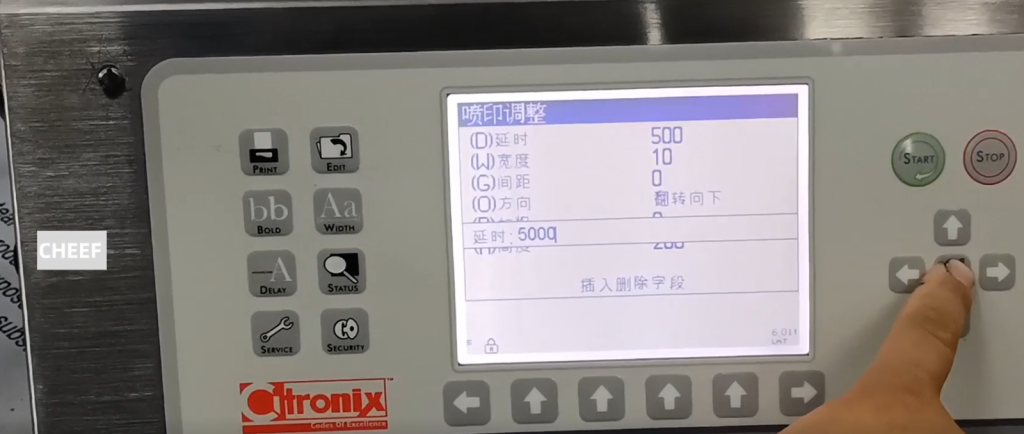
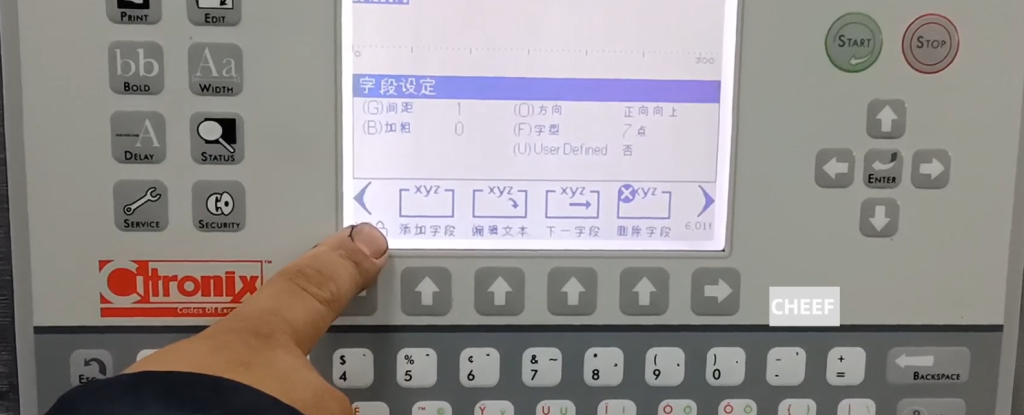
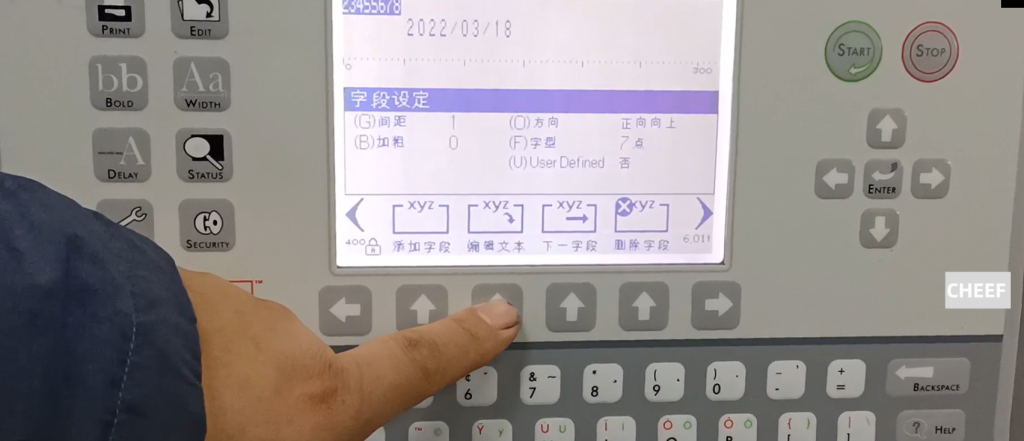
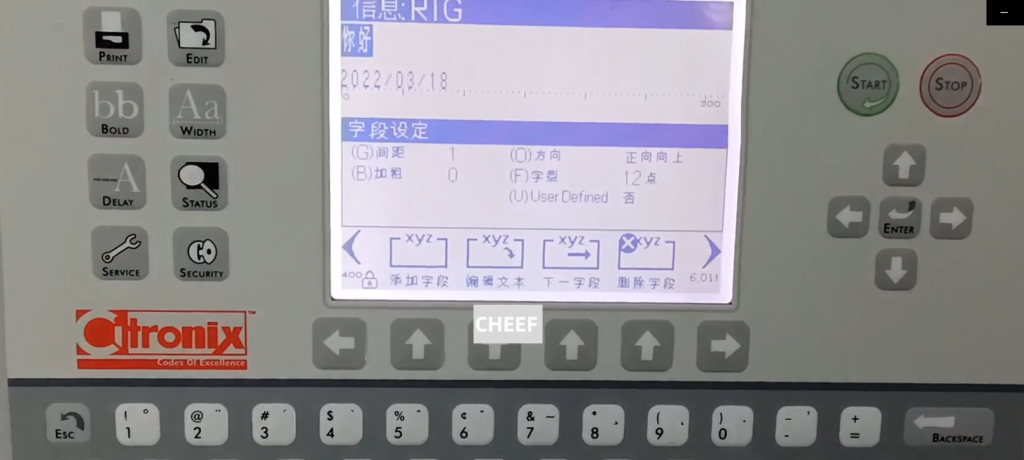
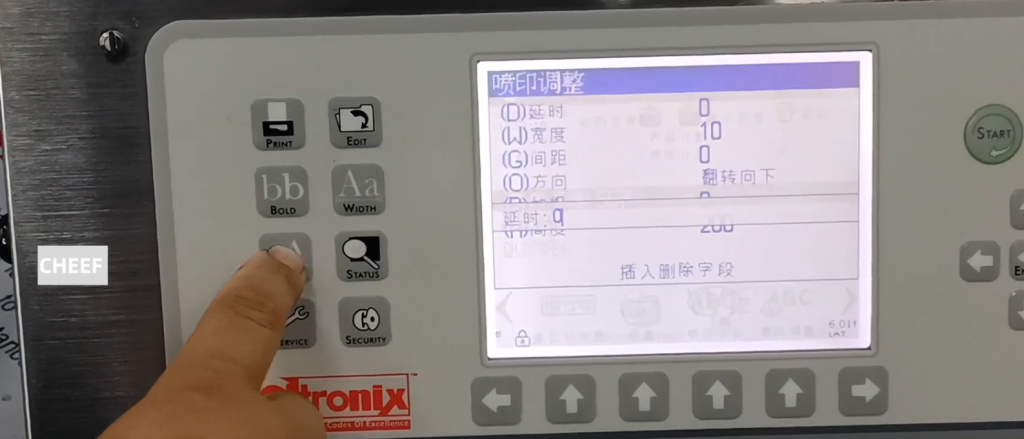
This date comes out, and you can adjust the field setting, spacing, bold and direction. The default spacing is now 1, press G, if the spacing is 2, it is a little longer, and so on. Bold is also ok, press B, 1 thick, 2 thick, 3 thick, at most 9 thick, and then 0. The default direction is positive up, we can change its direction, inverted down, flip up, flip down, these four directions.
Here, I can edit the current text again. If we want to edit it, we need to select this field. Click on the next field to edit it.

If we edit, we will edit the edited text. If I want to change the word a little bigger, we’ll press F. Click on the next field and we can drag it, these are two fields.
Then talk how to input the keyboard language. Let’s click on the field first, and we’s modify this.

Edit the text and then we cut the content. Then we have to switch the language, the keyboard language switch.
Switch it, and this side will change once.

We enter characters, use characters in other languages. Switch over again, in Arabic. We continue to switch, a lot of languages.
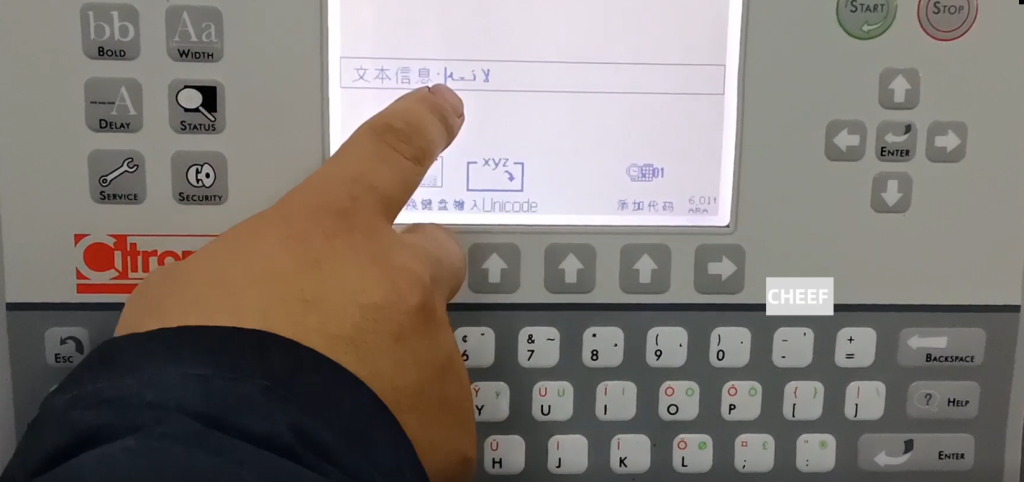
Edit Chinese, so that we can enter Chinese. In Chinese, press Alt, then add the space bar, and then confirm.”Hello,” and we typed it in. This is the keyboard language.
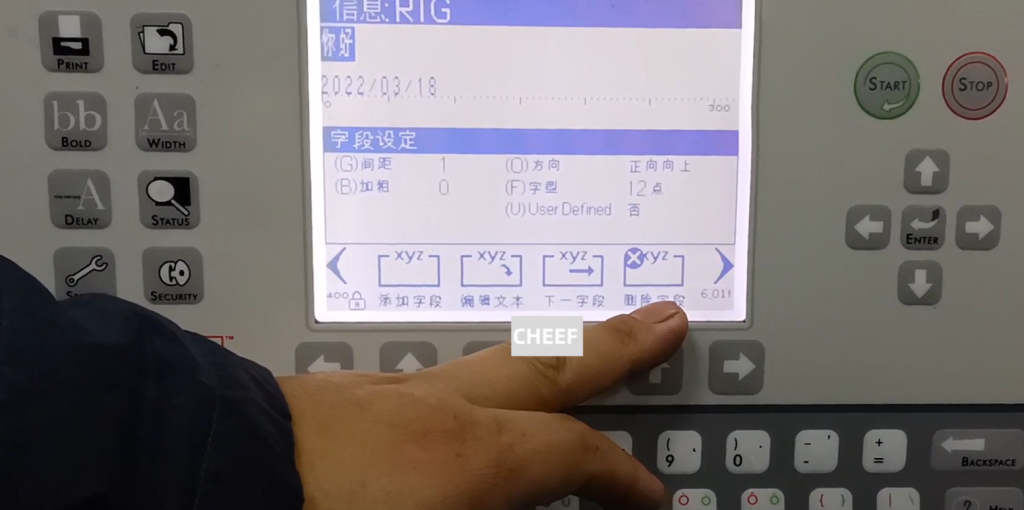
Here is a deletion field. The delete field is, I select a field and click delete, and the field will be deleted.
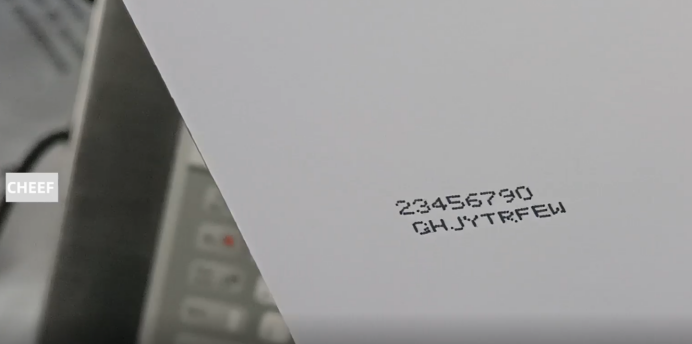
Let’s edit another field, and let’s print and look at the effect. This message is well built. We chose to start the printing. And then print the message.

Take a look at the effect. It’s printed in this position, we can make it bigger.

Take a look at the effect. It’s printed in this position, we can make it bigger.
The delay changes the width to 80.