
Firstly, this is the installation of the four corners at the bottom. Just like us, I have already installed it.
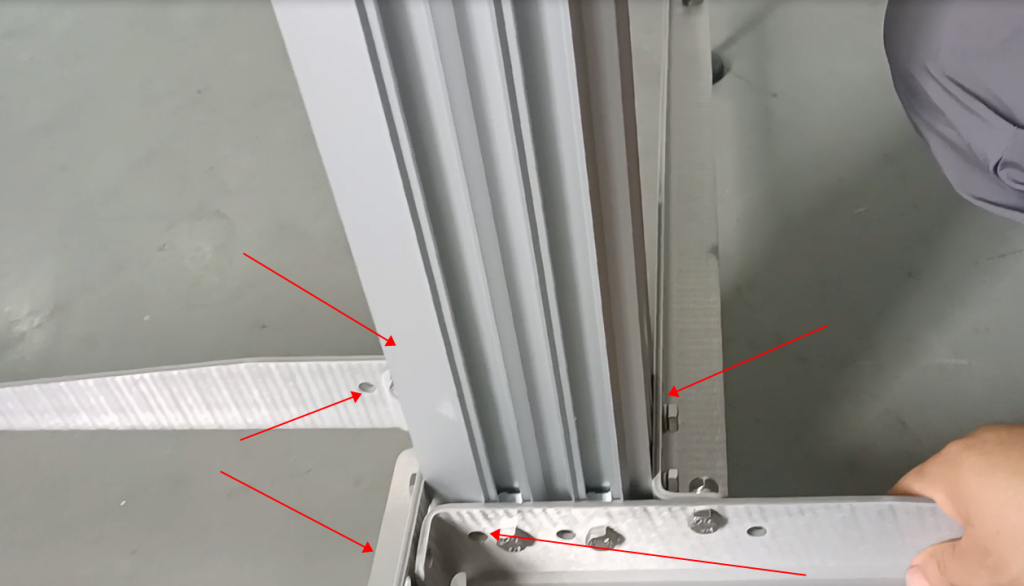
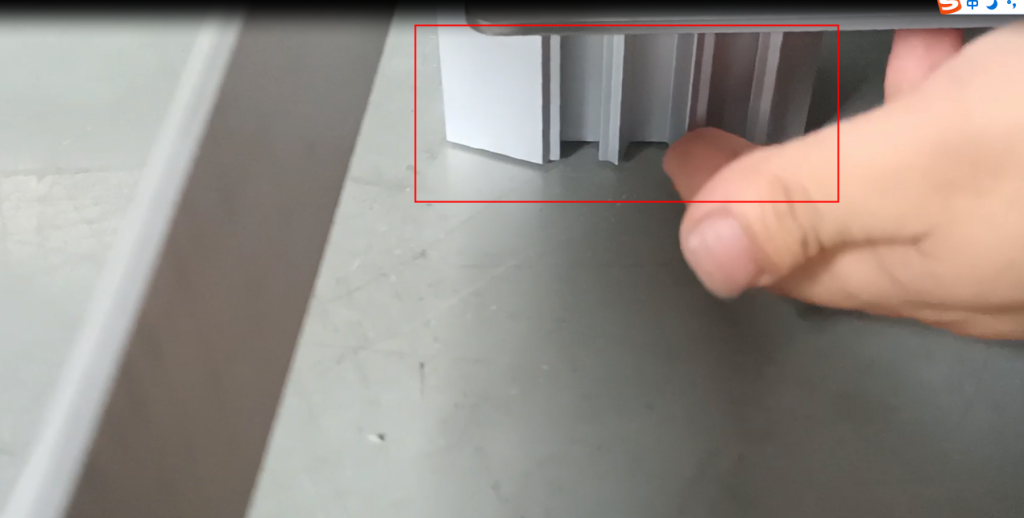
It’s paired together, install these two pieces first.
Then install these two pieces again
Then place the pillar in the middle and stick it down to the ground.
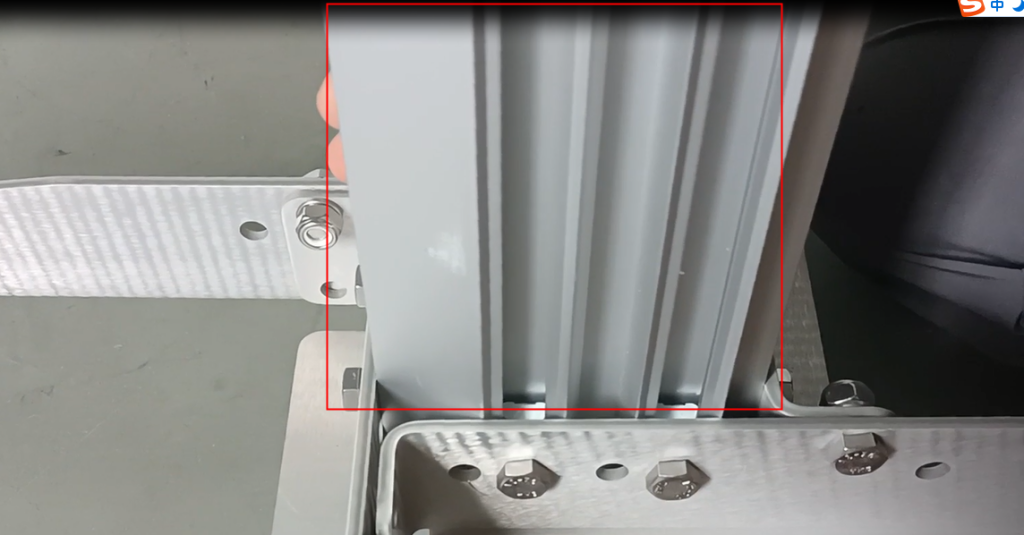
Stick to the ground
Then we will adjust this height and adjust the heights of our four corners. Make sure it is very stable without shaking
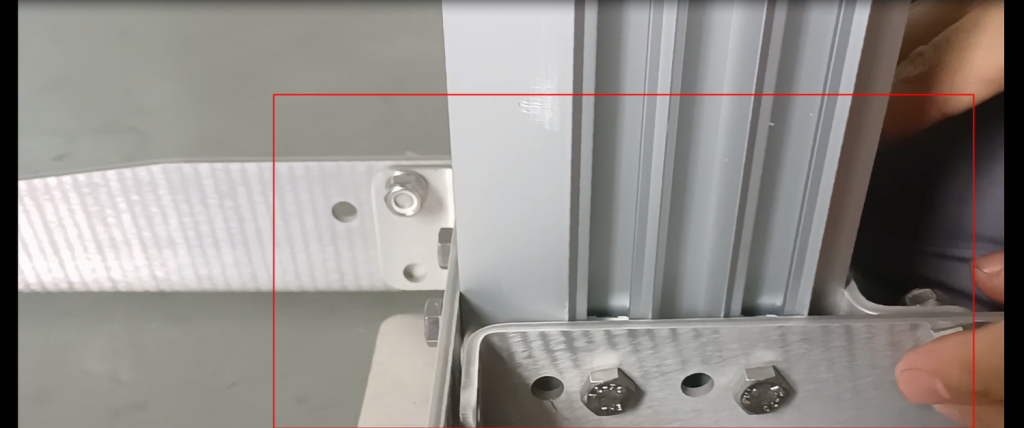
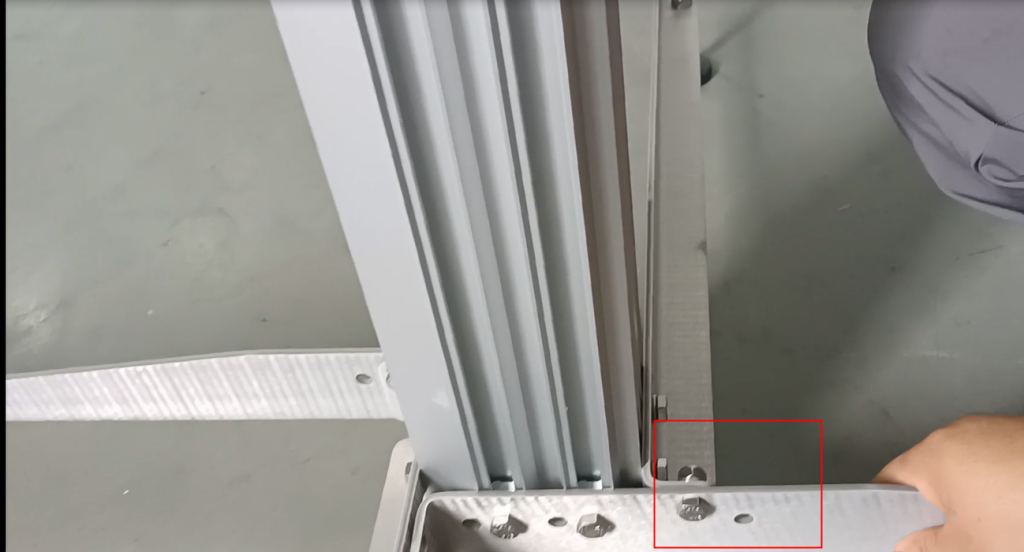
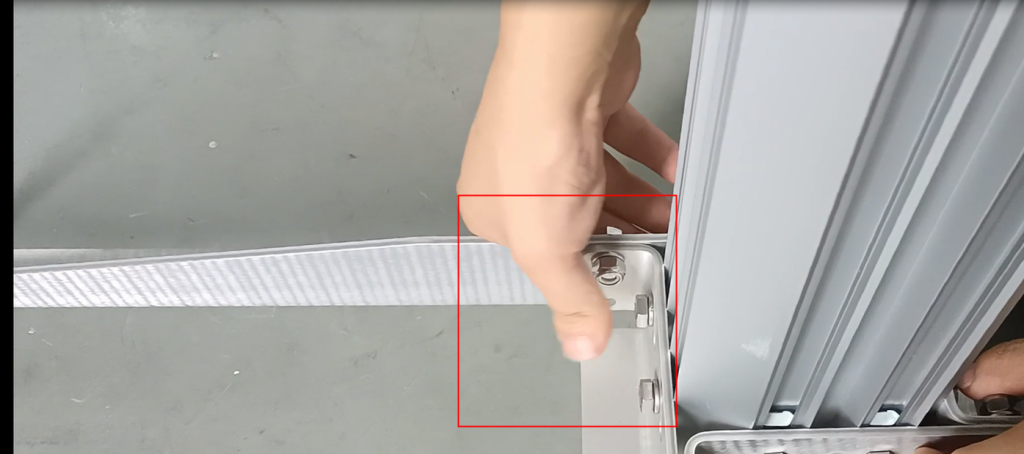
We don’t have screws here

There is none here.
These two don’t originally require screws, we are two groups, two by two.
Then we will adjust it on this pillar again
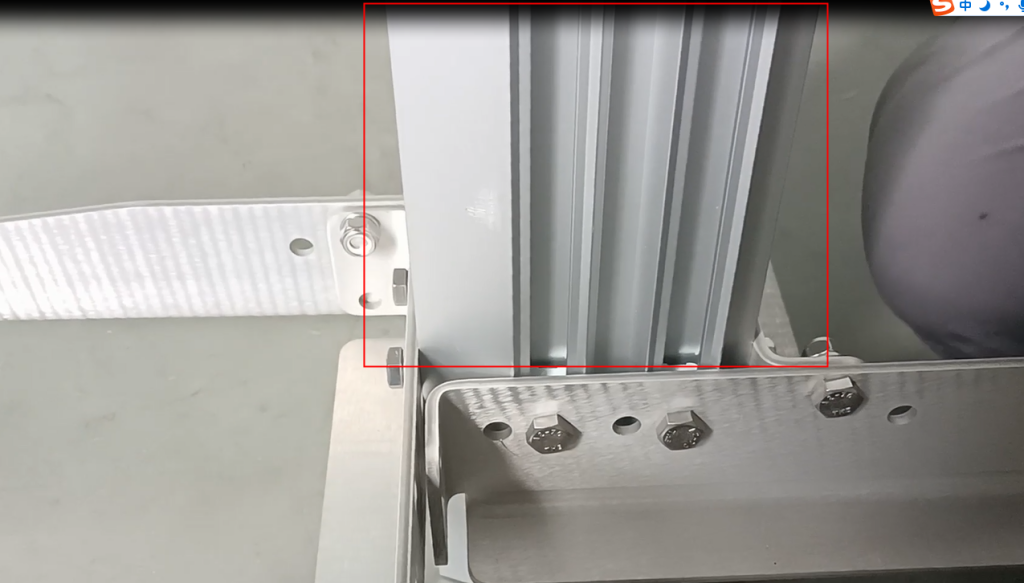
After completing it, we can install something. Install our controller bracket and let’s install it

From here all the way to our ground, the distance must be greater than 800mm, and it must be above 800 in millimeters

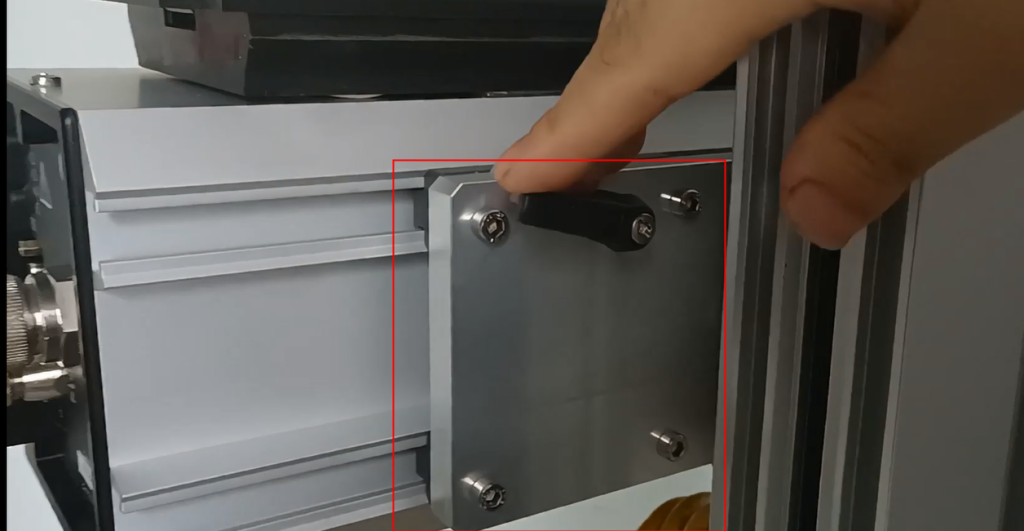
After the bracket of this controller is installed, our controller can be installed on top of our control bracket. There are four screws on this bracket, and they must be fixed firmly

After fixing it, we can then install a bracket for the nozzle
We can also tighten it here. We can tighten it here. After tightening it
Our nozzle can be adjusted, so we can slide in and slide over here
After sliding it up, tighten it too, and then we fix it in place
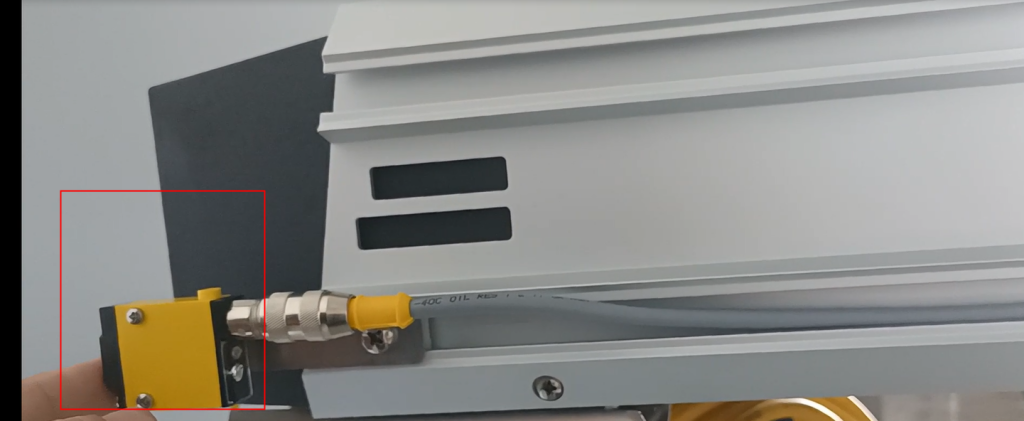
Then we will install our anti-collision device

And then continue it from above.

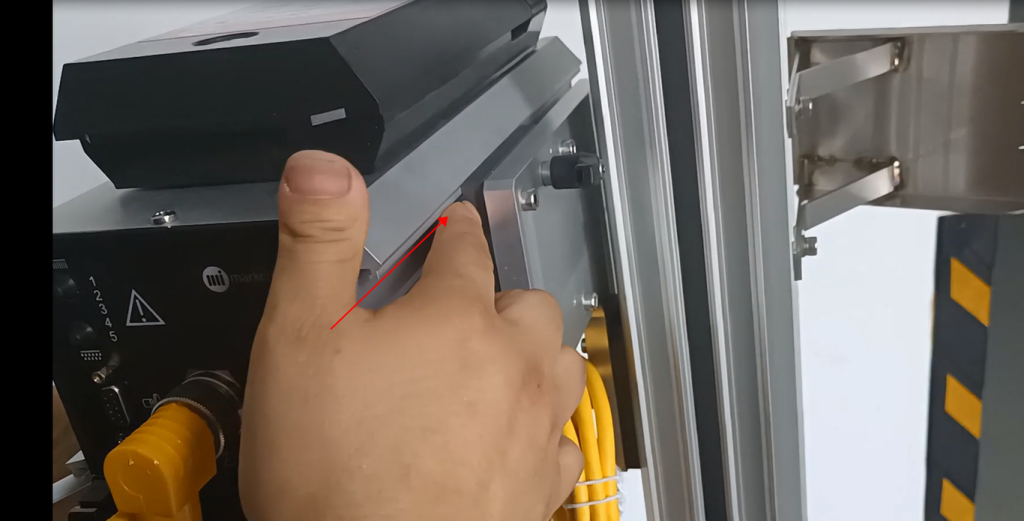
And because the position of this anti-collision device is dead, we need to adjust our nozzle
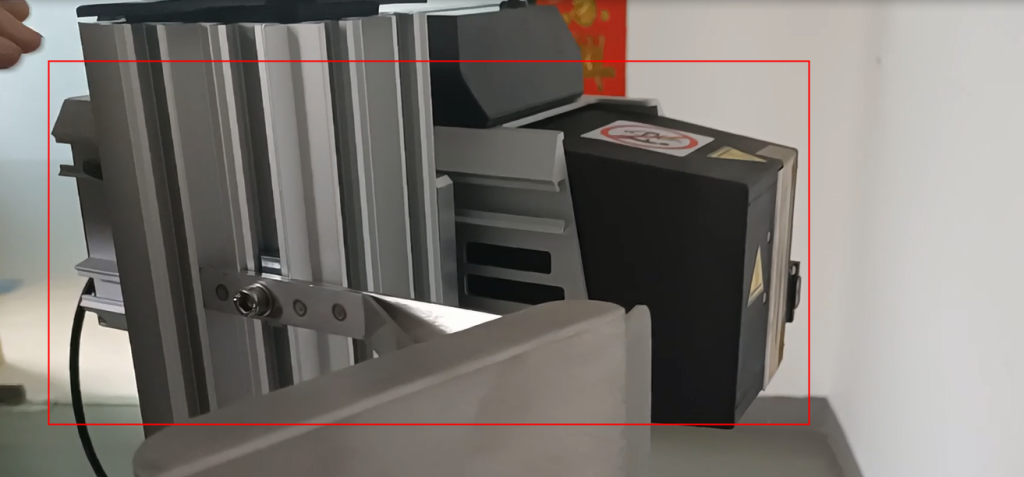
To adjust the nozzle, we can loosen the screw. If I loosen the screw, I can move forward or move backward
The length of the anti-collision device must be greater than it, otherwise it will not work.

This plays a role in preventing collisions. So our lens must be shorter than the anti-collision device.
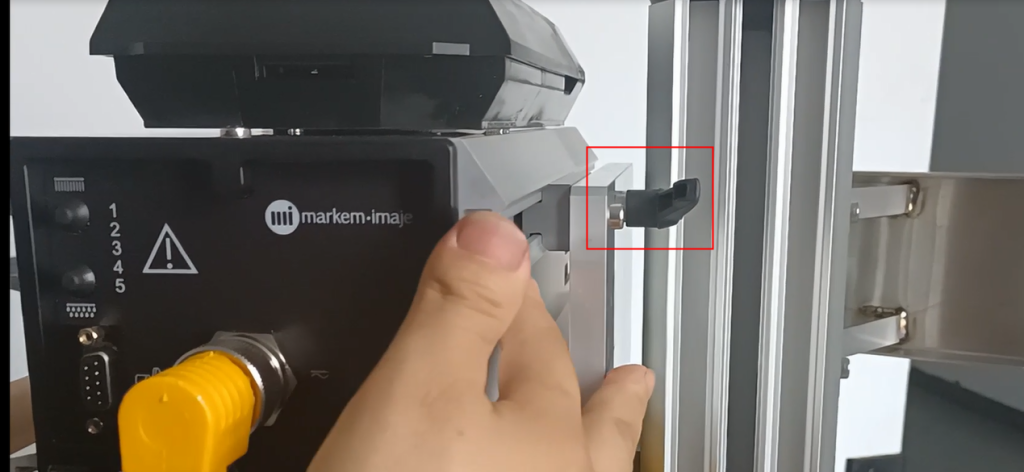
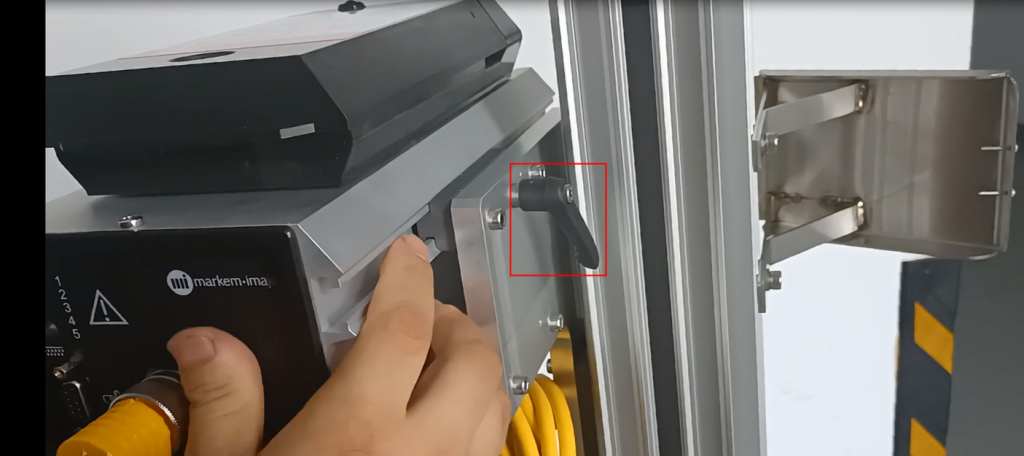
Then after we adjust it, we lock it tightly and it won’t shake anymore. Be sure to lock it tightly
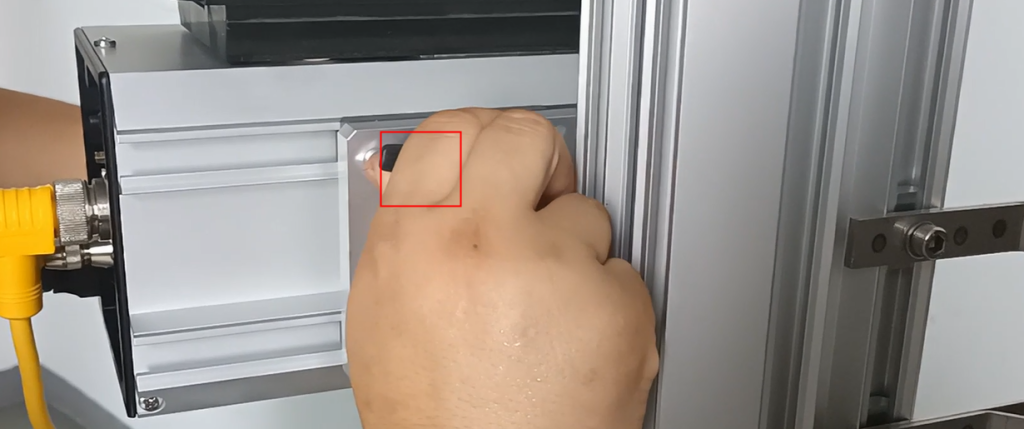
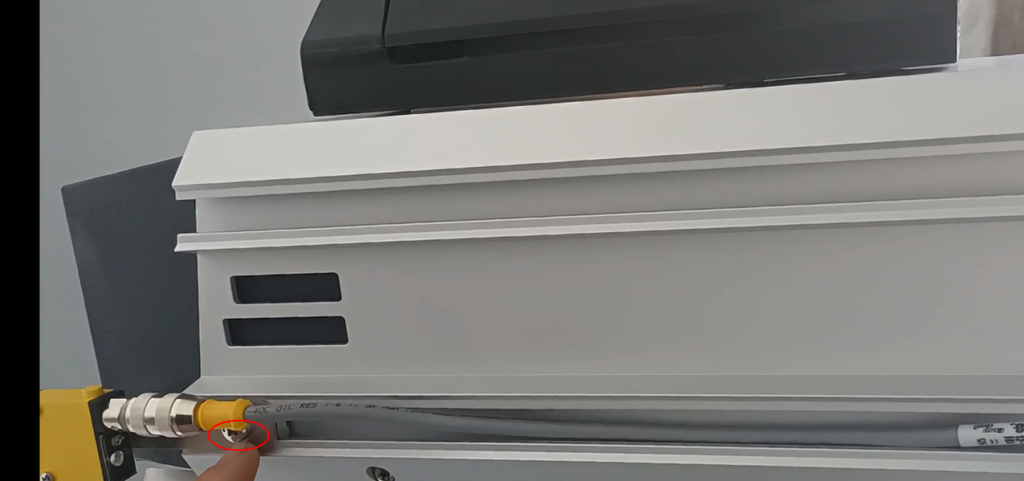
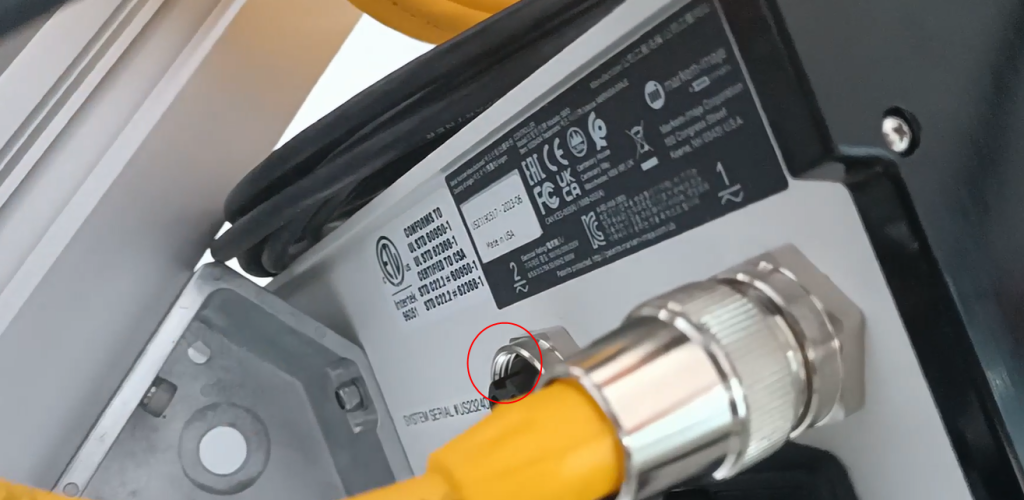
Then we can connect our optoelectronics. For optoelectronics, first of all, we have a screw here that we can loosen
After loosening, we can slide in from this slot and lock the photoelectric device
This photoelectric device must also extend a shorter distance than this nozzle, and it must be lifted behind it, at the back end of the nozzle
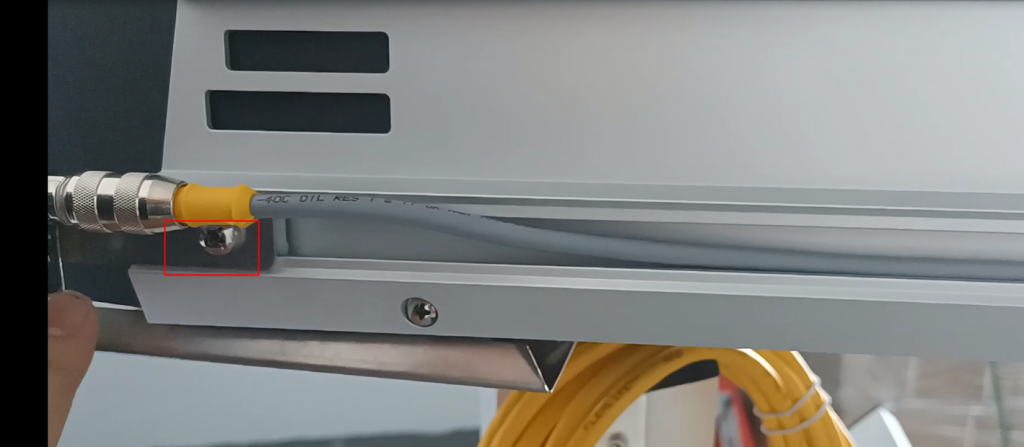
Then we will lock the screws again,
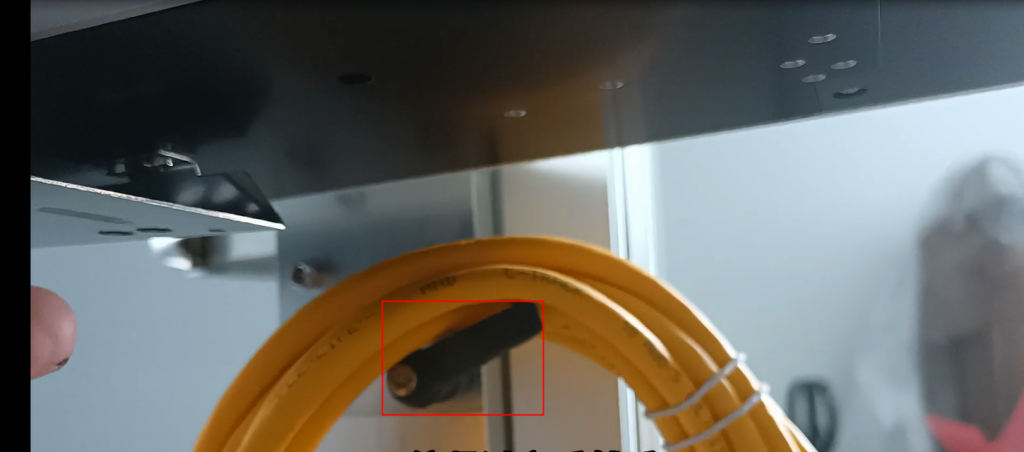
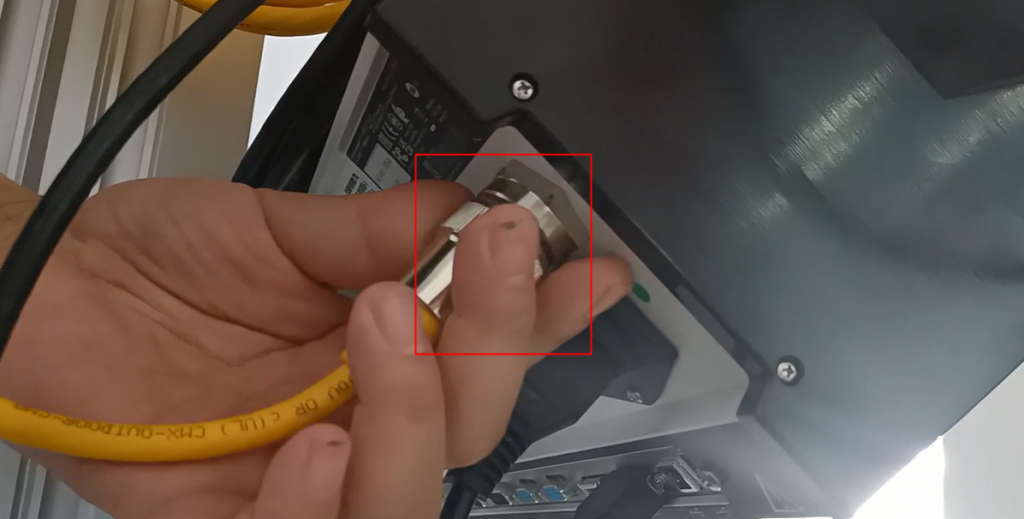
After locking it, we insert this end in this position,
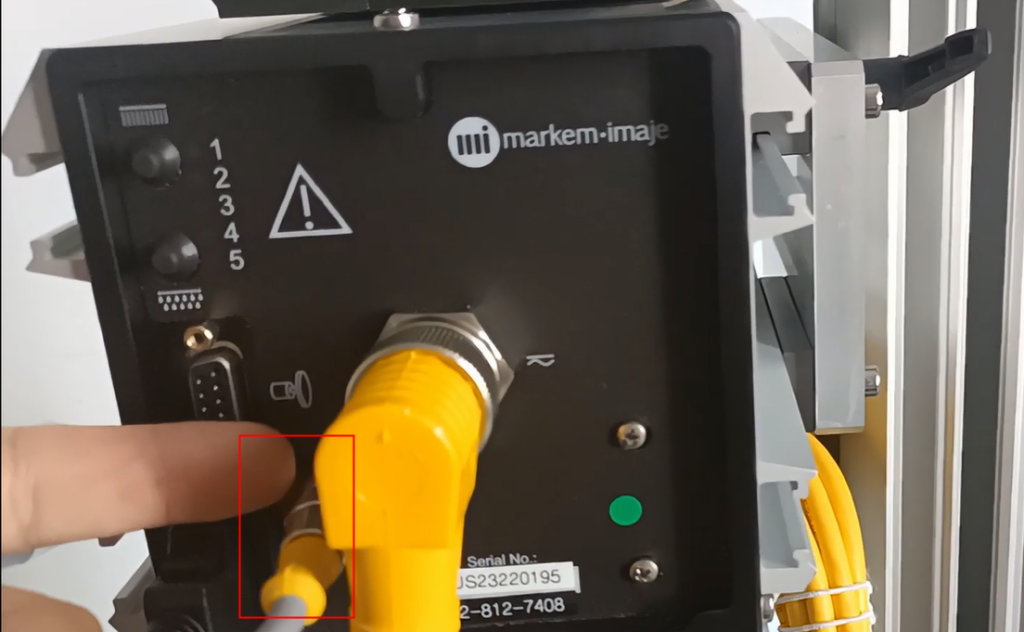
Then, if the cable is installed like this, our end is here, and the right angled end is inserted in this position
And then insert it straight into our position
If there is another nozzle, we need to insert it in this position, 2 nozzles
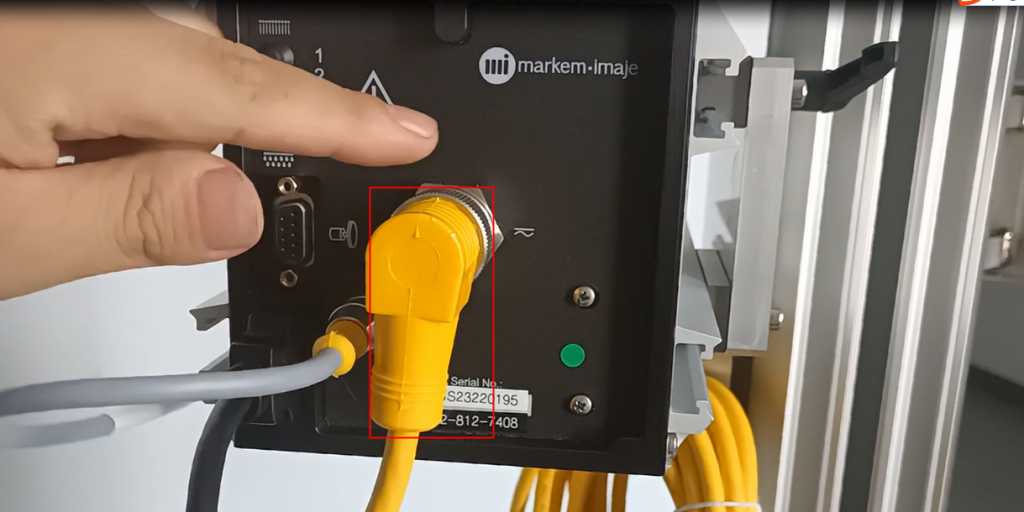
There is also a data cable, which serves as a data source. We install it here, one end on top of the print head
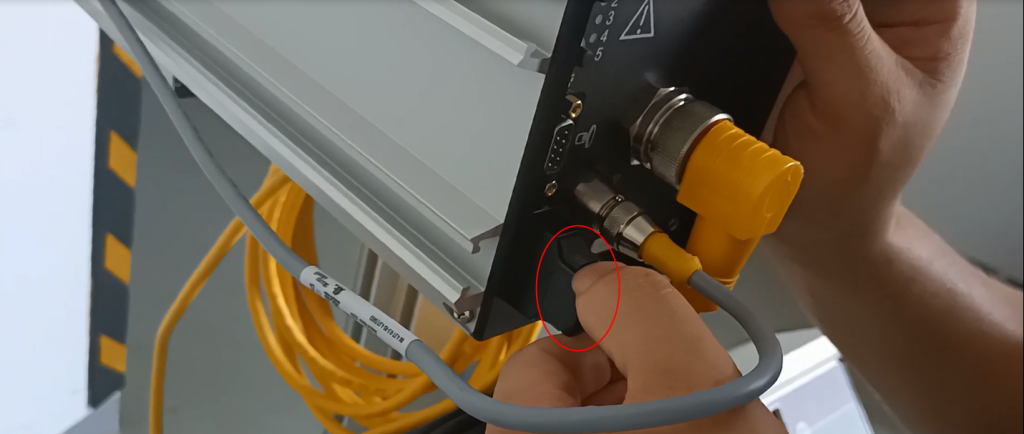
Install one end on top of this controller and install it here
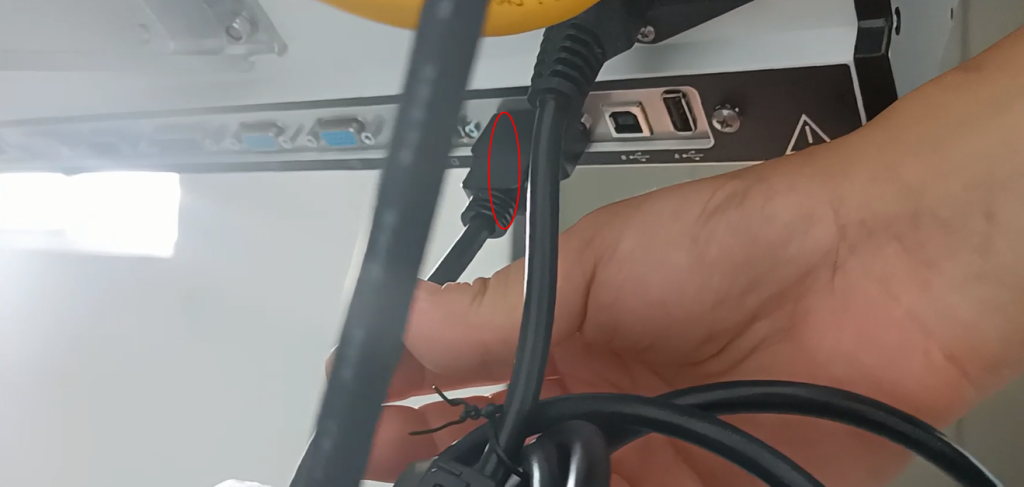
Then install the power cord in this position

This is the entire installation

