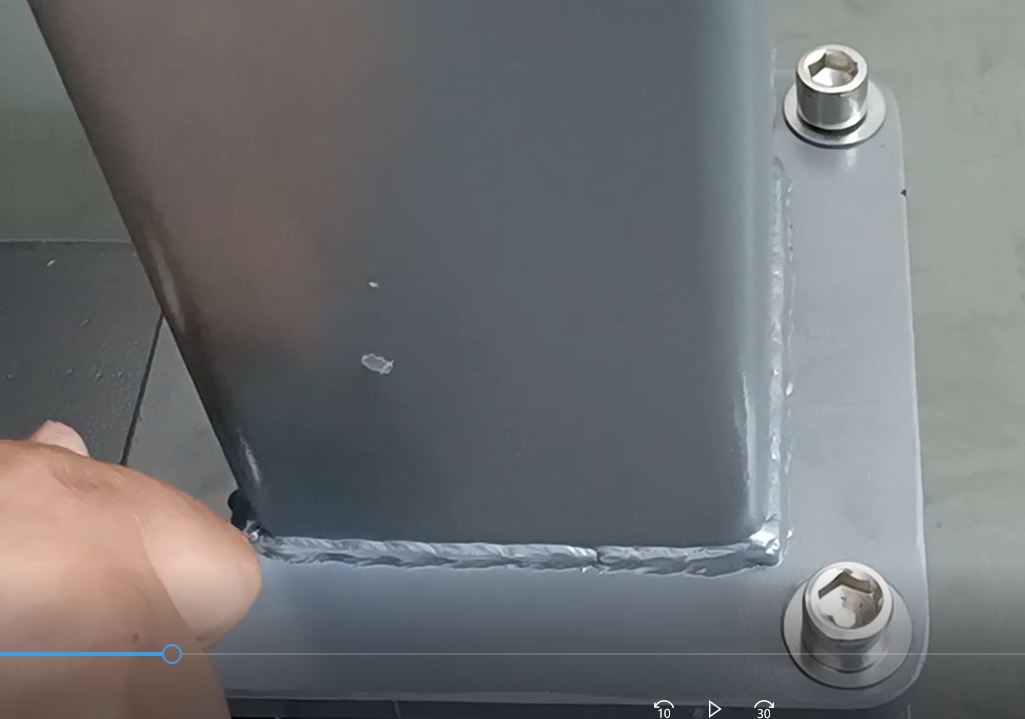
Firstly, remove the four screws on the fixing plate
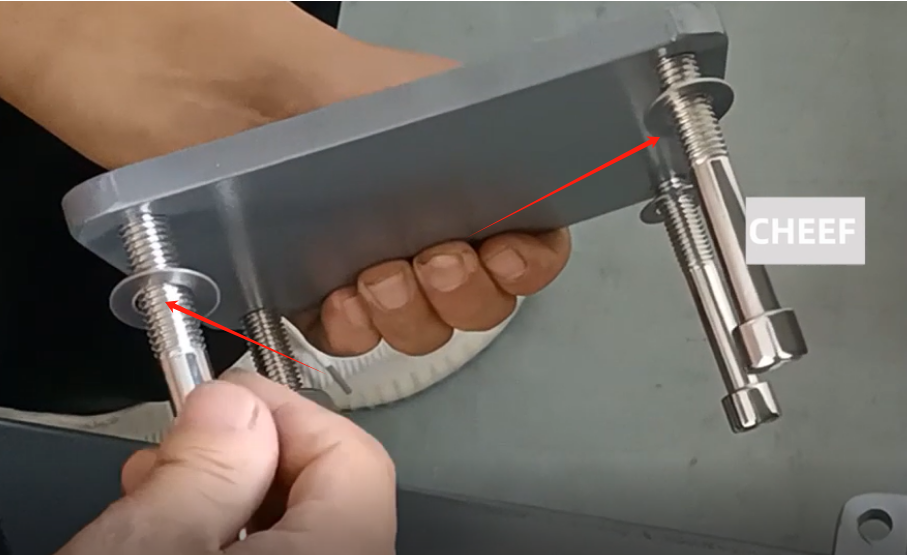
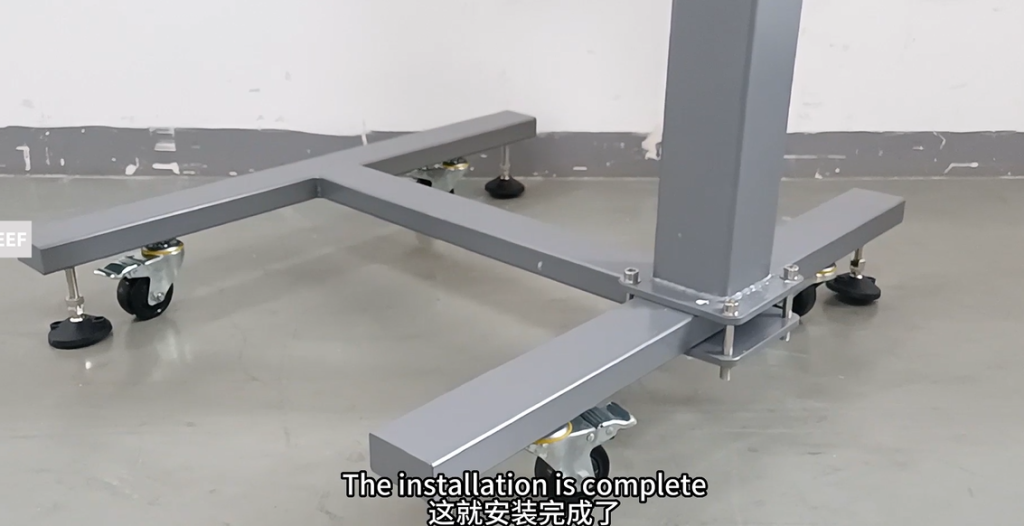
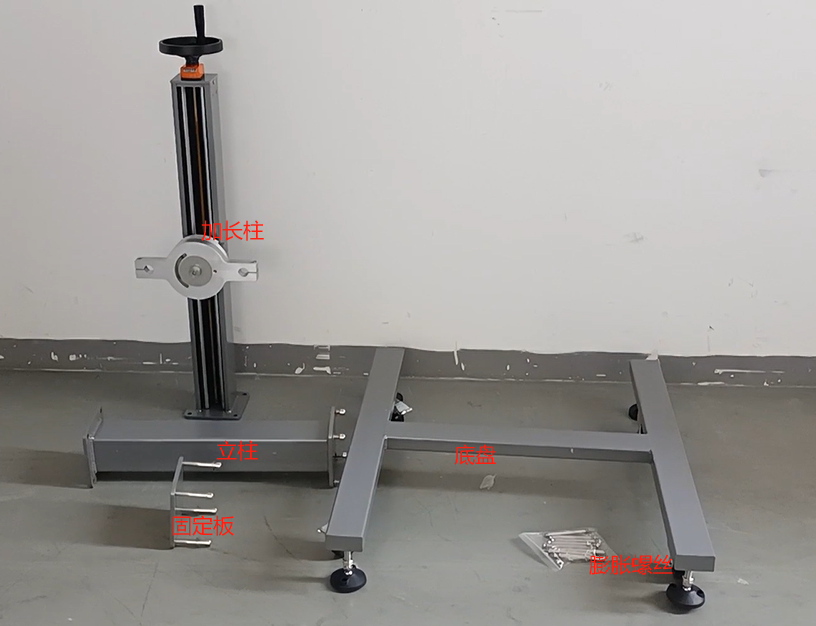
Fix the fixing plate and column on the base, be sure to be straight and not inclined, and lock it with four screws and screws
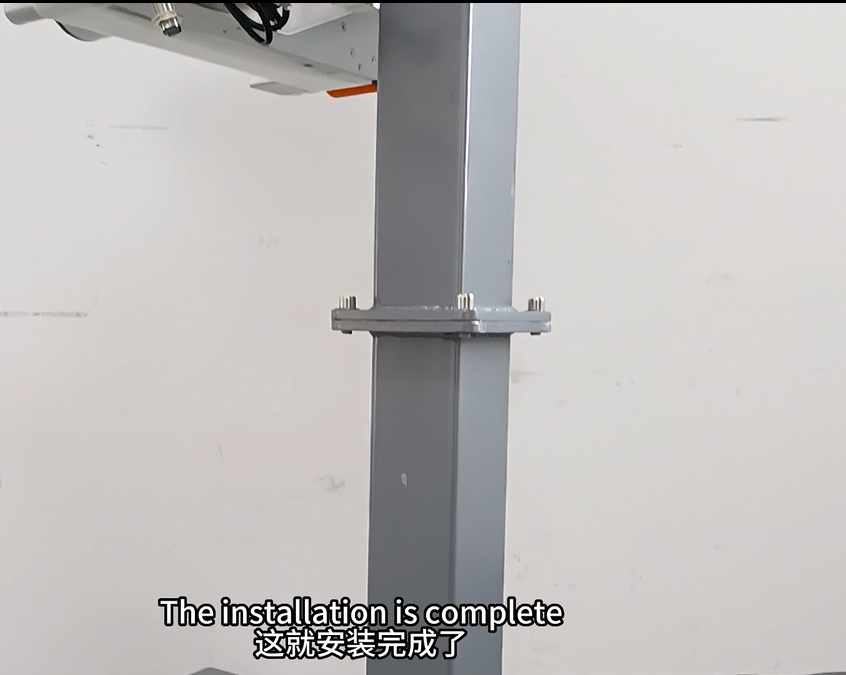
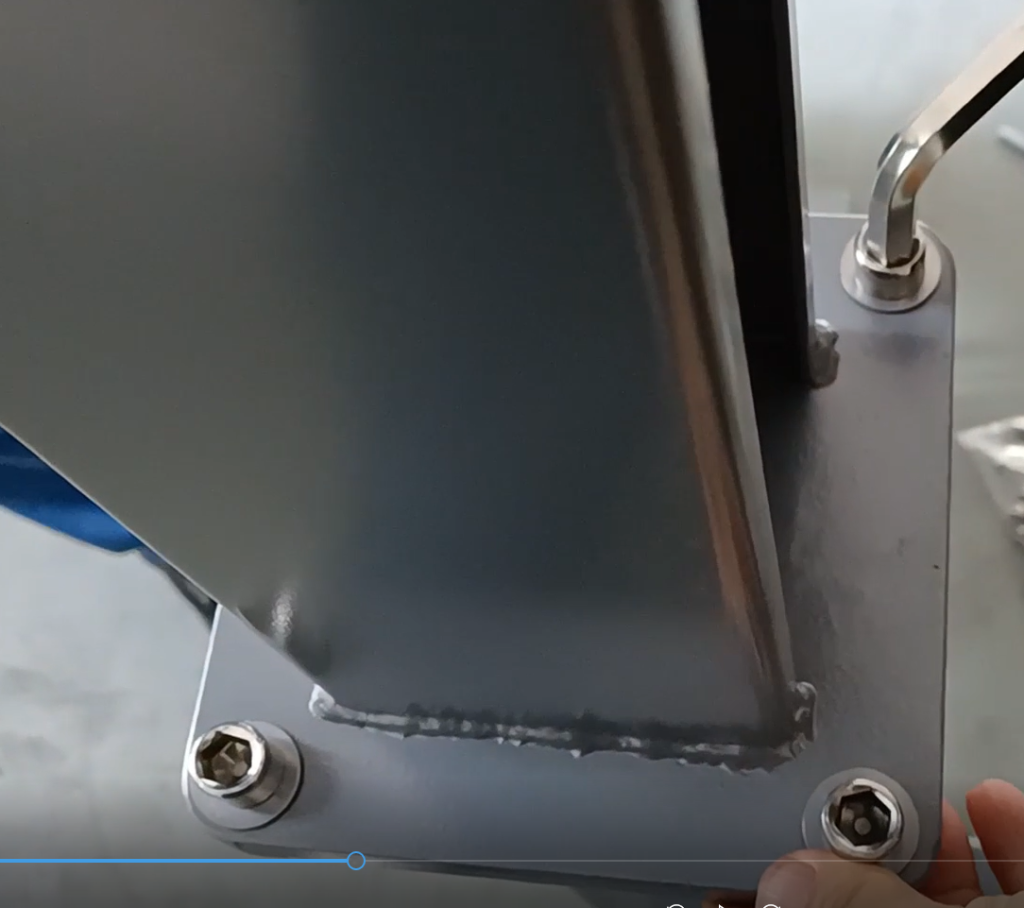
Then remove the four screws of the extended column

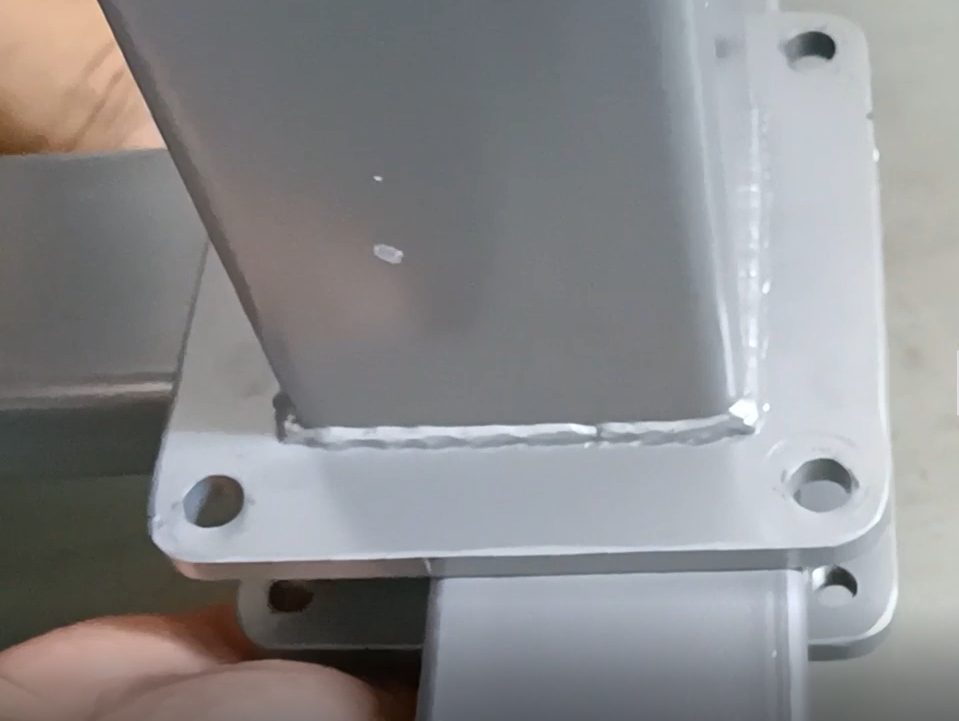
Align the screw holes of the extended column and column up and down, and then lock the four screws tightly
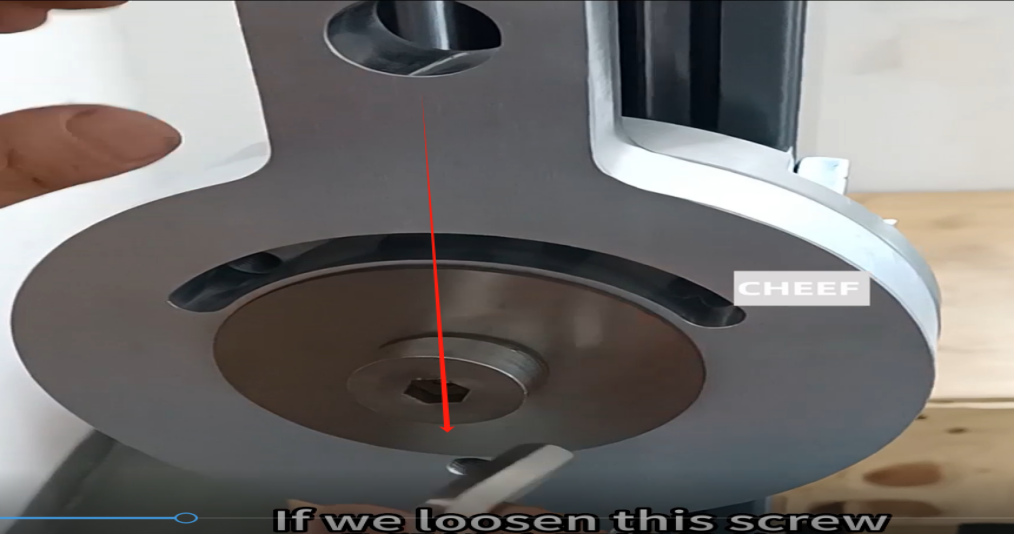
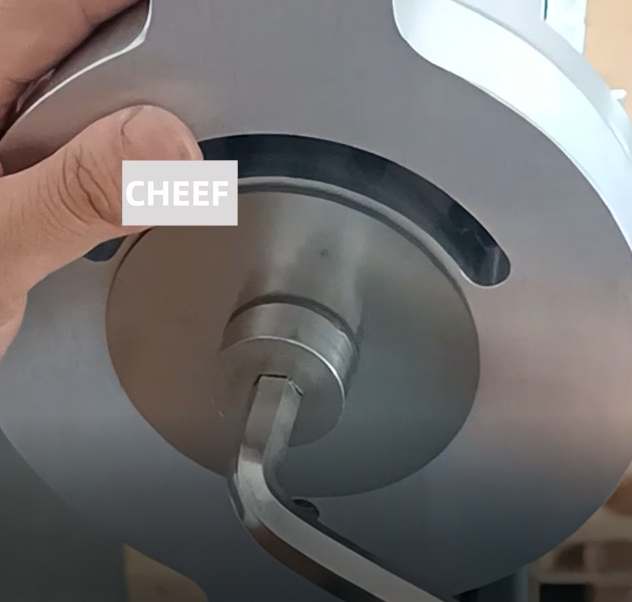
The screw in the middle of the hole for the rotation axis on the extended column is perpendicular to the ground, on a straight line. Install the machine at the back and adjust its angle (if you want to adjust the rotation angle, you need to loosen the screw in the middle, and after adjustment, lock the screw)
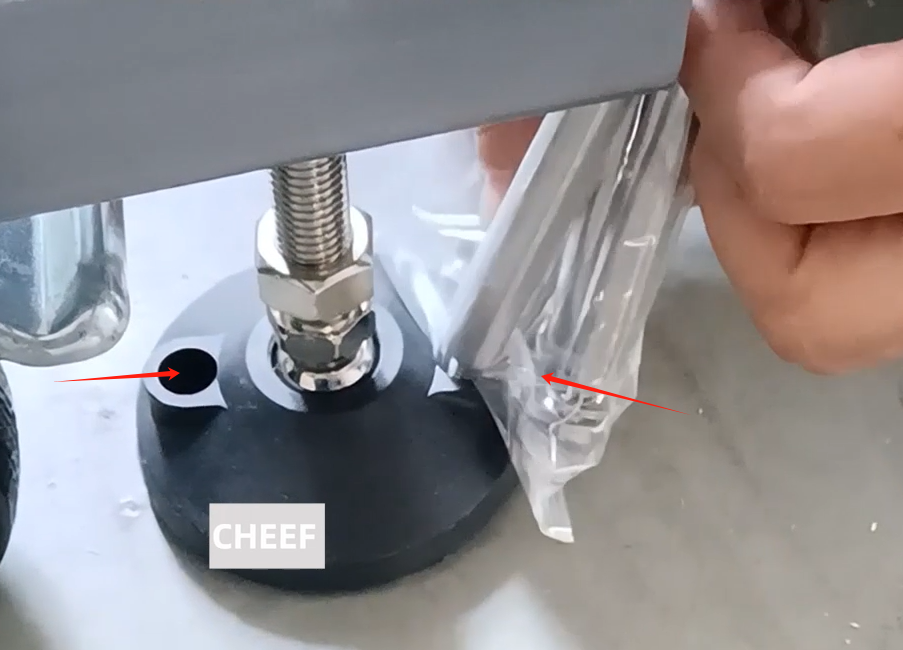
Expansion screws are fixed to the base and can be inserted into the ground through the holes in the foot pads
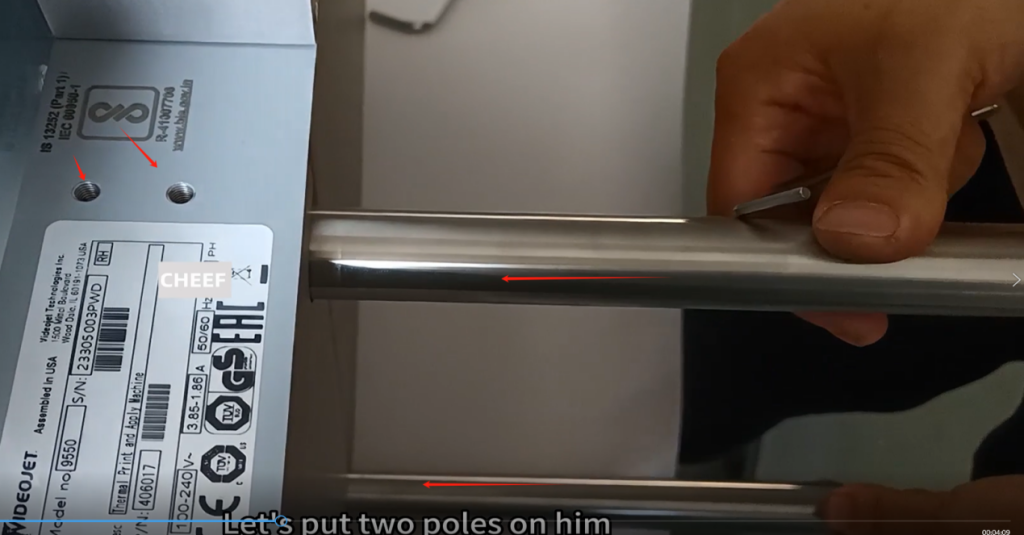
Install the two pillars of the labeling machine onto the machine and tighten them with screws
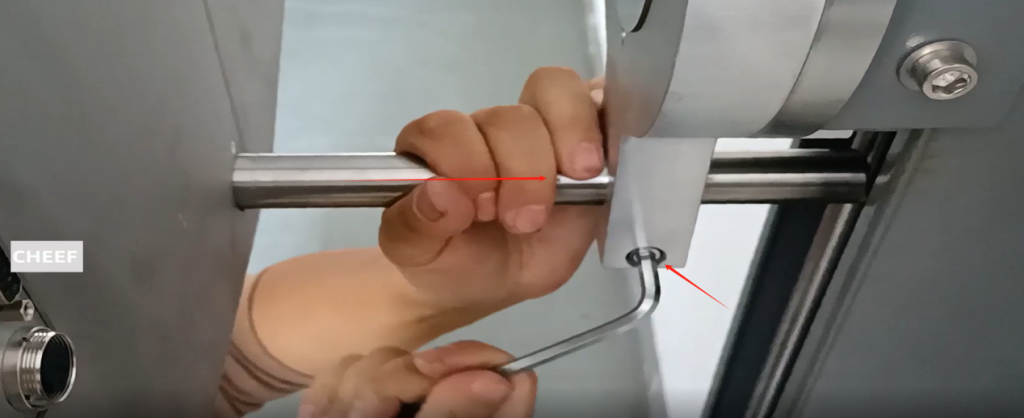
Insert the upper and lower pillars of the machine into the rotating axis of the bracket, tighten the screws, and secure the machine in place
Install the controller bracket onto the labeling machine
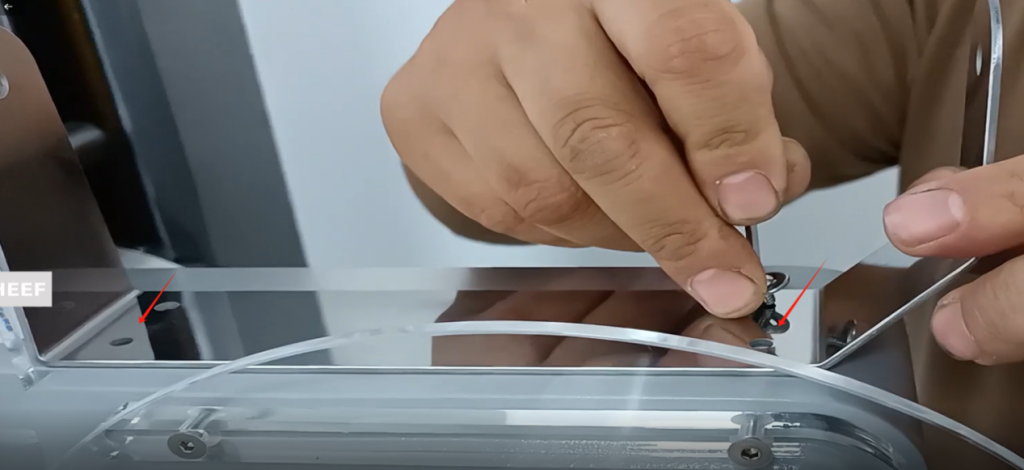
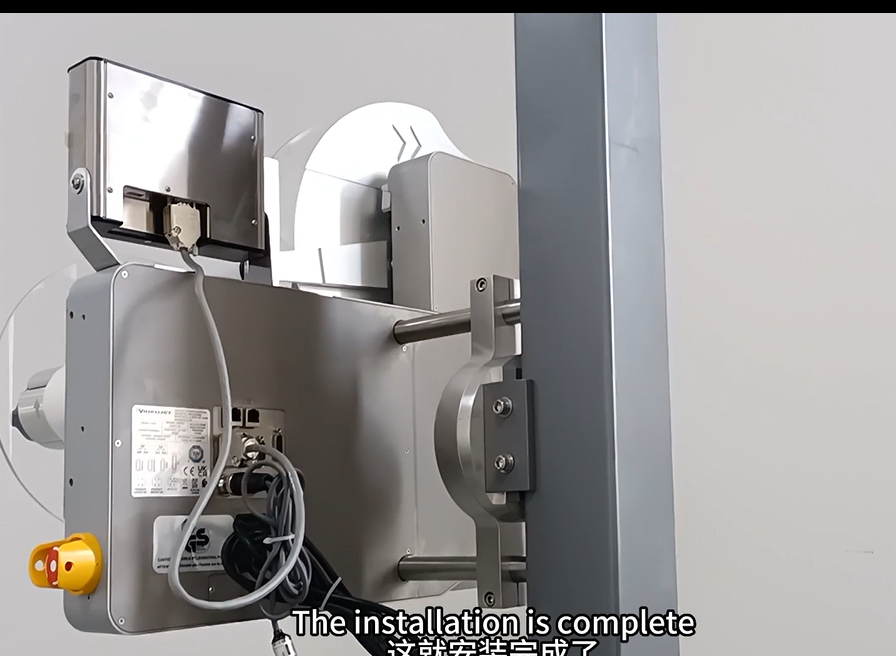
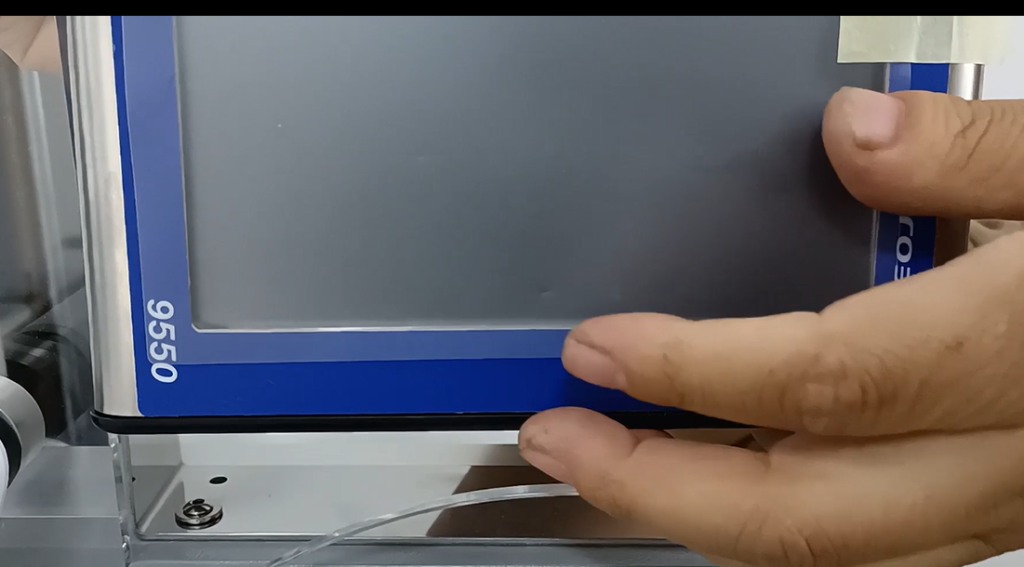
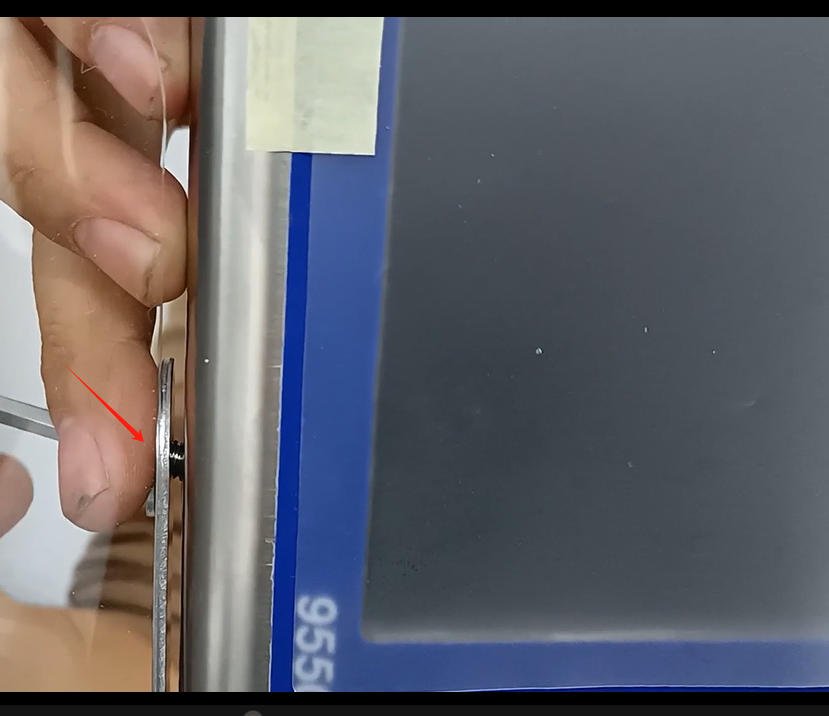
Install the controller onto the bracket and tighten the screws at both ends
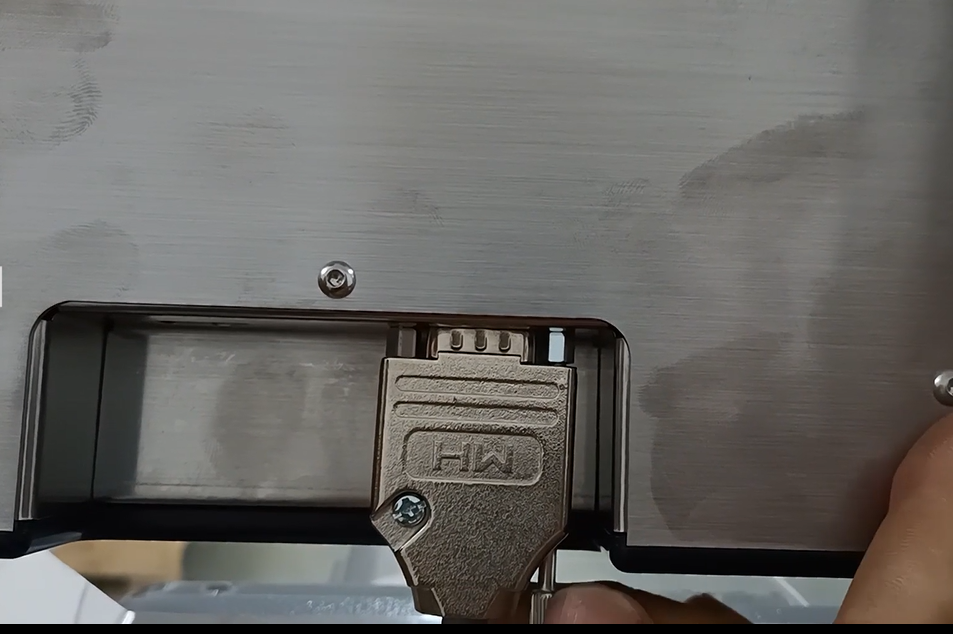
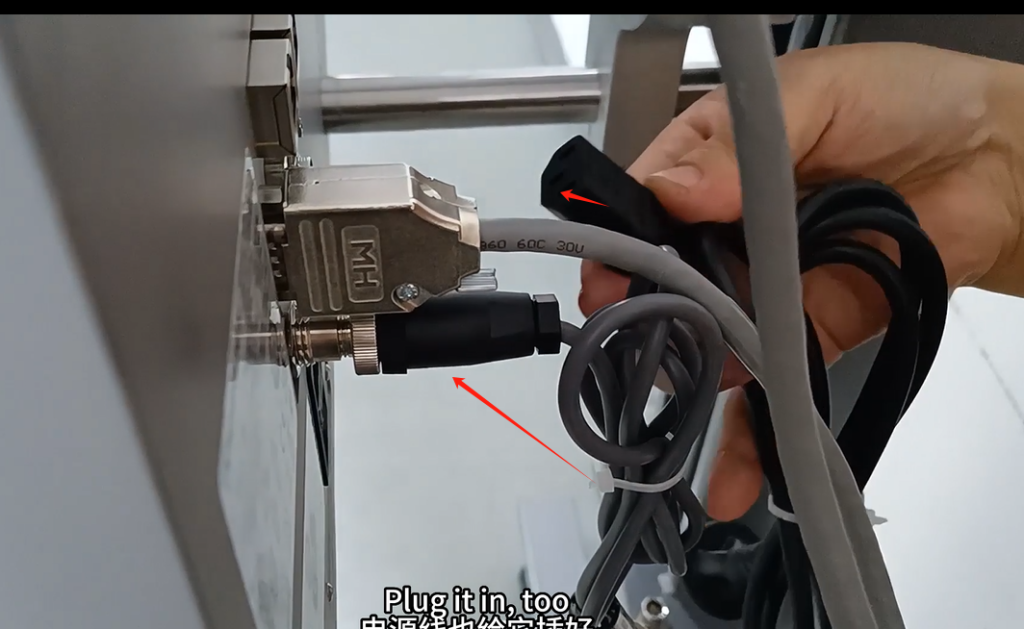
Connect the data cable to the controller and labeling machine
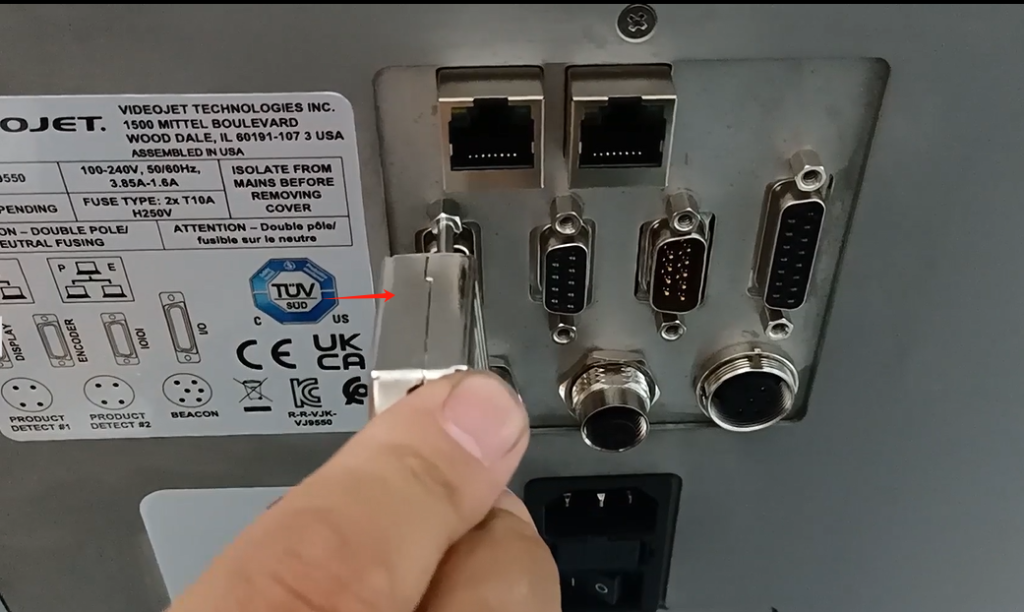
Labeling machine for installing photoelectric and power cables
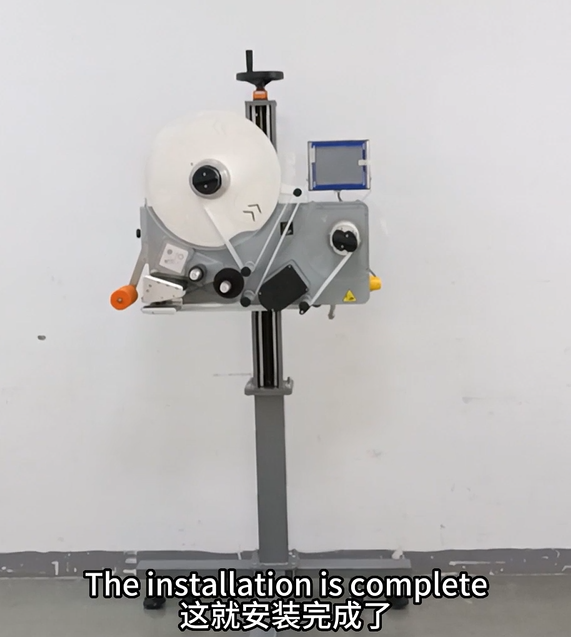
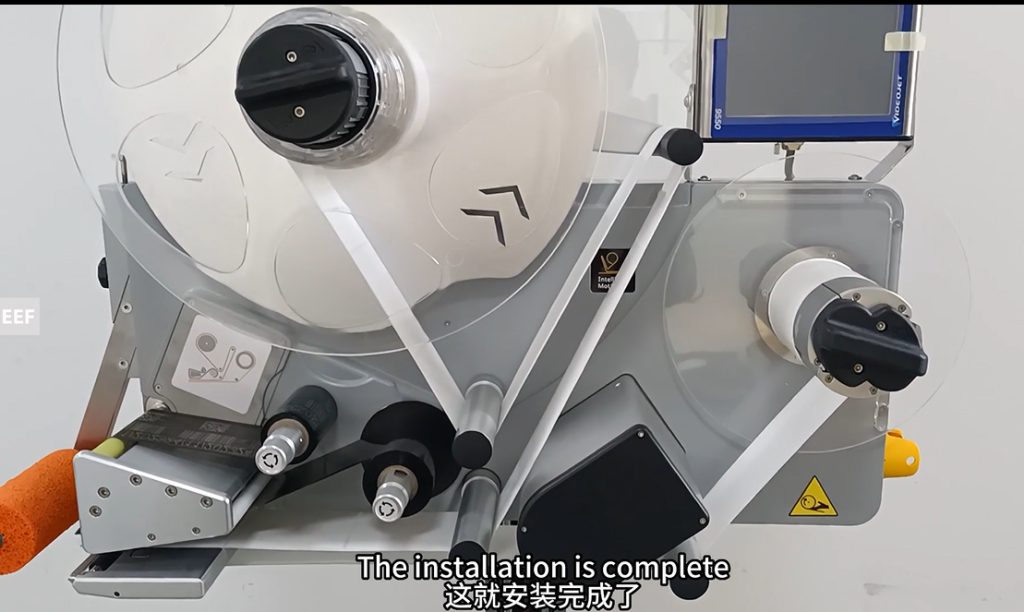
The labeling machine is installed properly