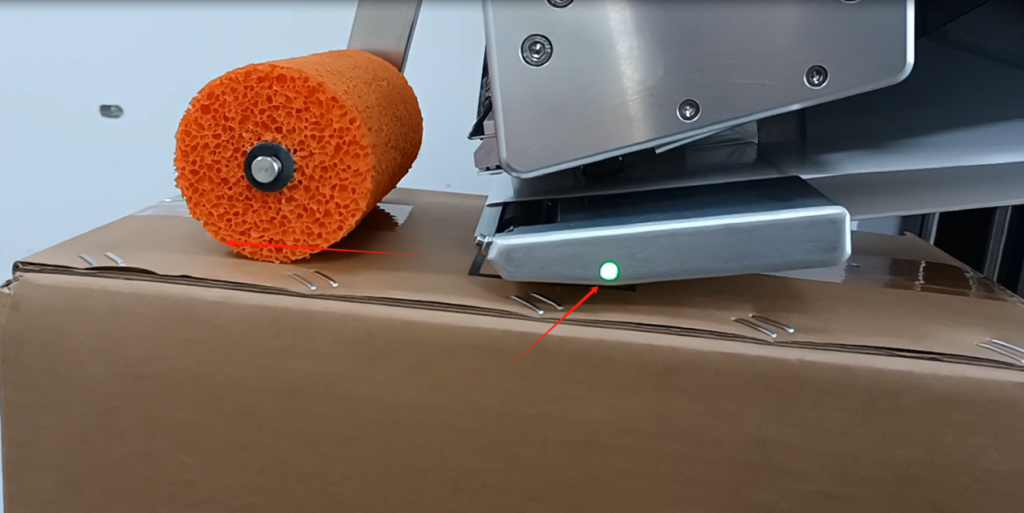
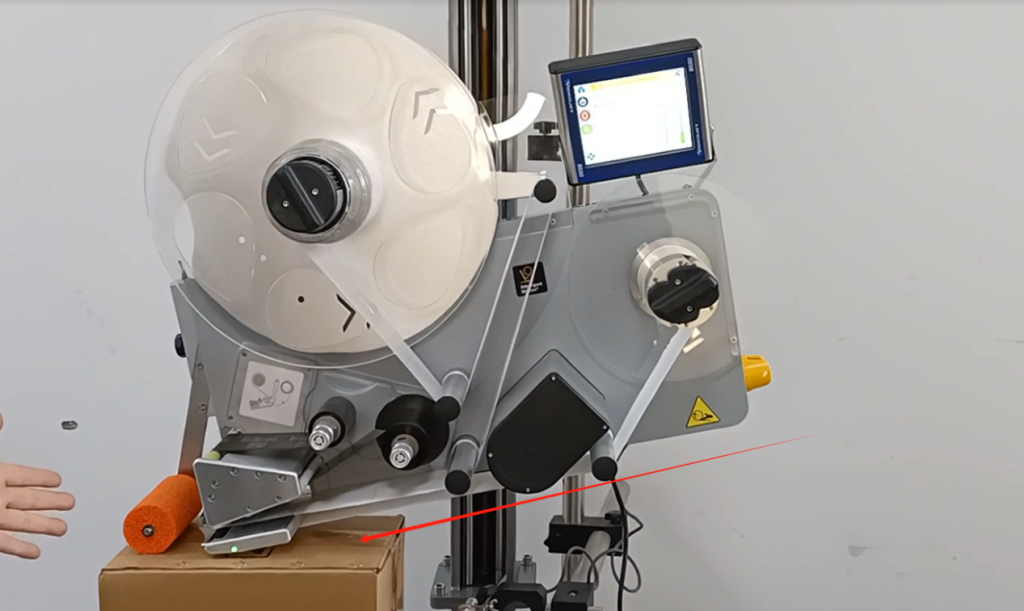
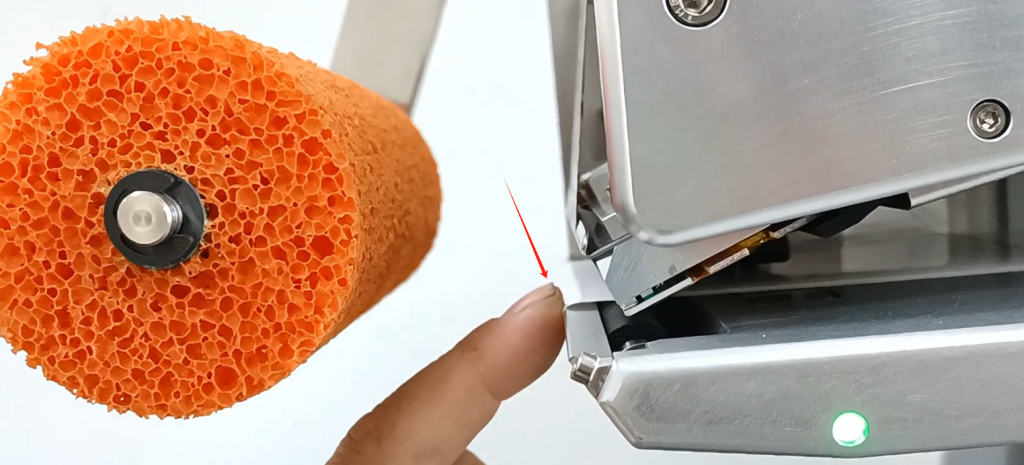
Let’s take a look at the printing parameter adjustment and precautions of the 9550 labeling machine. Firstly, we place the item to be printed underneath our brush, and then our brush will definitely rotate when the product passes by.
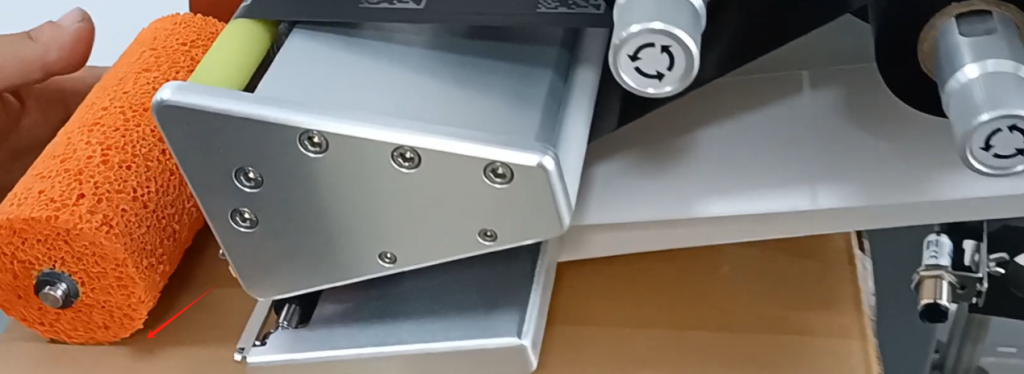
If he doesn’t turn, if he’s suspended, we can adjust and loosen this screw. After we loosen this screw, we can rotate it。

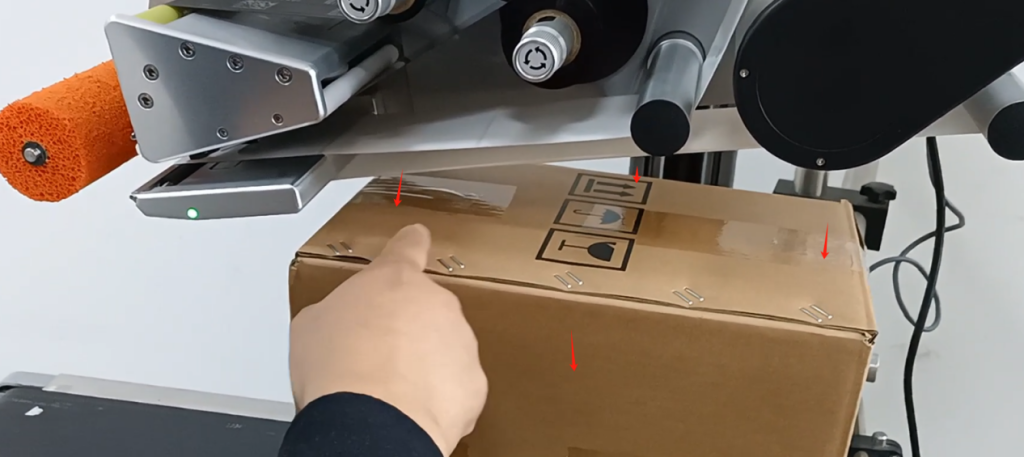
If it rotates, this will tilt and this will fall.
If it falls, it will stick to the cardboard box. There are no specific rules regarding the gap between us, as long as it is not tightly attached to our cardboard boxes. Because if the label comes out, as long as it can stick to our box, it’s okay.
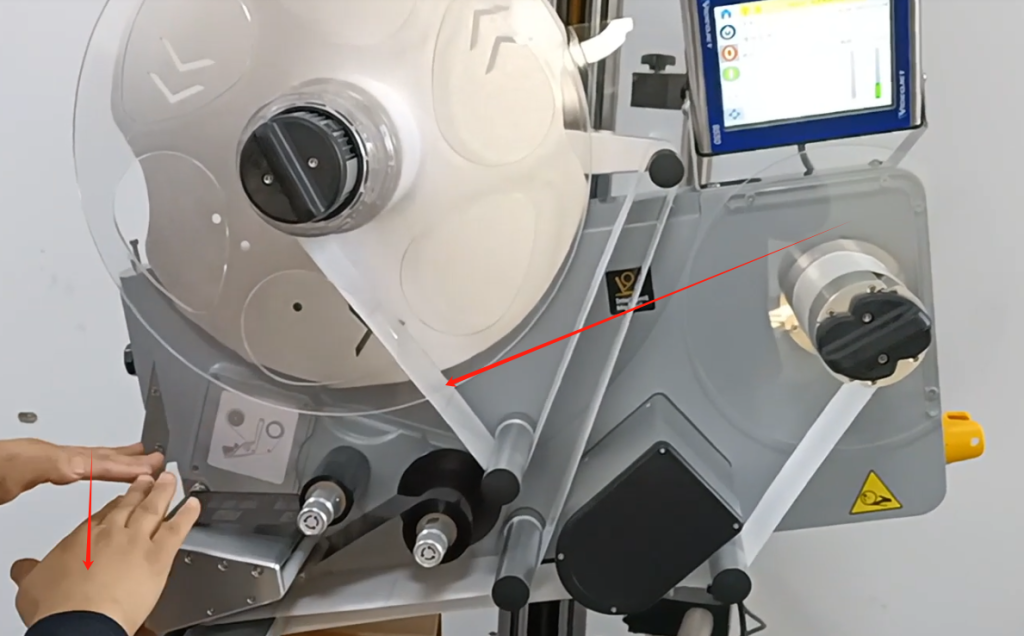
Our carbon ribbon must be above the sensor, at the top of the sensor. Then the label must be at the bottom of the sensor.
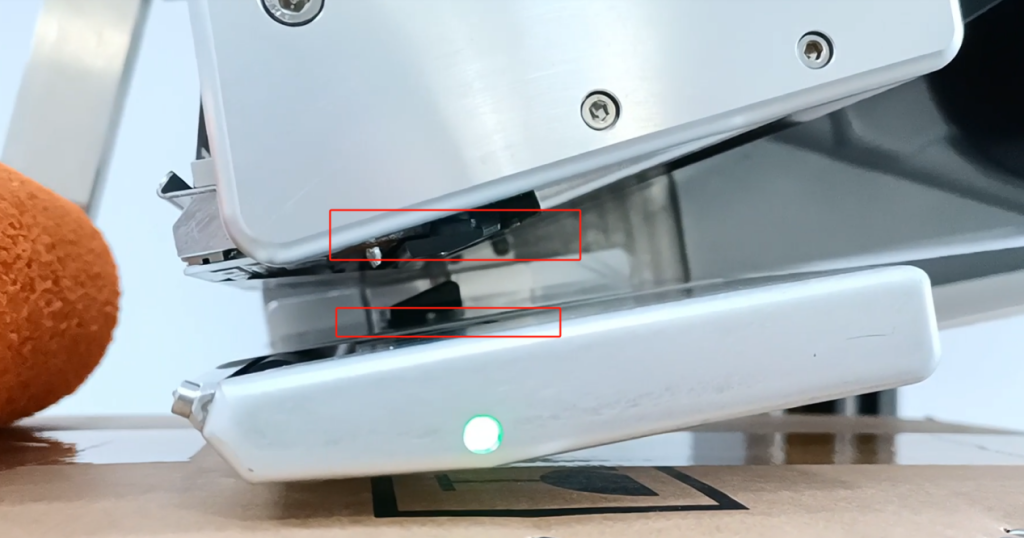
This is our adjustment. Actually, after we adjust it, roughly speaking, it tilts like this instead of horizontal. He’s leaning, like this.
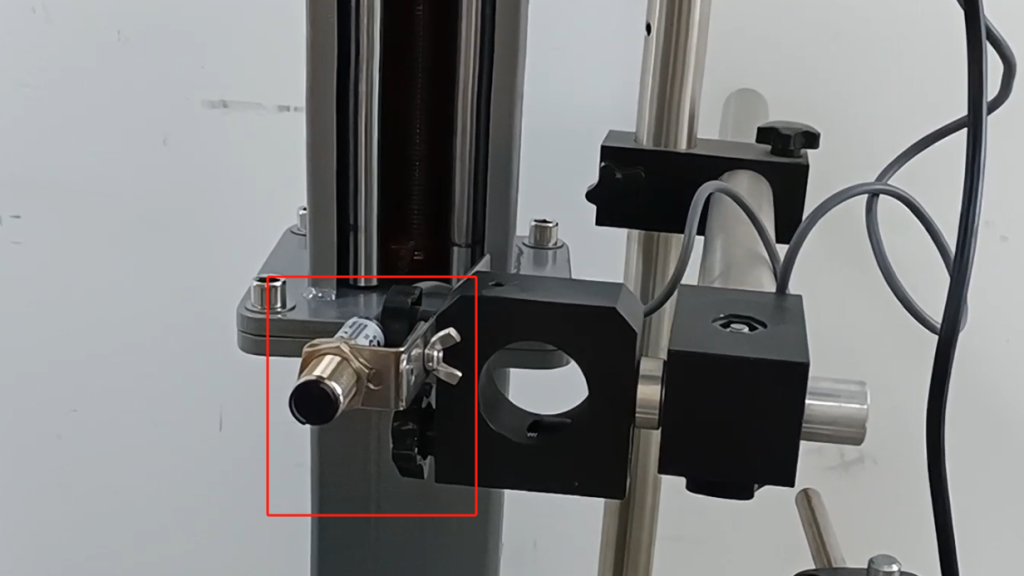
There is also one of our optoelectronics and optical phones that says we don’t have a product, and if the product hasn’t passed through, the light won’t turn on. The light is on when a product passes by, and the photoelectric position is right here. I will set it on the machine later because it is related to a delay.
The inner and outer positions of our box can be controlled by the positioning of our box, and the forward and backward positions can be adjusted through a delay on our machine.
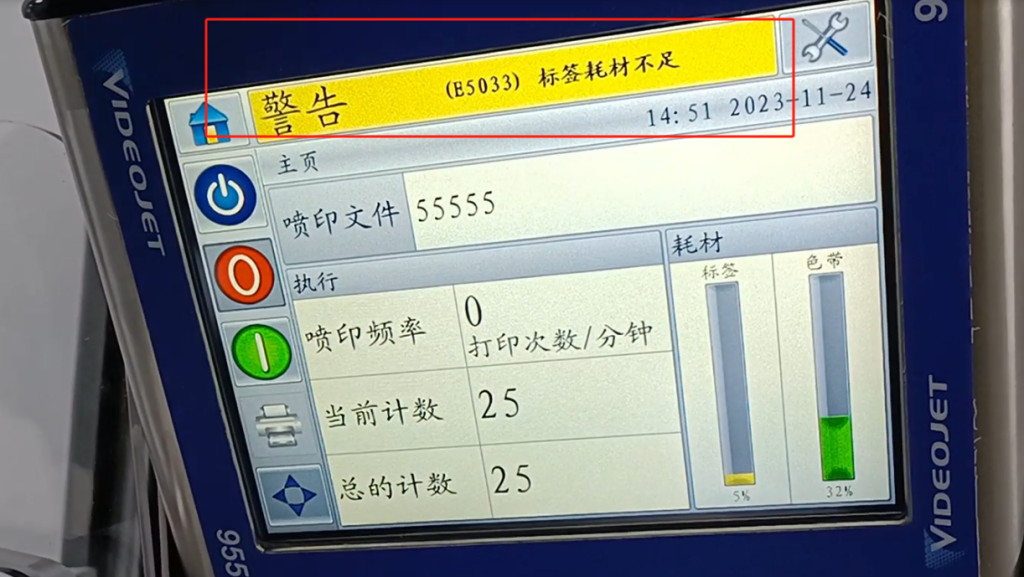
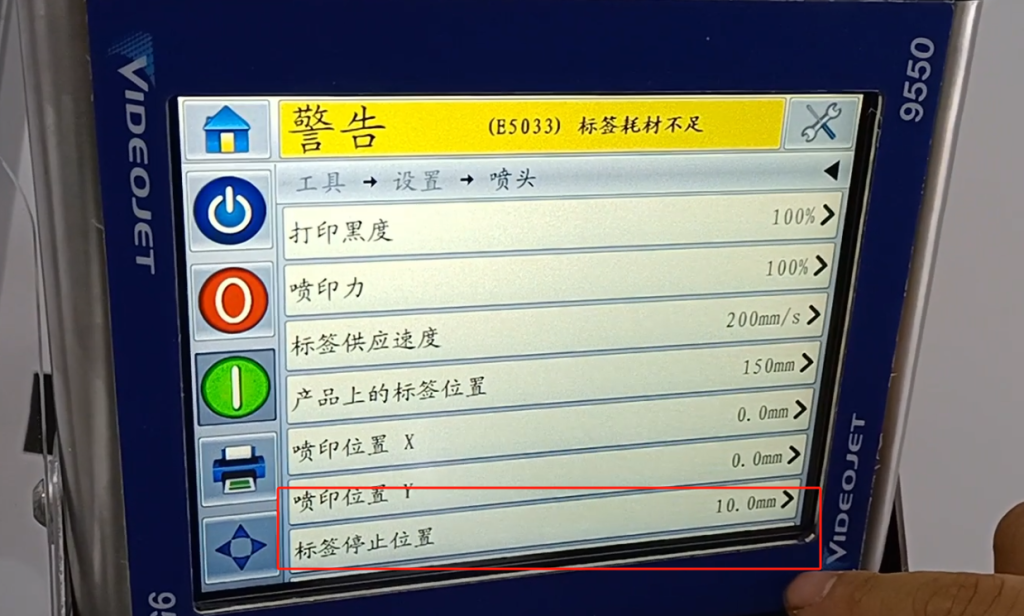
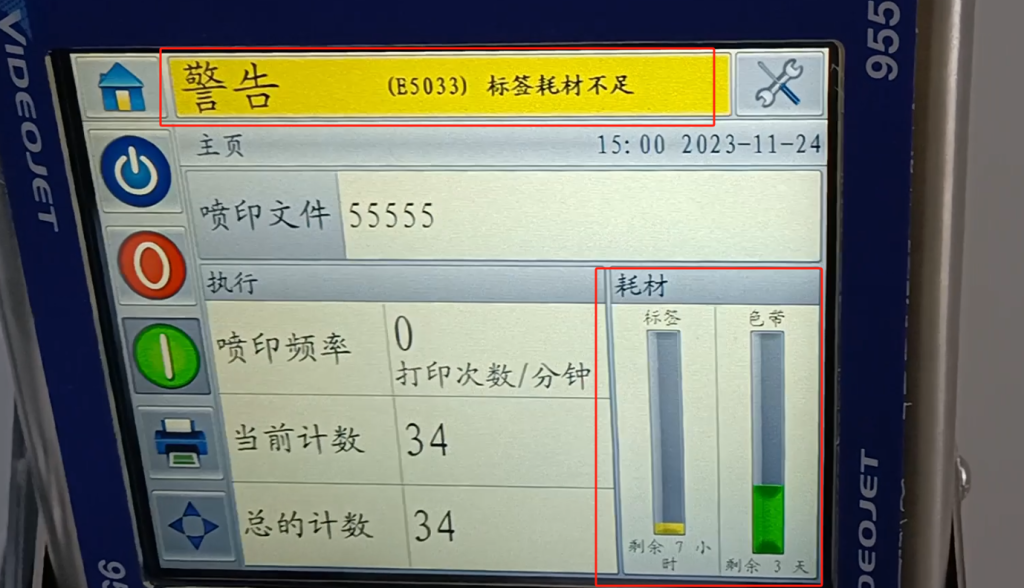
Let’s take a look at the machine. We are currently running low on label consumables, so let’s say we have fewer labels.
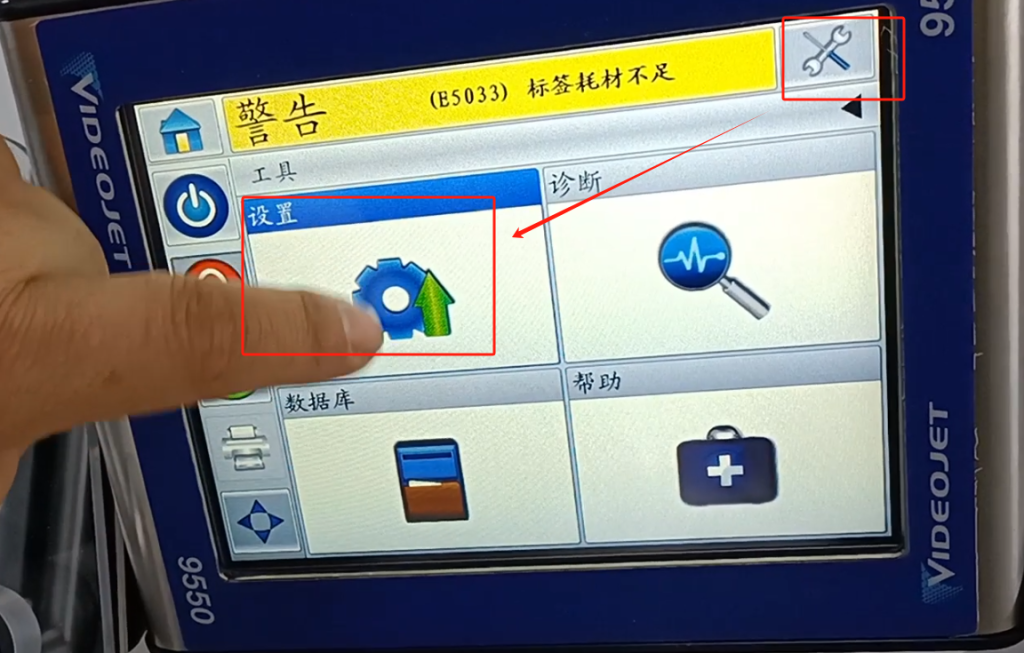
Let’s take a look at our labels. We can go to Settings – Tools – Settings.
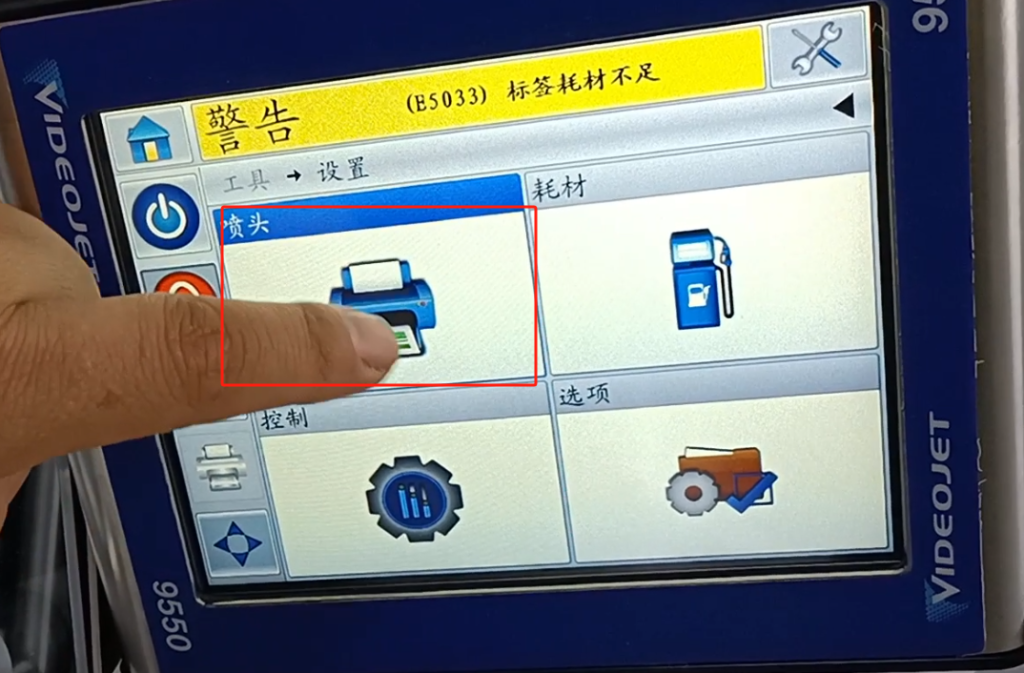
Then the nozzle here.
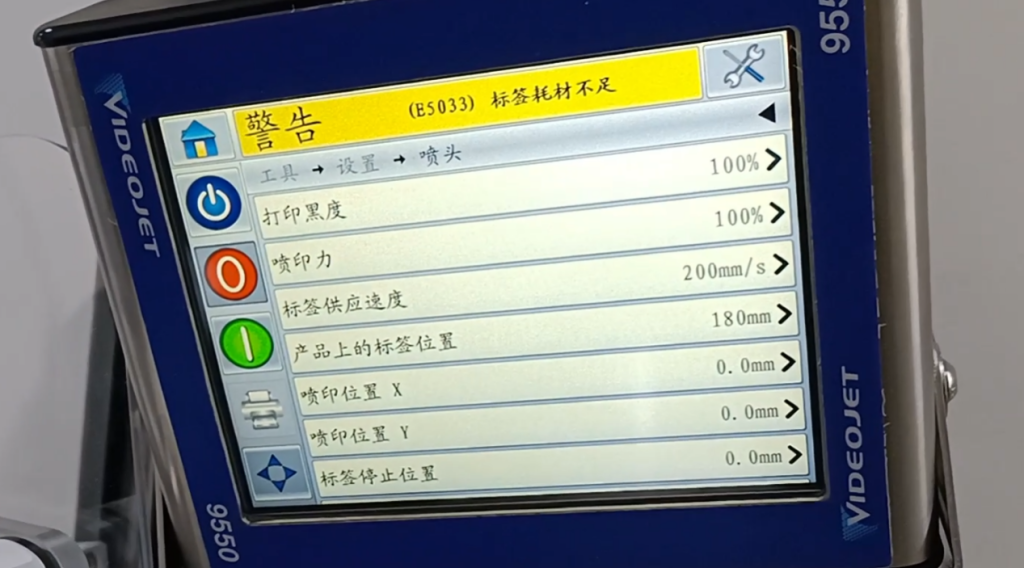
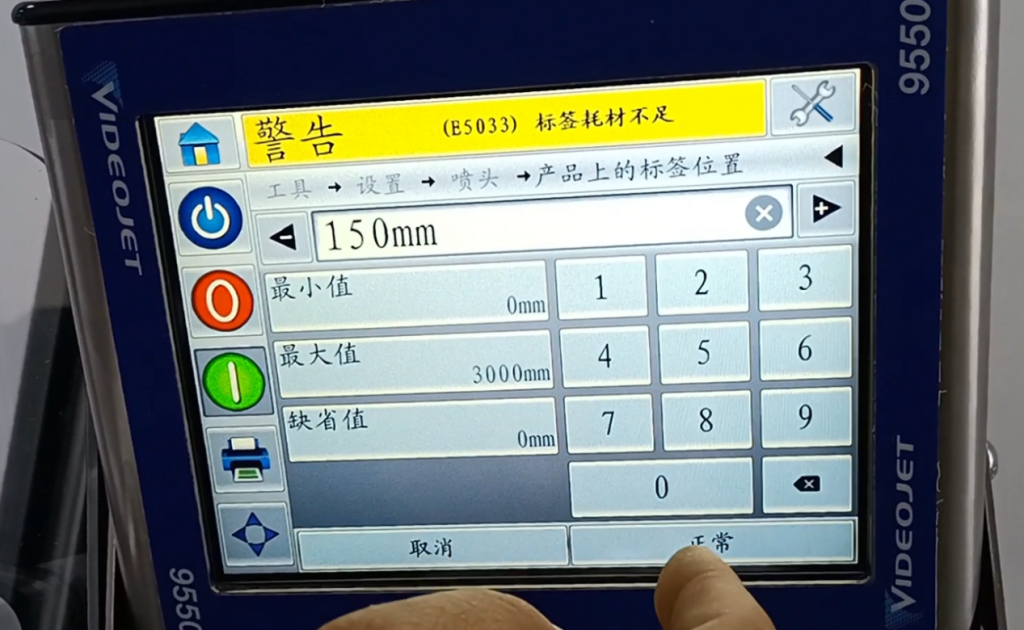
Most of our adjustments are done here. Firstly, the default grayscale for printing is 100%. We can adjust it, and if the color feels too dark, we can lighten it a bit. The default now is 100%, which refers to the printing force, just like the force we stamp. This can also be adjusted, usually around 80, 90, or 100. The supply speed of the labels is consistent with the speed of our label operation and the speed of our input tape. It is best for its operating speed to be consistent, that is, as close as possible. And then the position of the label on the product, this position is the delay, which is the delay printed on the product. We can change its parameters according to our needs, and then paste it on our product at a position before and after it.
Let’s turn on the machine and label it first. The photoelectric is not turned on yet, so we need to start running it. After running it, we came back and now it’s almost in the middle position.
Let’s make it smaller and see if 180 can be changed to 150.
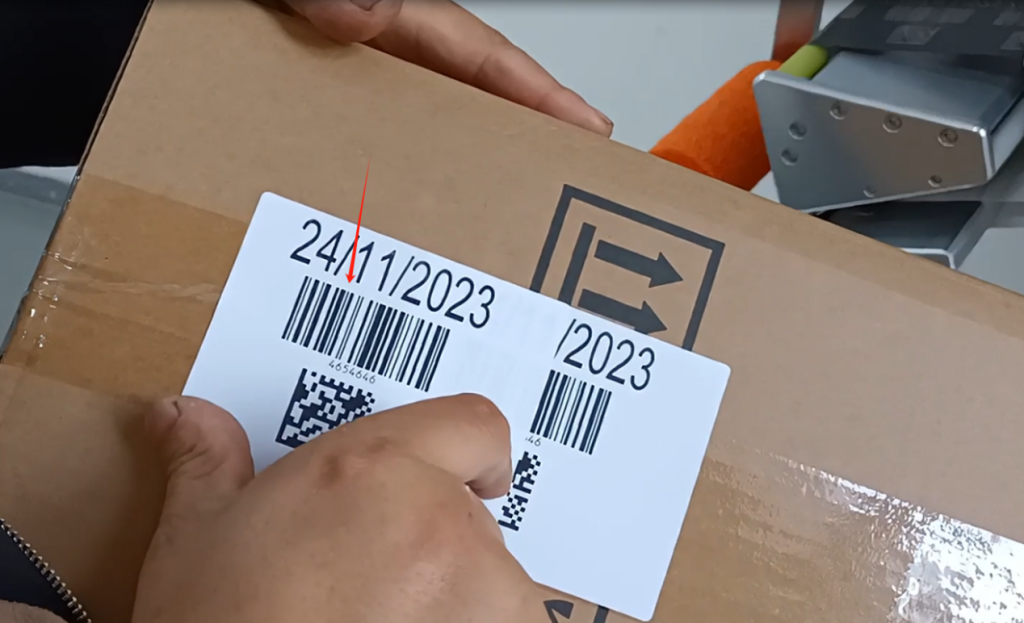
Looking at its position again, there will be a difference between these two positions. Of course, the difference here is not three centimeters, because 180-150 should be three centimeters. Why is this clearly greater than three centimeters? Because of our speed
Not caused by the same labeling speed as us. This is an adjustment for labeling.
Also, we print black text. Let’s take a look at it now at 100, and it prints very black. We turned it into 85.
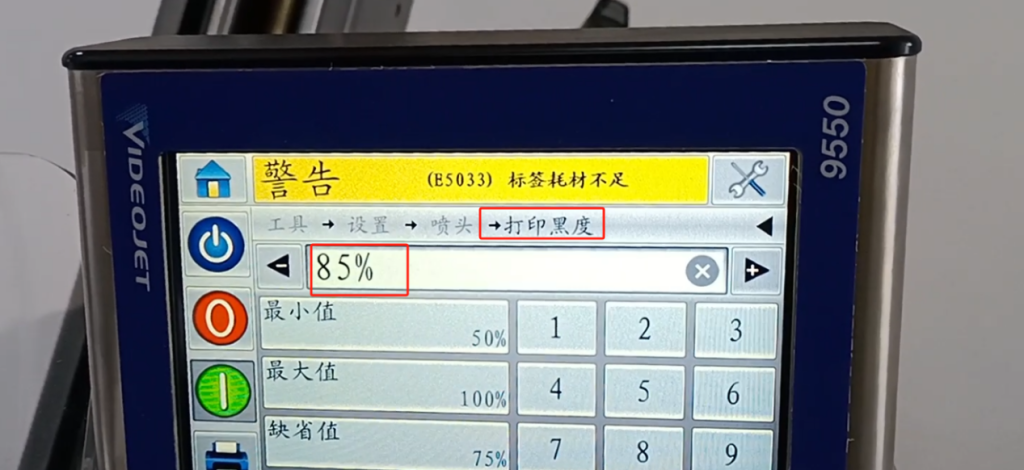
confirm. Let’s take a look at his blackness again. His blackness is very light, right, you see him and this contrast is not very light. We’ll just post it again. If you look at this color and this color, this color is very deep. Said that we should adjust according to the field situation, he also has something to do with the carbon belt, carbon belt if the compatibility is very good, it does not need 100, maybe 85 is ok. We can only be 100 percent this.
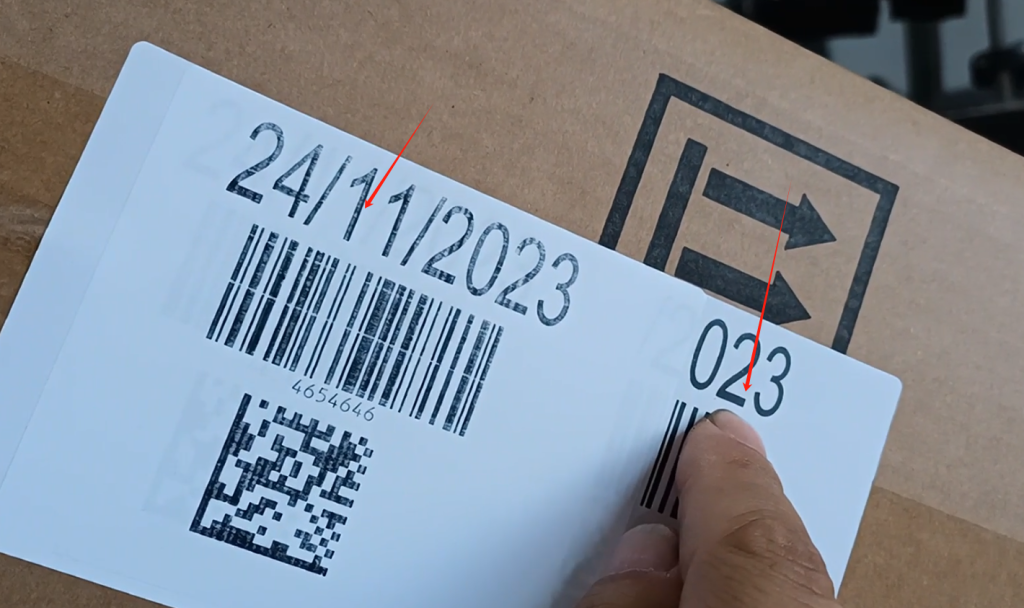
Then just said the label position on the product, the label position is our delay. The xy represents the position of its printing in the x-axis and y-axis of this label. We can adjust, you see if we move the x-axis printing position 0, I make it 100.
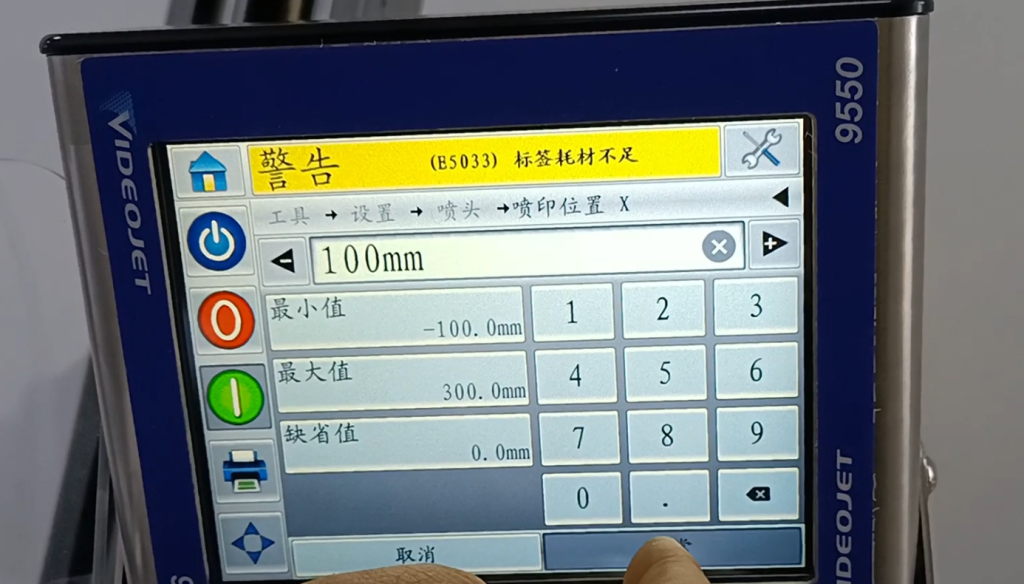
Let’s take a pat again and see where he is. Here, you see if he deviated, it was almost in the middle, he went to here. That’s his left and right position, and we turn it to zero.
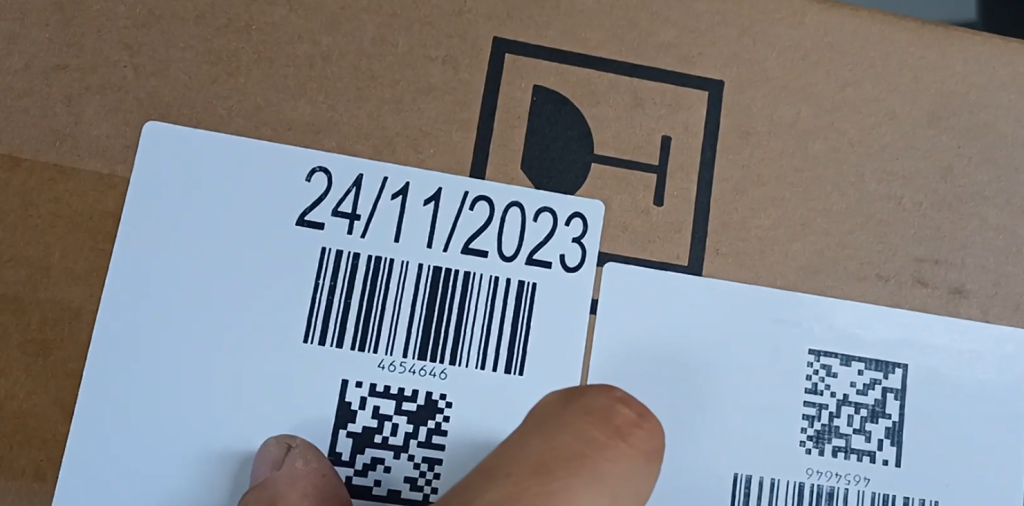
Let’s look at the vertical, up and down. We changed it to 20, two centimeters of meaning.
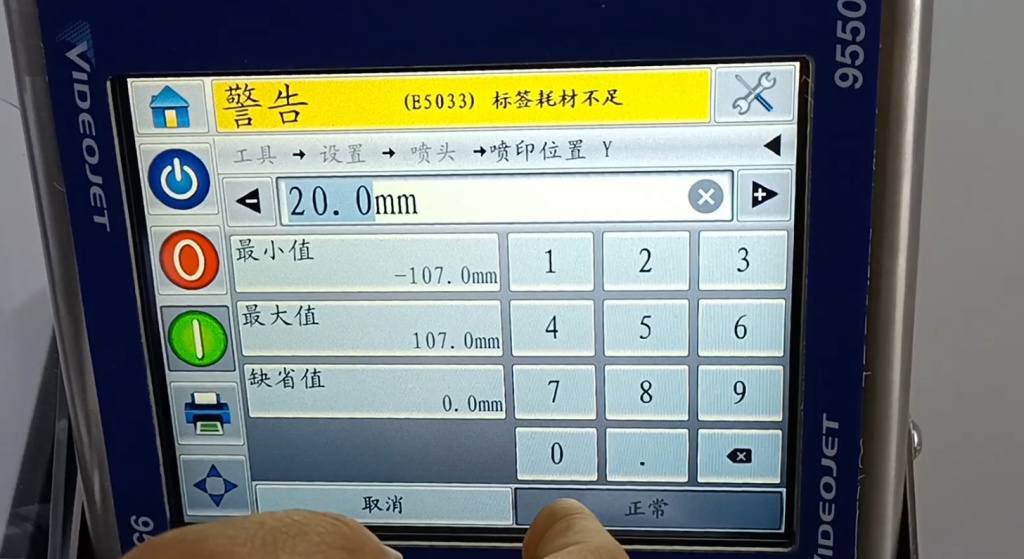
Then let’s call it again. This label goes down, which is the position of the y-axis. This is the XY value. Of course, it is no under normal circumstances, it is 0, which is adjusted according to the effect we print out。
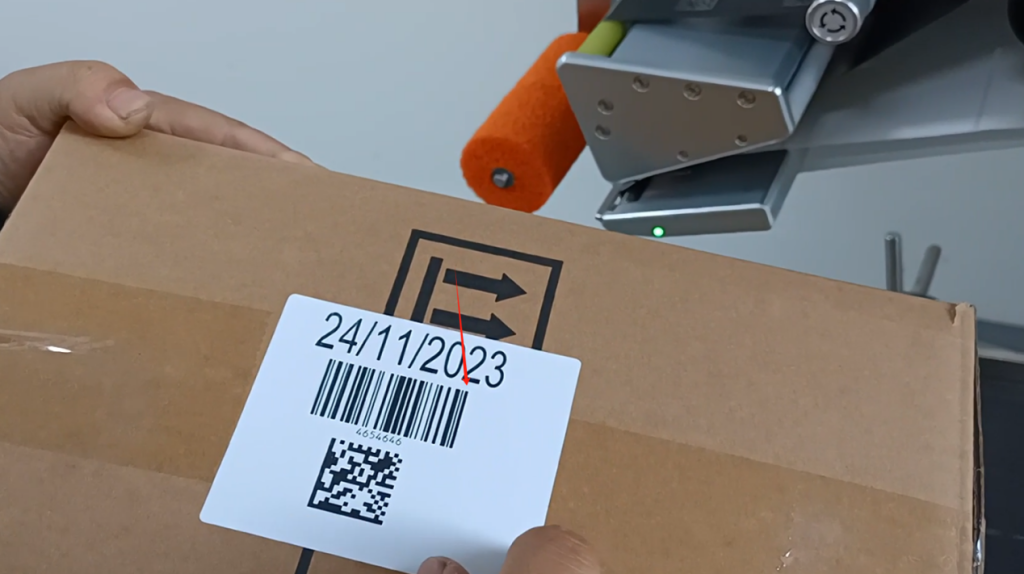
The label stop position is 0.
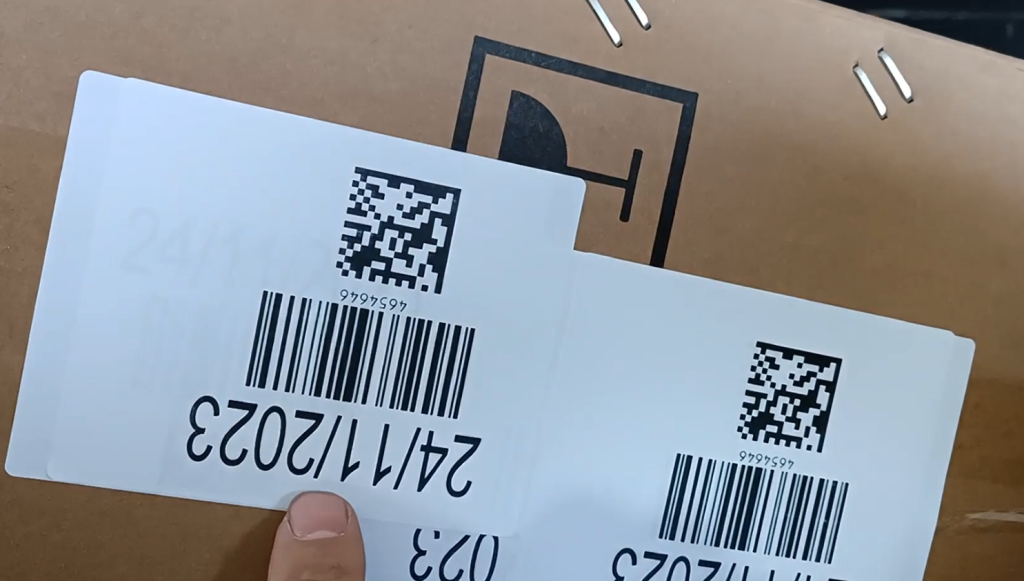
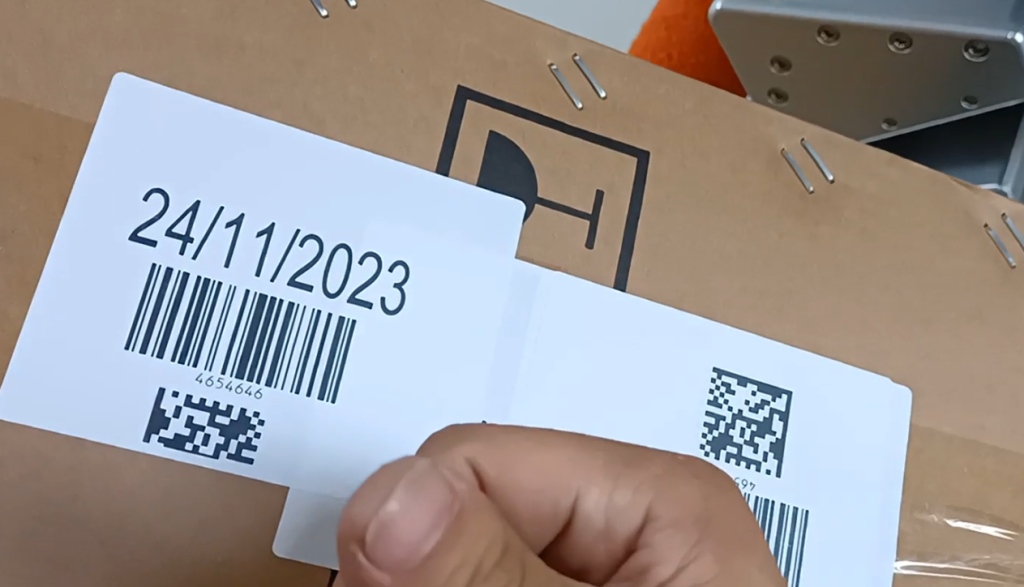
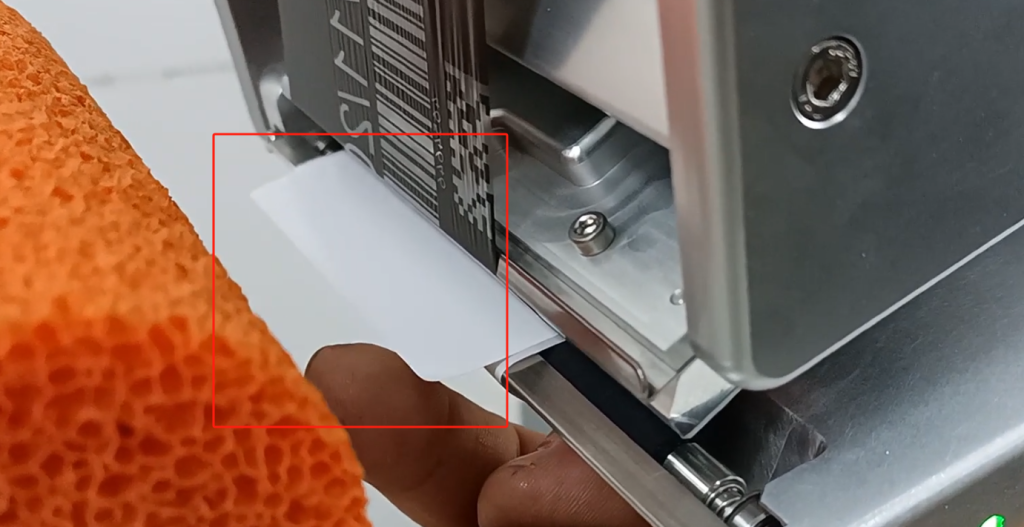
What does the label stop position mean? Our label just comes out, to be consistent with the edge of our board. If he is zero, he is very even. Look at this label, whether it is flush with this board, so it is 0.
We changed it to 10. This is a centimeter out, and that’s where the label stops.
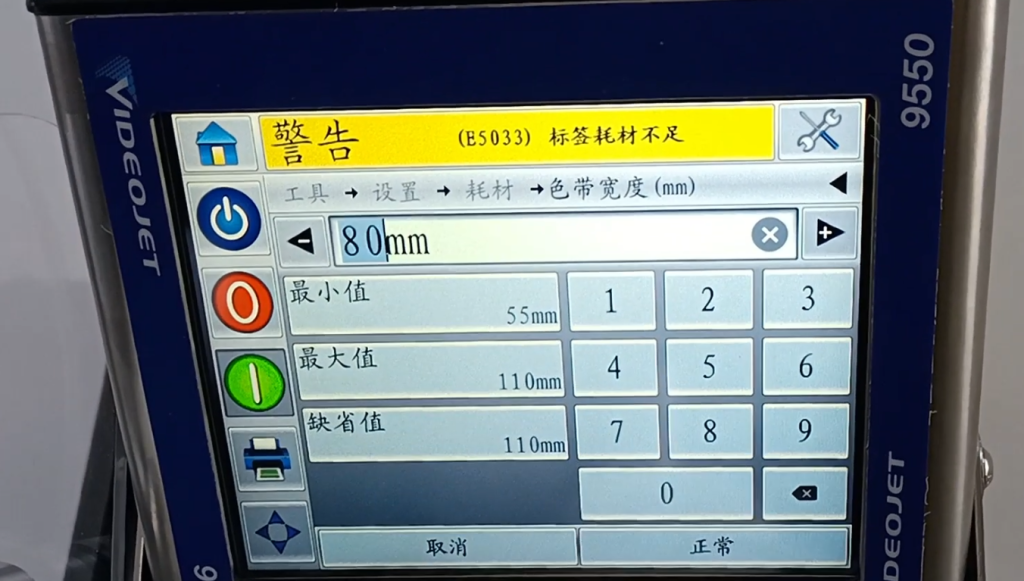
Another thing to pay attention to is the width of the ribbon, he is actually how much, how much we have to fill in. We’re actually at 80.

Set up the consumables inside, and then set up the width, we have to enter 80. Set it according to the width of our ribbon. The width is 55, the maximum is 110 between the ribbon can be used. Since we have a 107 print head, it can be 55-110。
We need to print to pay attention to the lack of alarm label supplies. We have used a lot of supplies, not many supplies. This is the ribbon, not much, this is already a yellow alert.
Another thing to say is that we will print one direction. Set up-nozzle, there is a spray printing direction inside the nozzle.
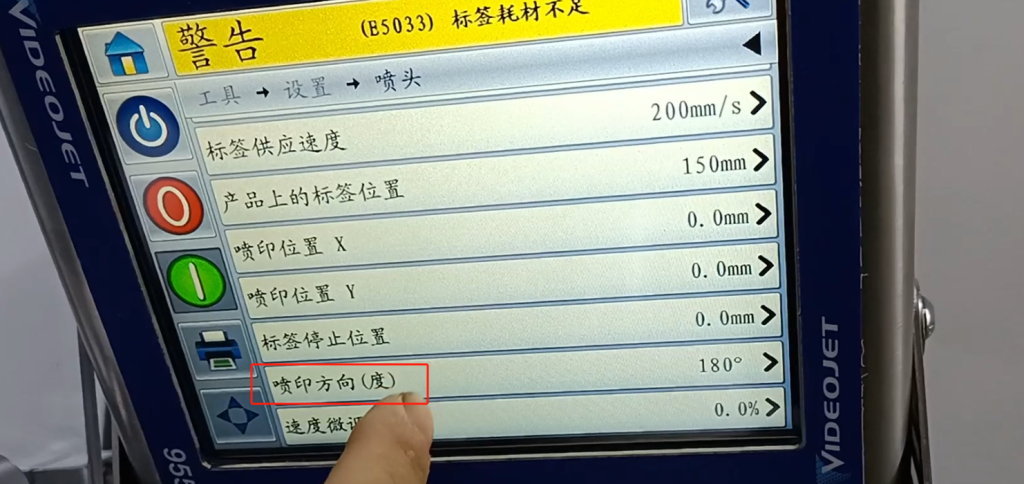
We can choose from this, and what we just typed is like this. If we can rotate the word by 180 degrees, we can choose 0.

Point OK and then we call a look, this information is the opposite. This is a spray-printing direction.