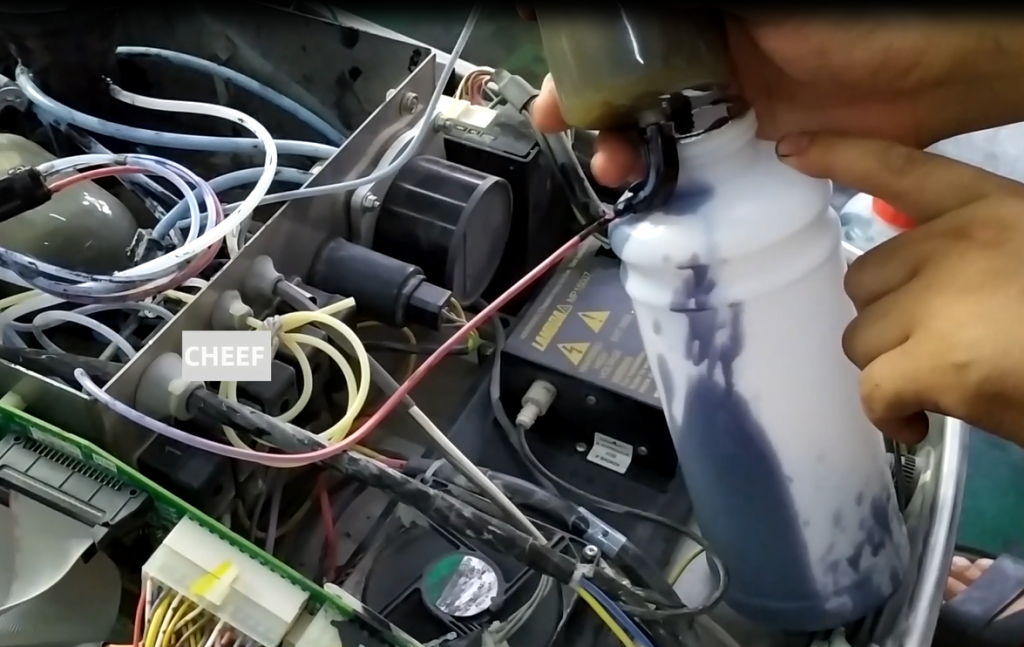
First, drain all the ink from the ink tank.
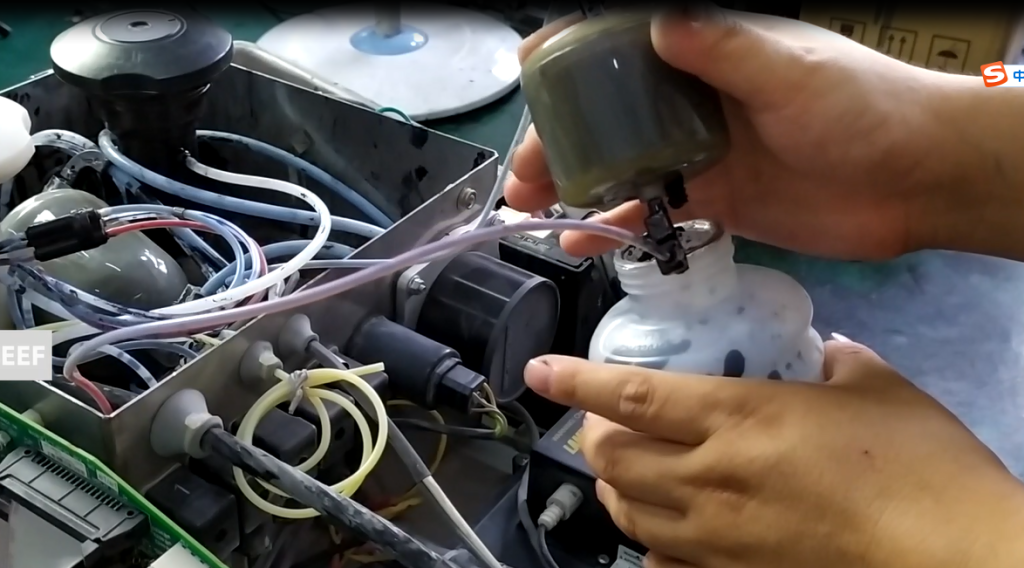
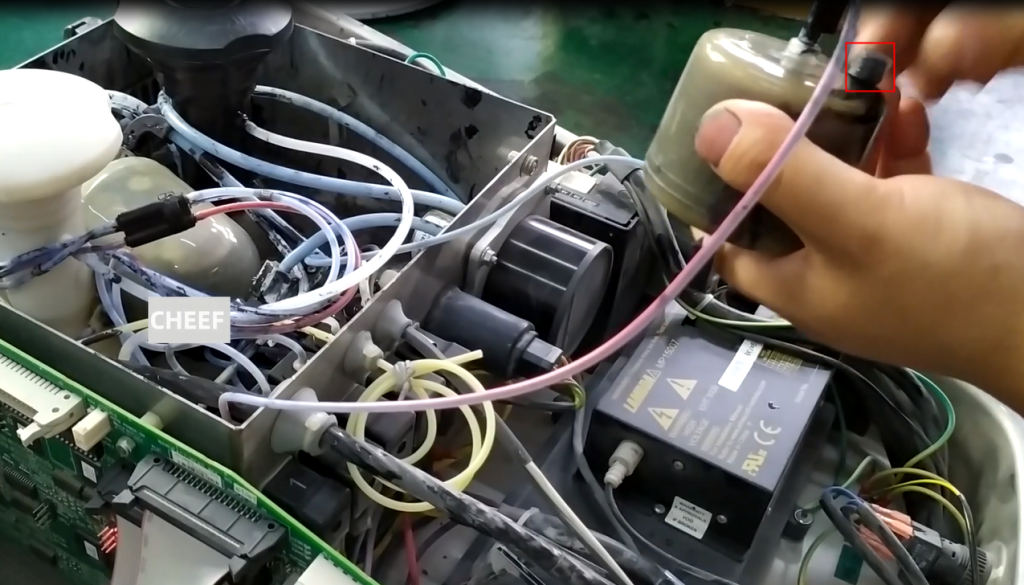
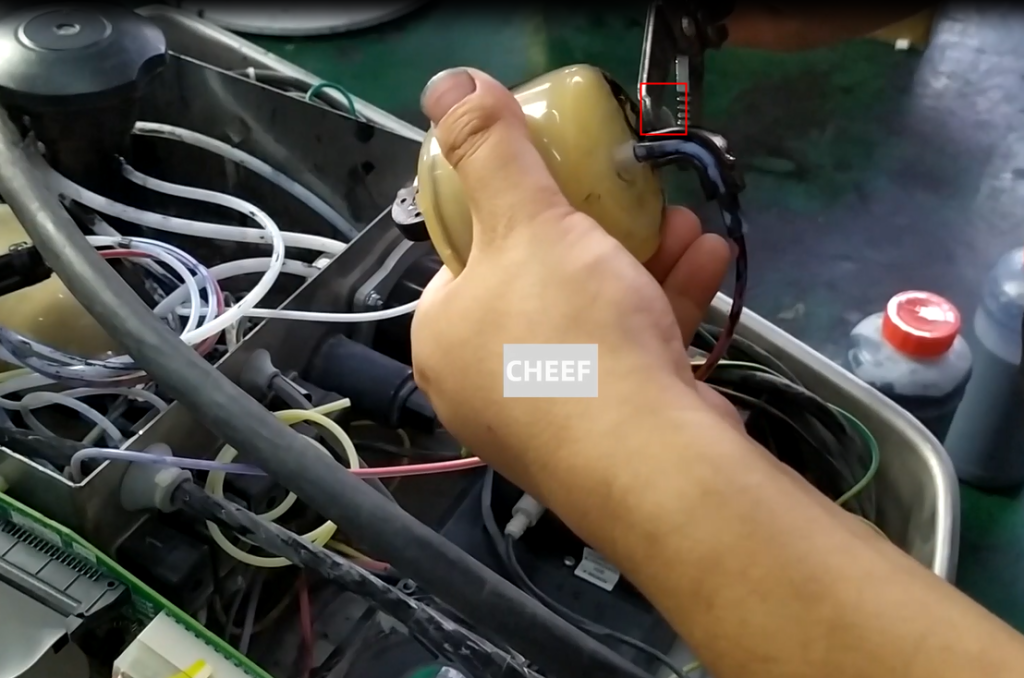
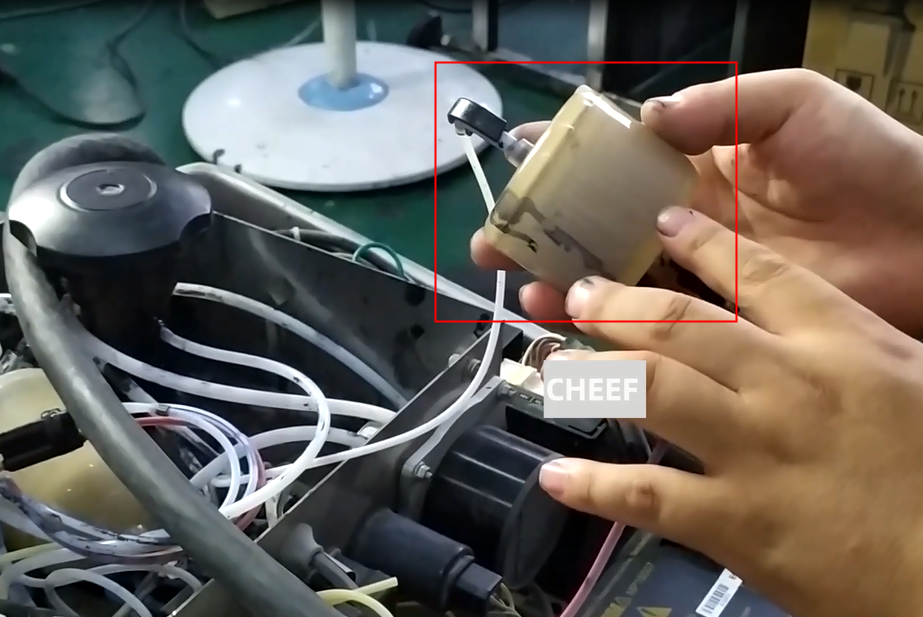
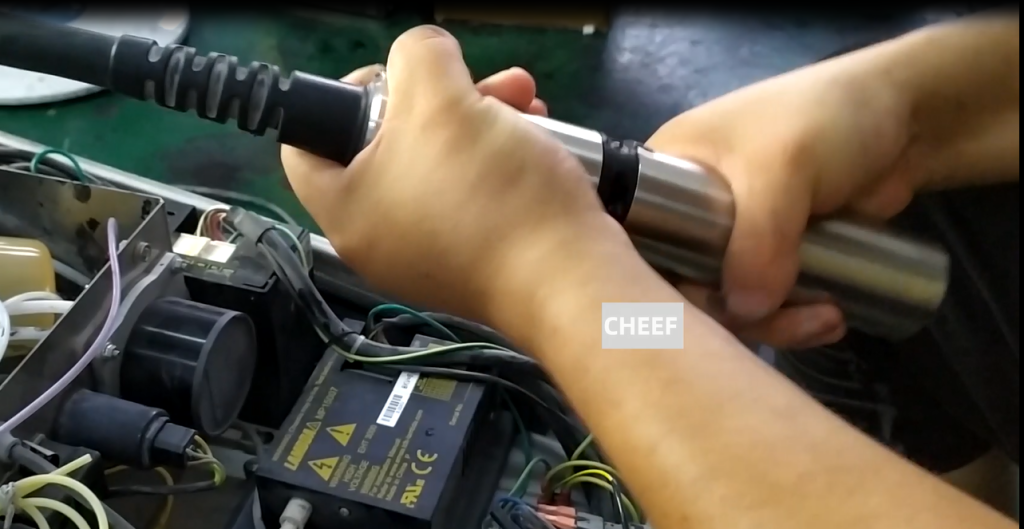
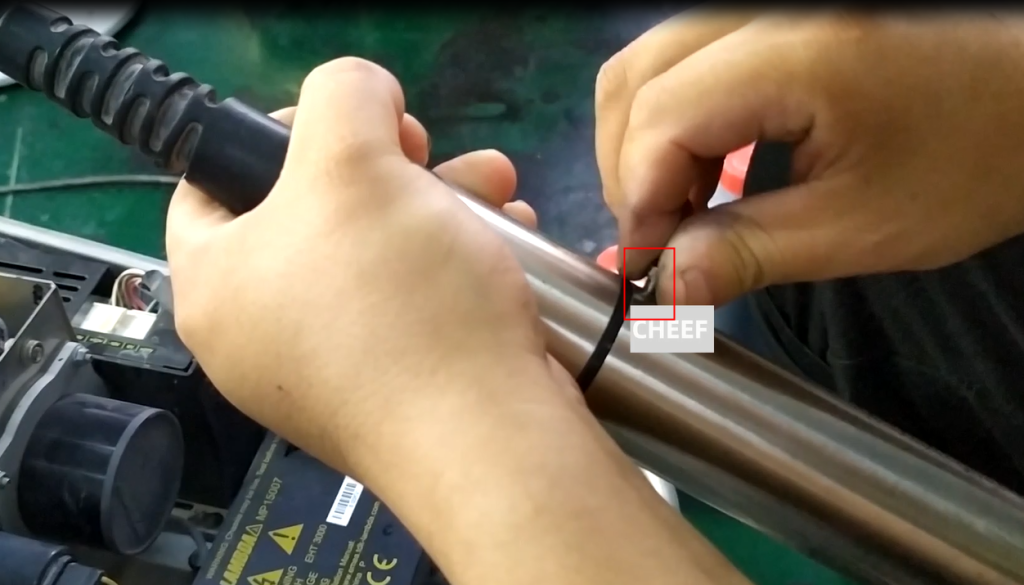
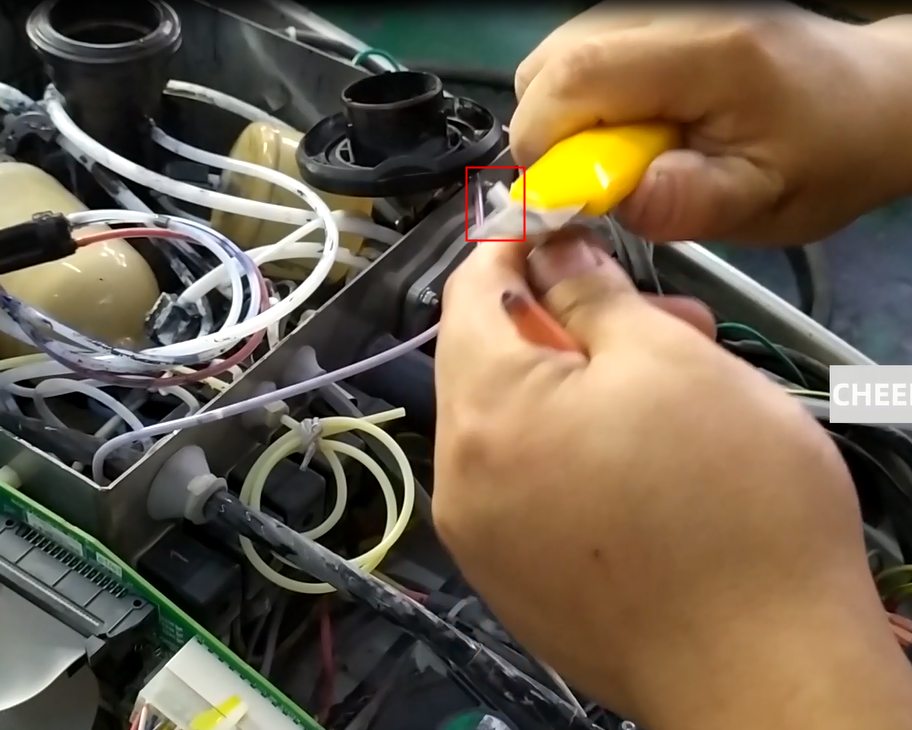
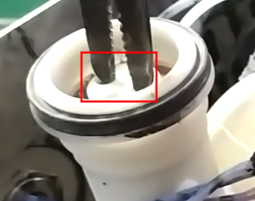
If it comes out, we need to unscrew the lock of the buffer.
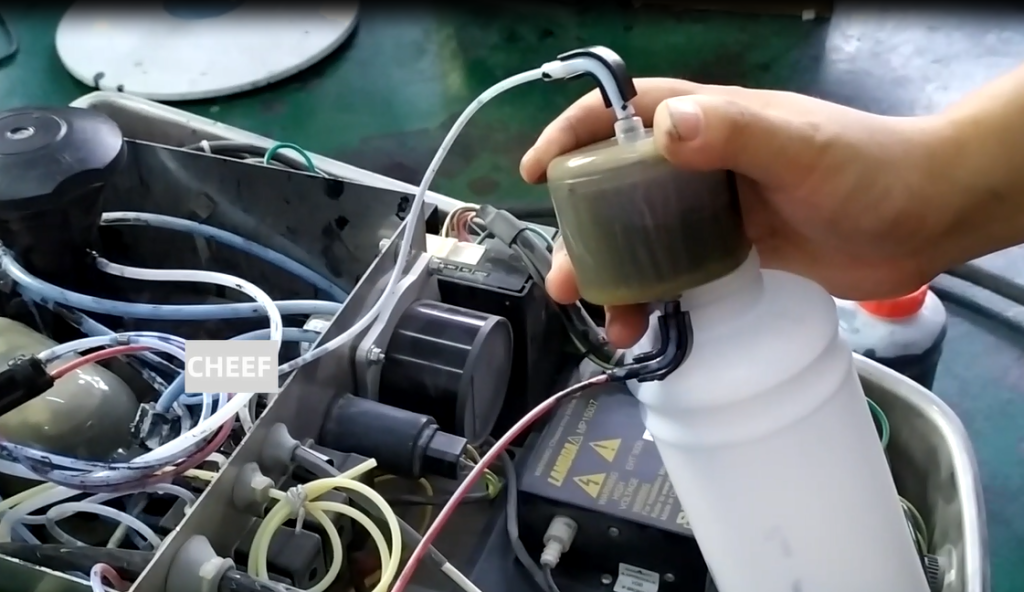
After spinning it off, we find an empty bottle and align the mouth with the empty bottle.

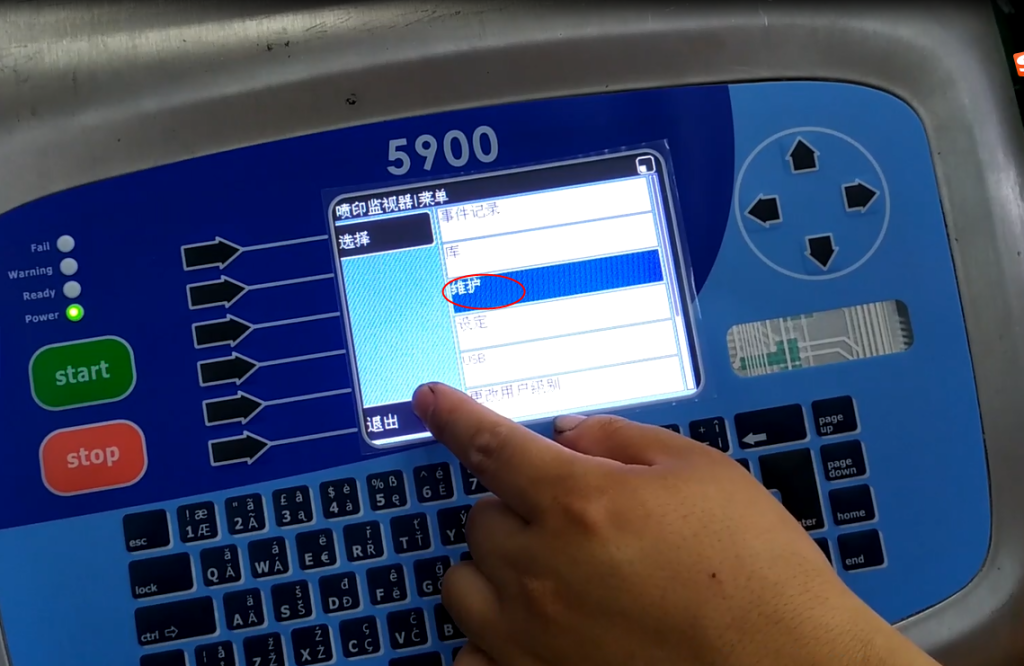
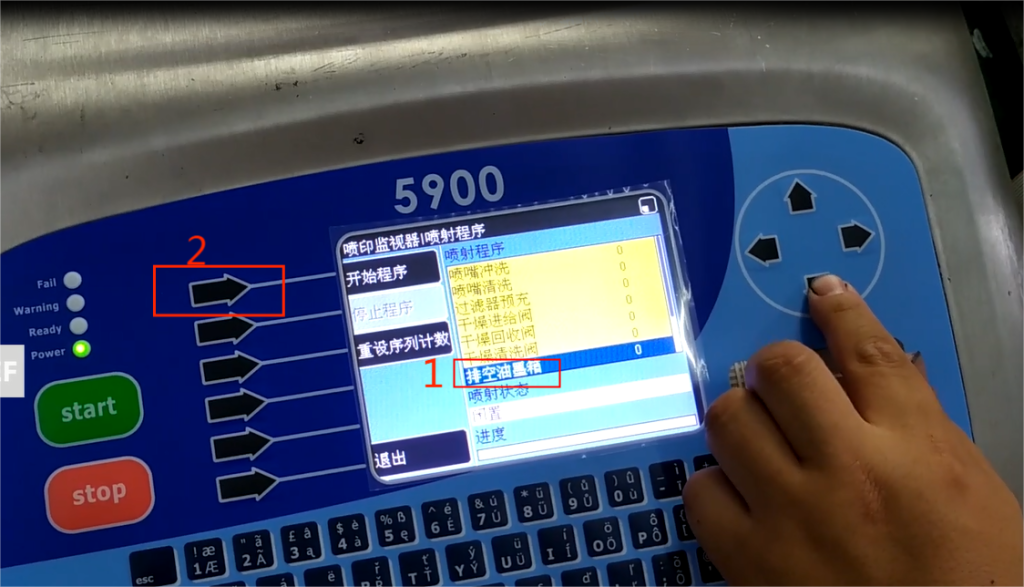
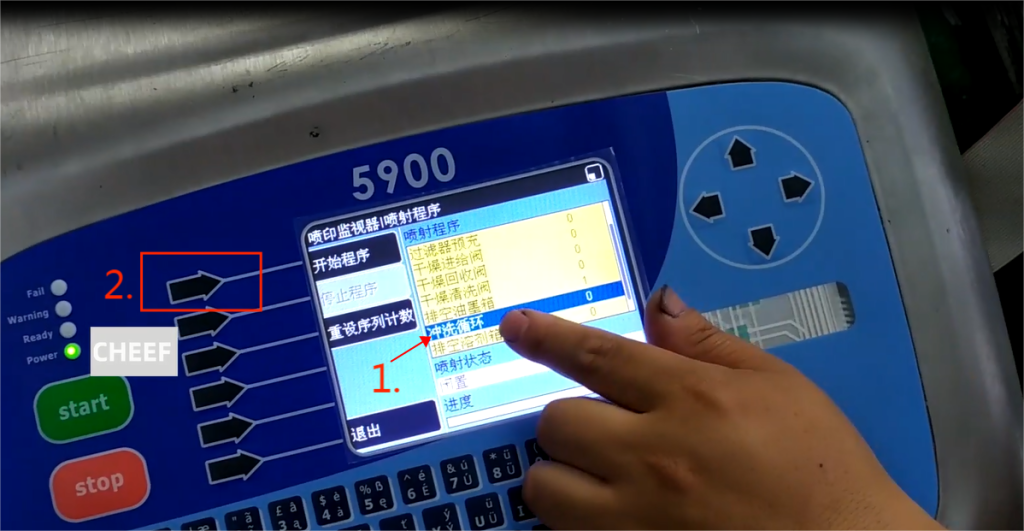
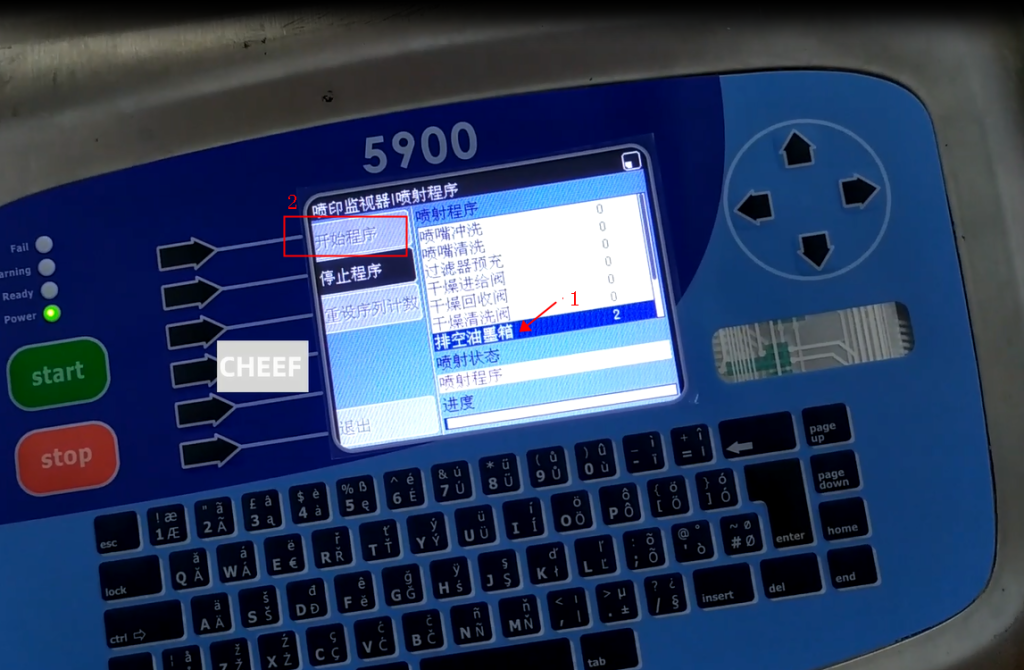
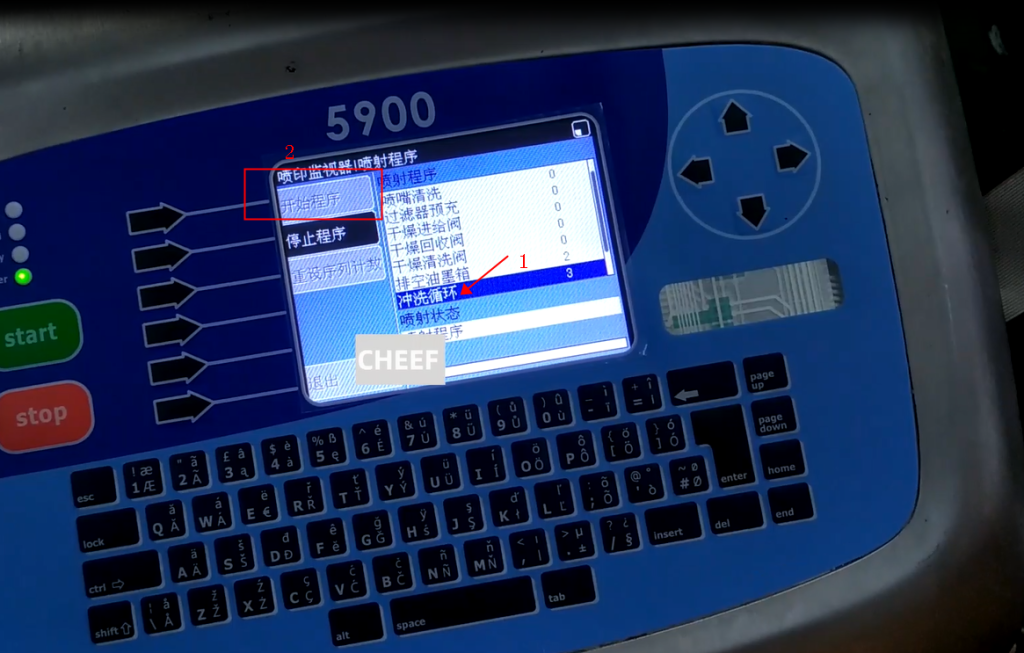
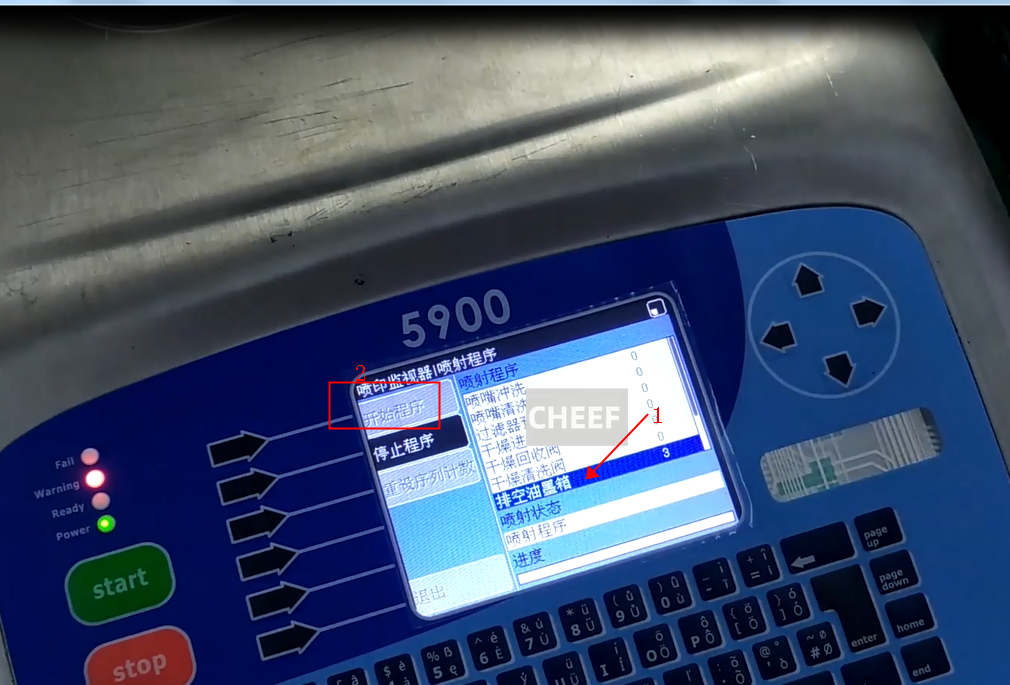
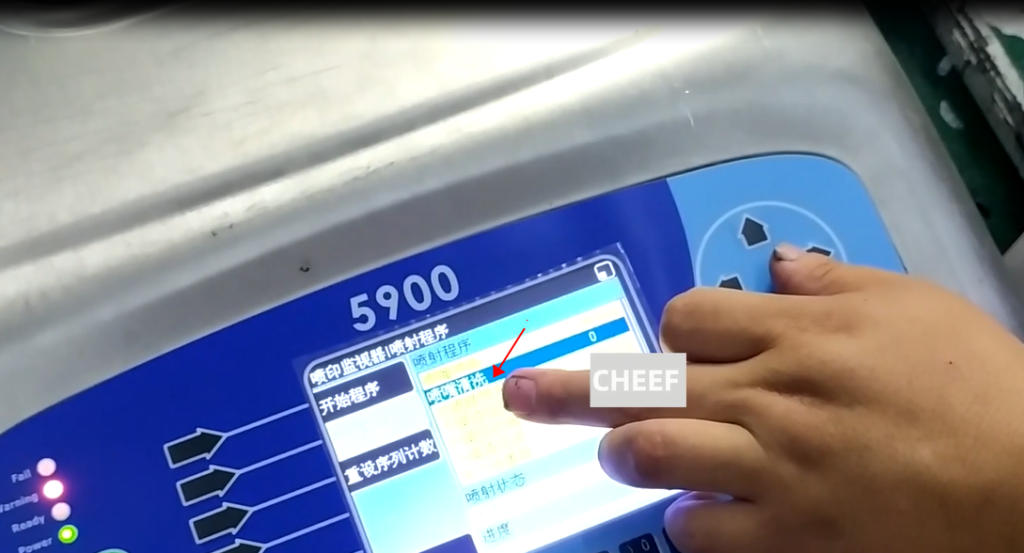
Then we need to operate on the keyboard. We click on the menu and enter the maintenance section.
Then select the spray program in the selection
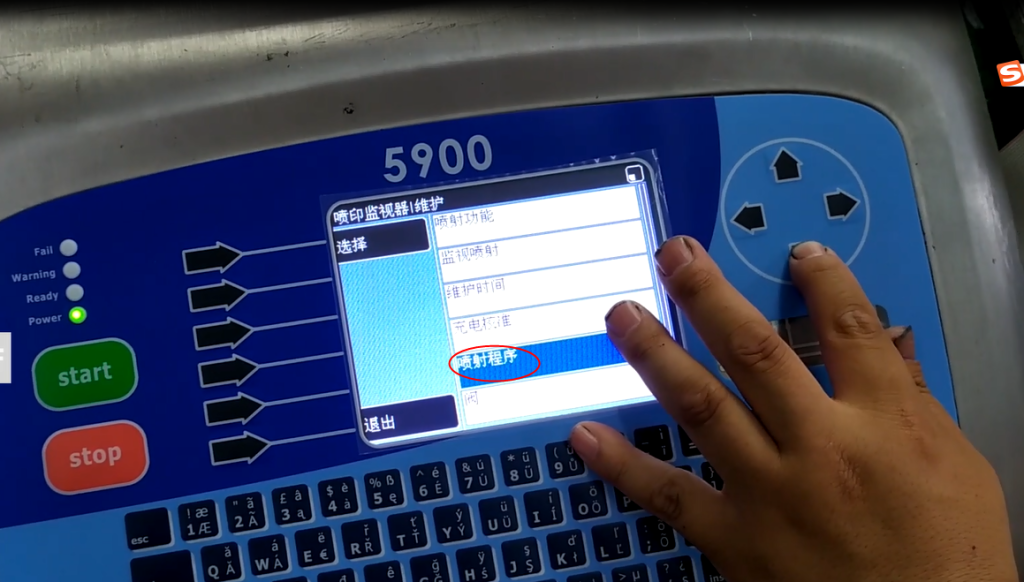
Select to empty the ink tank in the spraying program, and then confirm
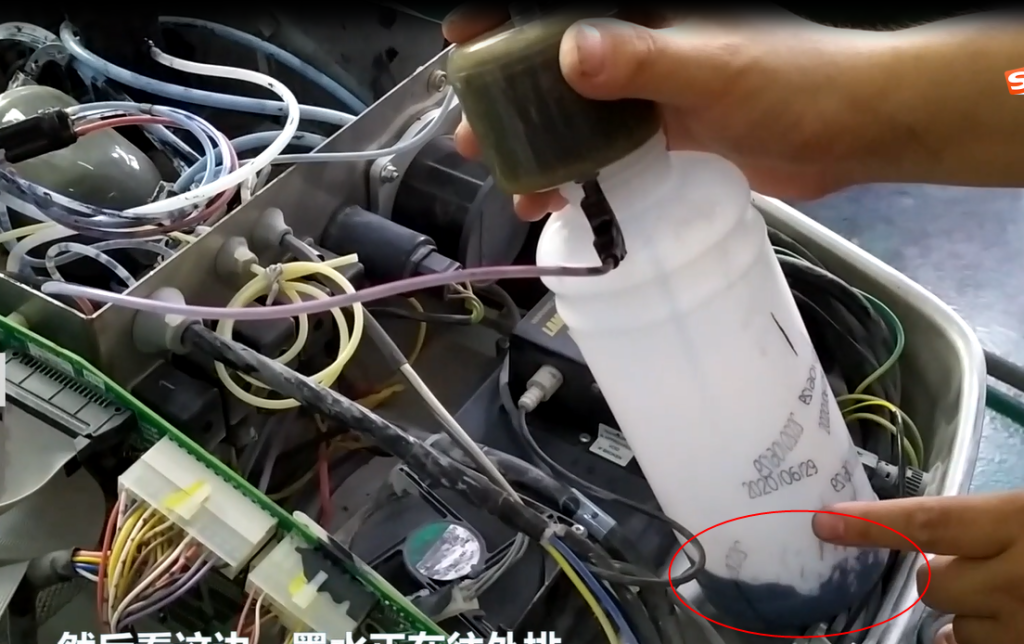
And then look here, the ink is flowing out
I have already finished arranging the ink now
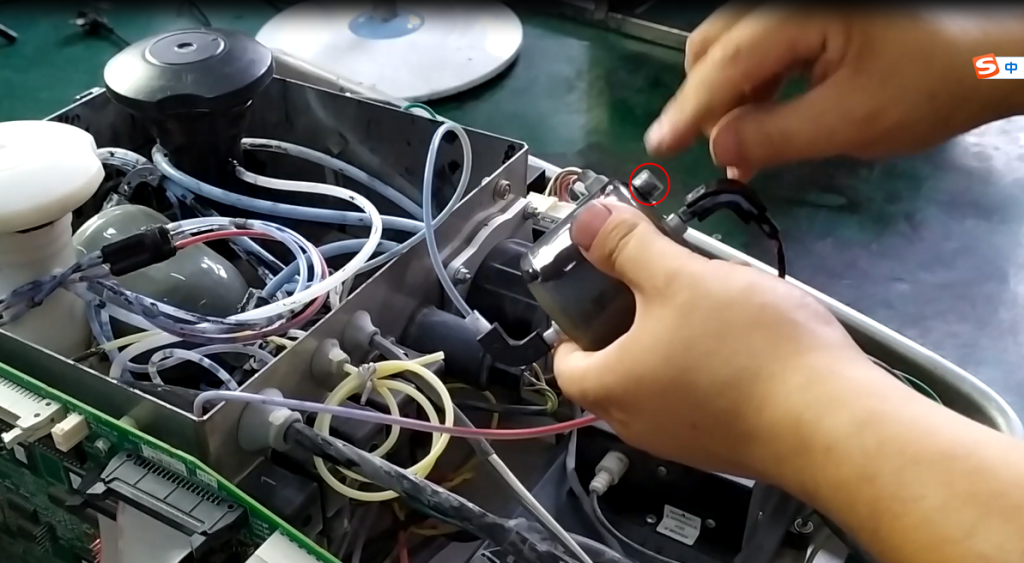
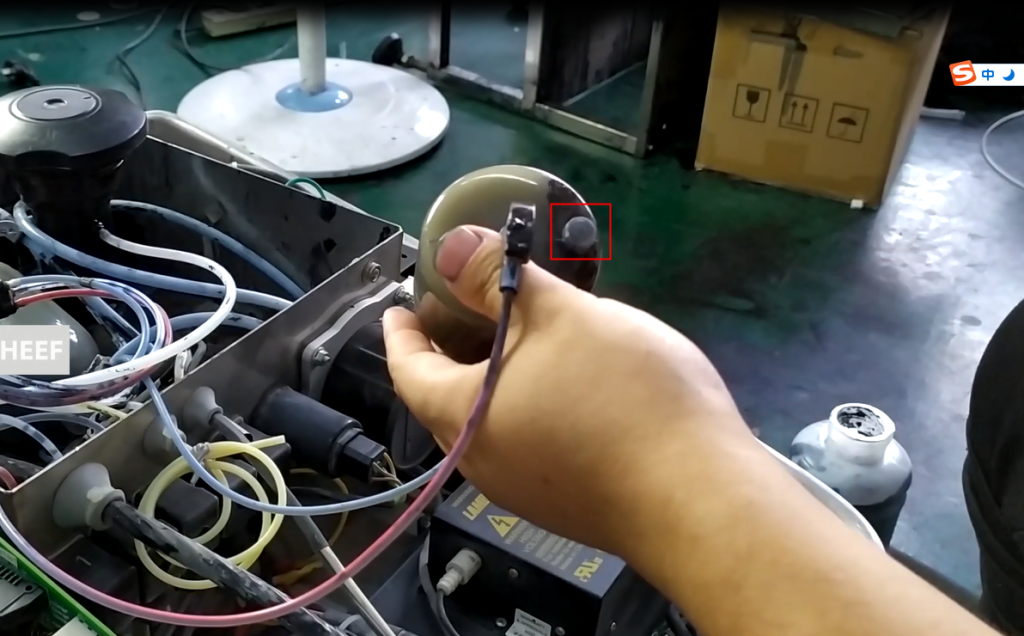
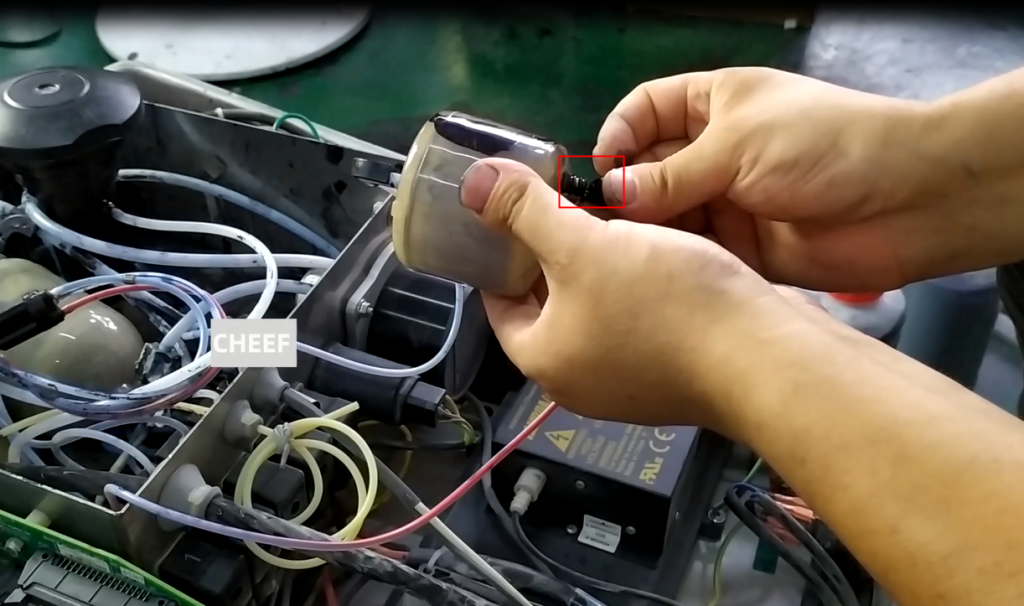
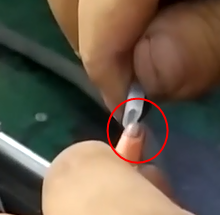
Take the bottle away and plug the mouth of the buffer
Then add 500-600mL of cleaning solution to the ink tank
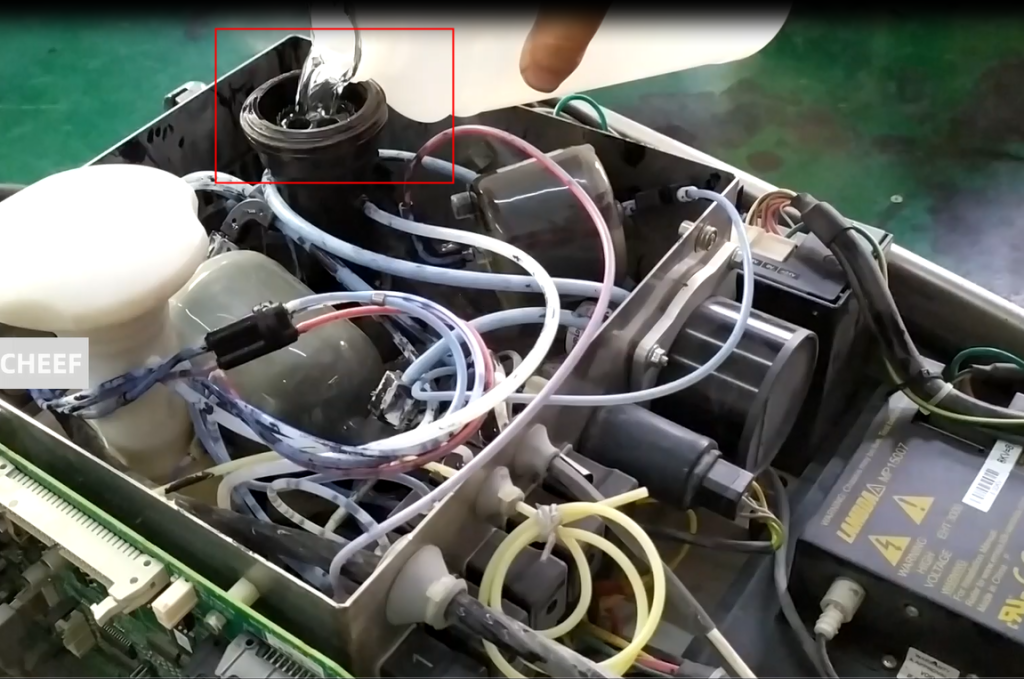
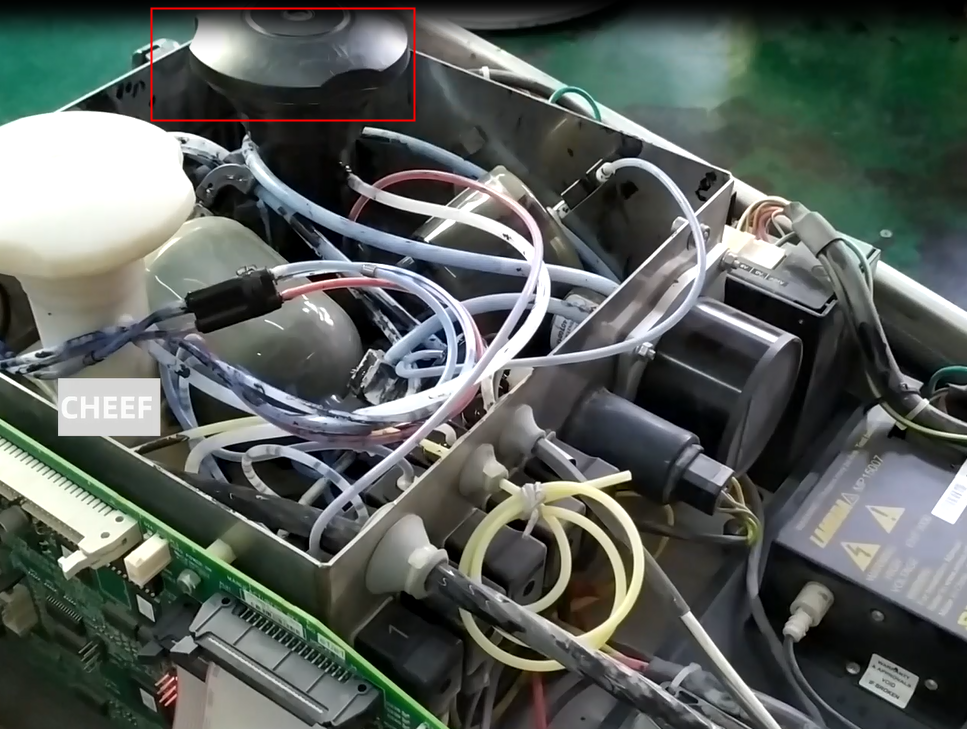
Put the lid on
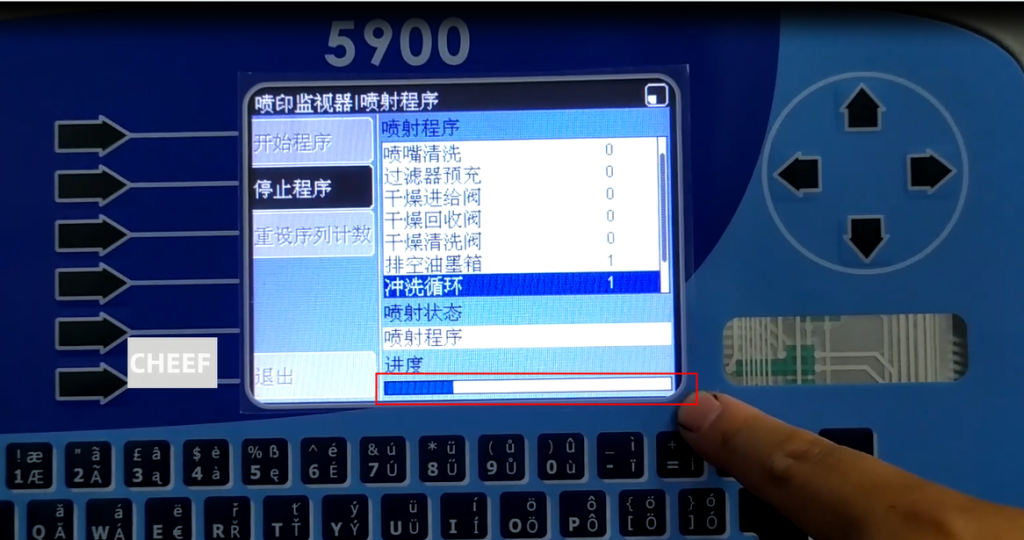
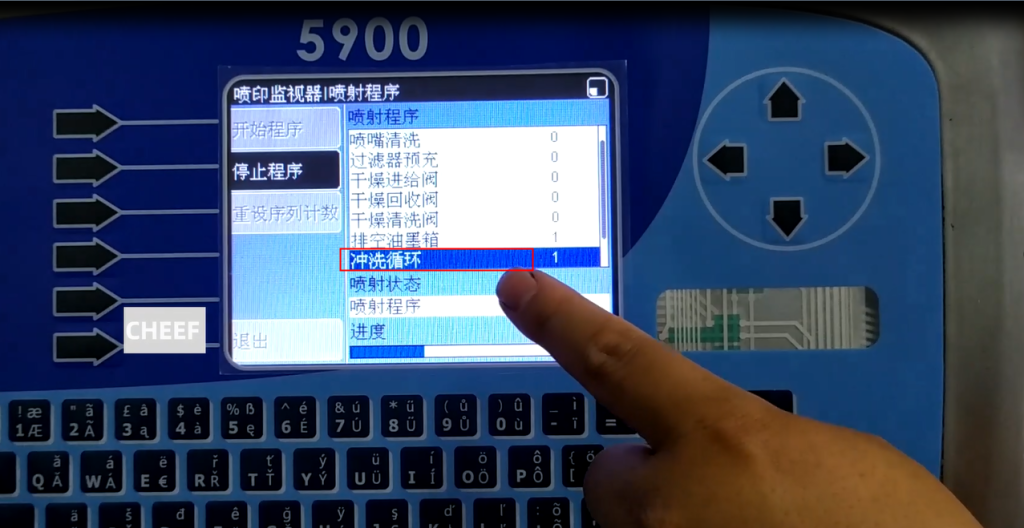
Then let’s take a look at the keyboard. We press the down arrow key, select the flushing cycle, and then start the program
Let it flush the pipeline inside. When the Progress bar reaches the front end, it indicates that the first flushing has been completed.
Rinse several times, usually 2-3 times.
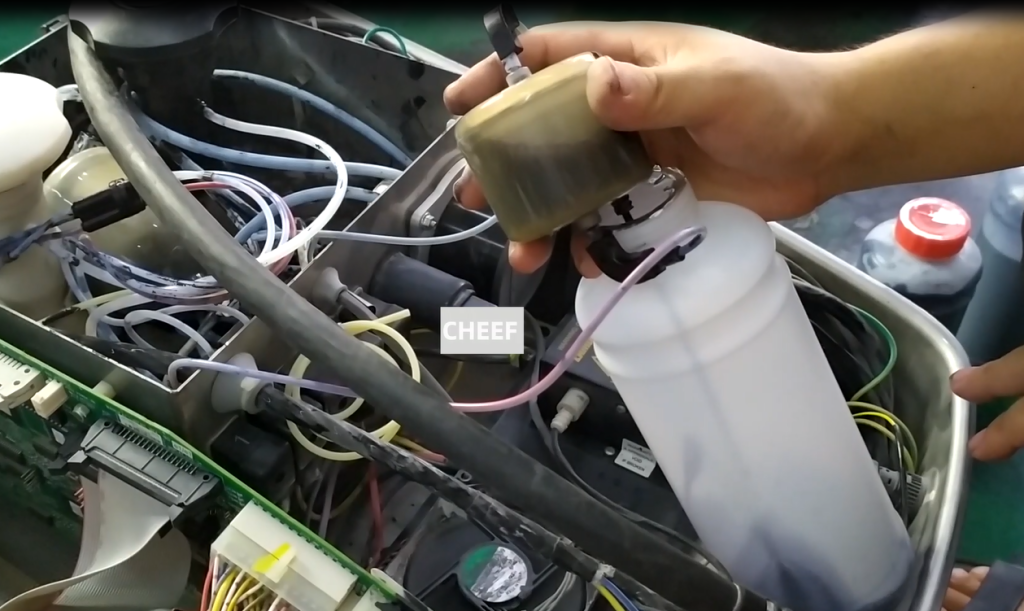
Then we discharge the ink waste liquid and pour in the cleaning solution for circulation.
Recycle it once and then discharge it.
Let’s drain it out and clean it twice. Take it apart
Let’s click on the option to drain the ink and start the program.
We will add 500-600 milliliters of cleaning solution
Repeat the cleaning cycle
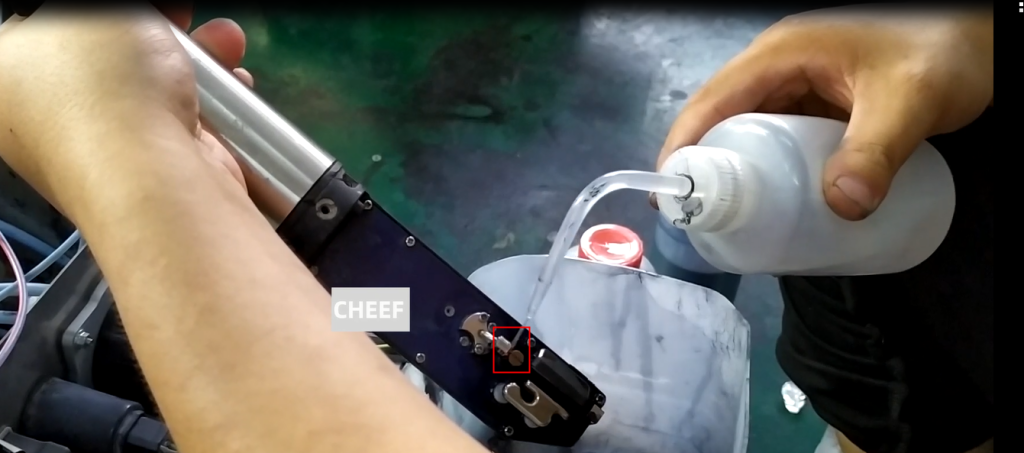
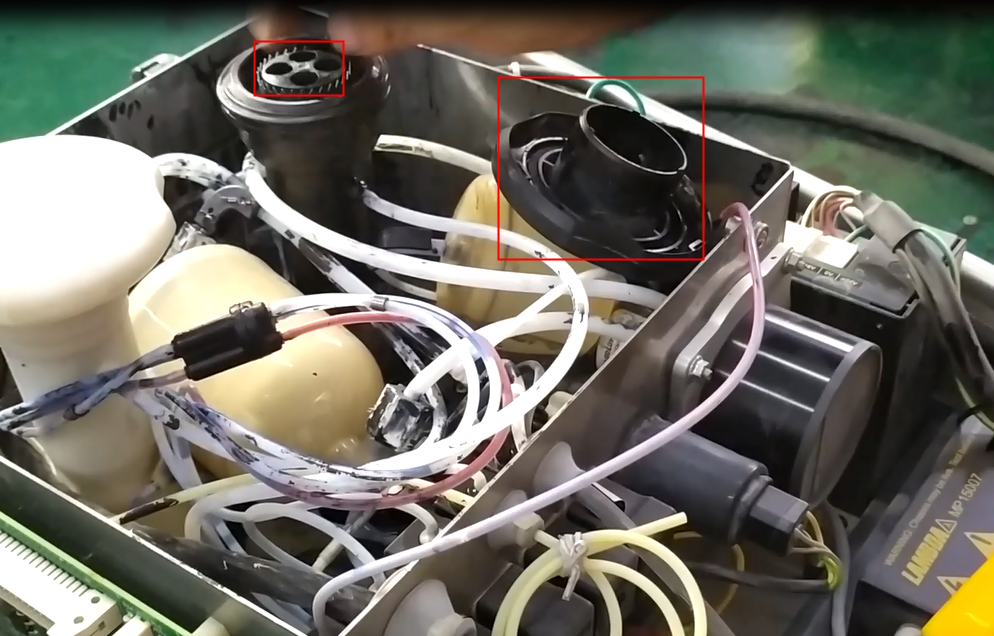
Then for the second cleaning, we can open the nozzle cover and spray some cleaning solution into the recycling tank.
Clean the recycling pipeline and clean the areas with ink

Take it apart again

Select to empty the ink tank and start
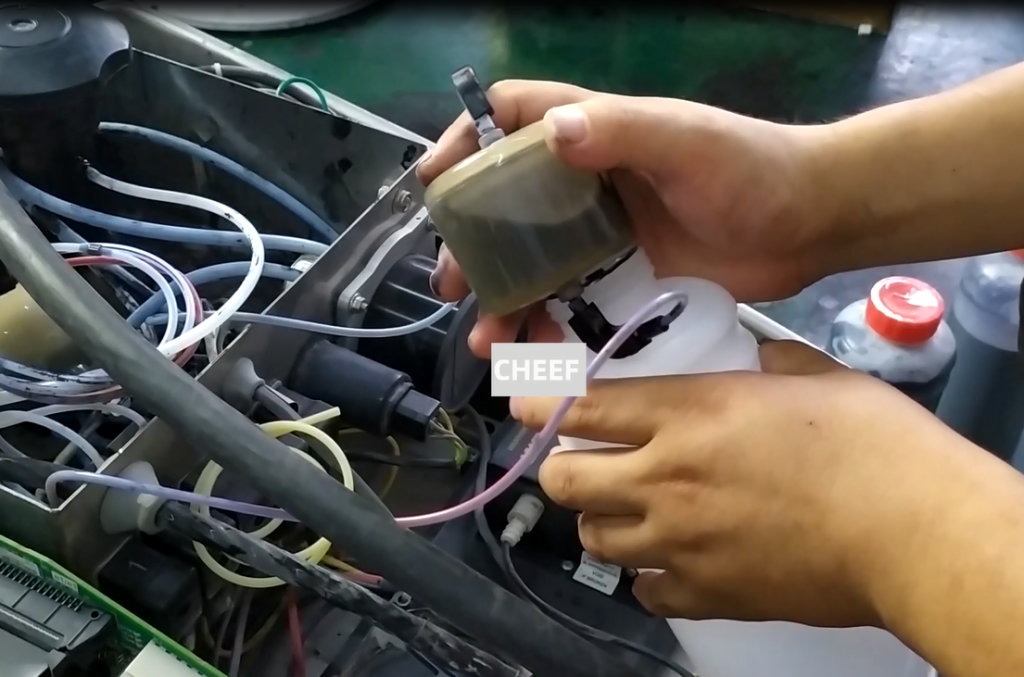
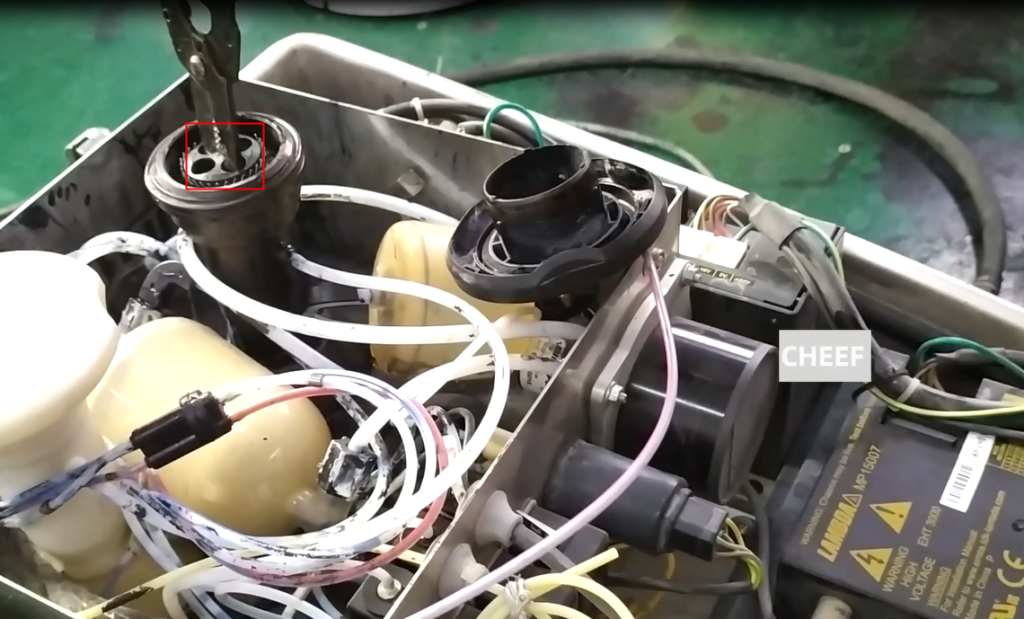
Now this one is relatively clean and there is no ink left.
And there’s not much ink in the filter either

During the cleaning process of the pipeline, the nozzle may become blocked, which is normal.
If the nozzle is blocked, we will need to perform nozzle flushing and nozzle cleaning.
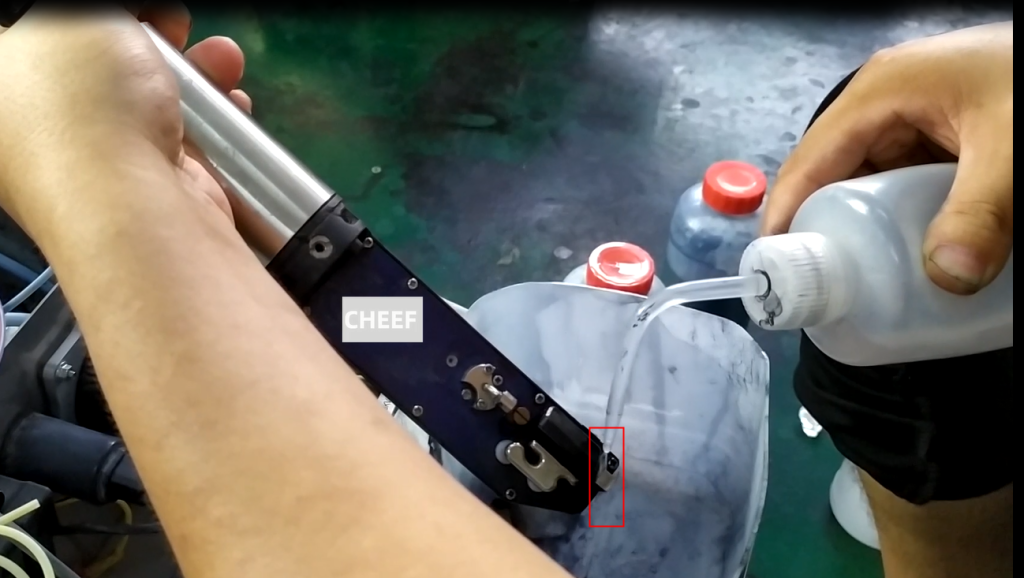
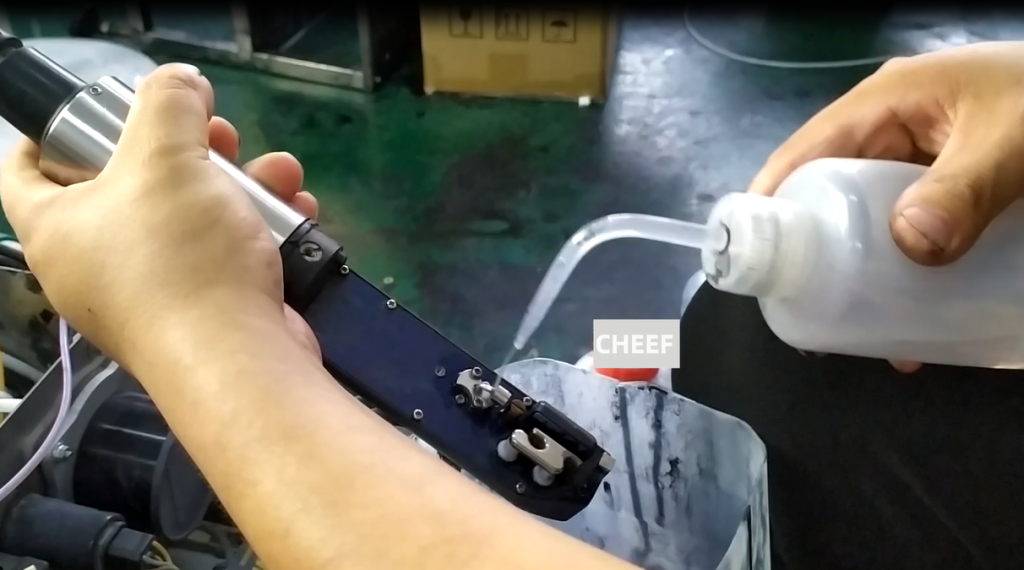
If we clean the nozzle, our watering can should also spray cleaning solution against the nozzle.

The nozzle can be washed without use.
But when cleaning the nozzle, be sure to use a cleaning kettle to spray cleaning solution onto the nozzle
Finally, let’s clean the area with ink on the nozzle again
Cover the nozzle cover
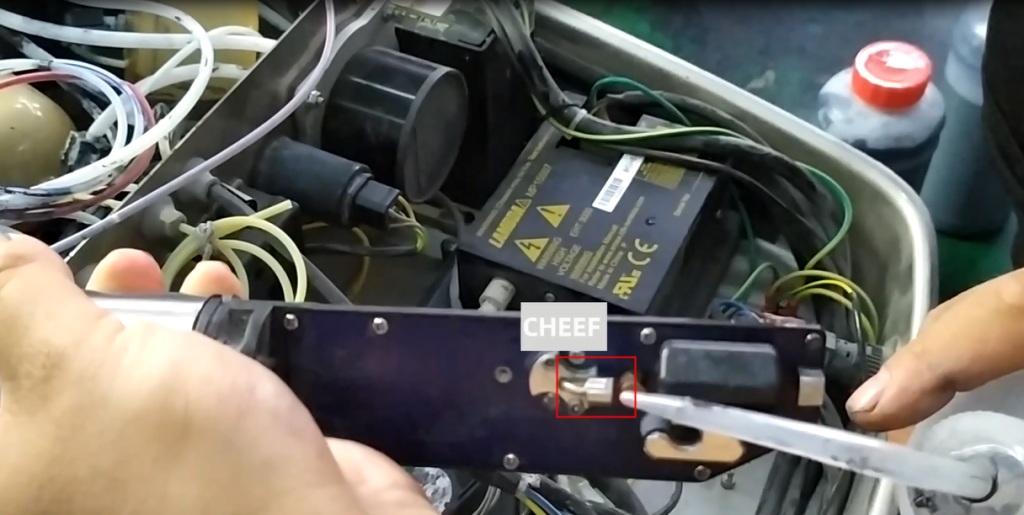
Mounting screw
This is how the cleaning pipeline is cleaned.
Then the next step is to extract all the remaining liquid from the ink tank.
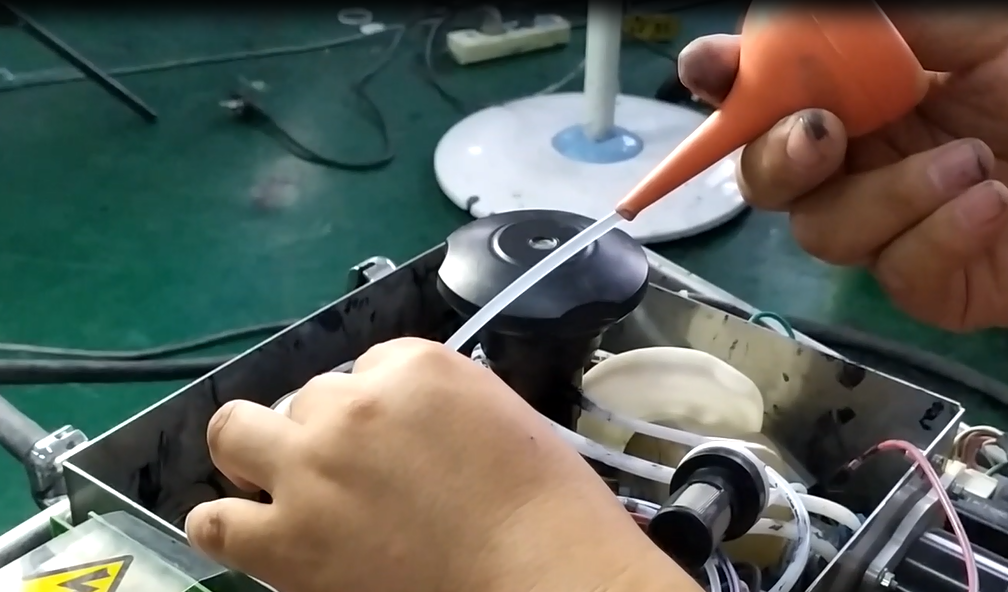
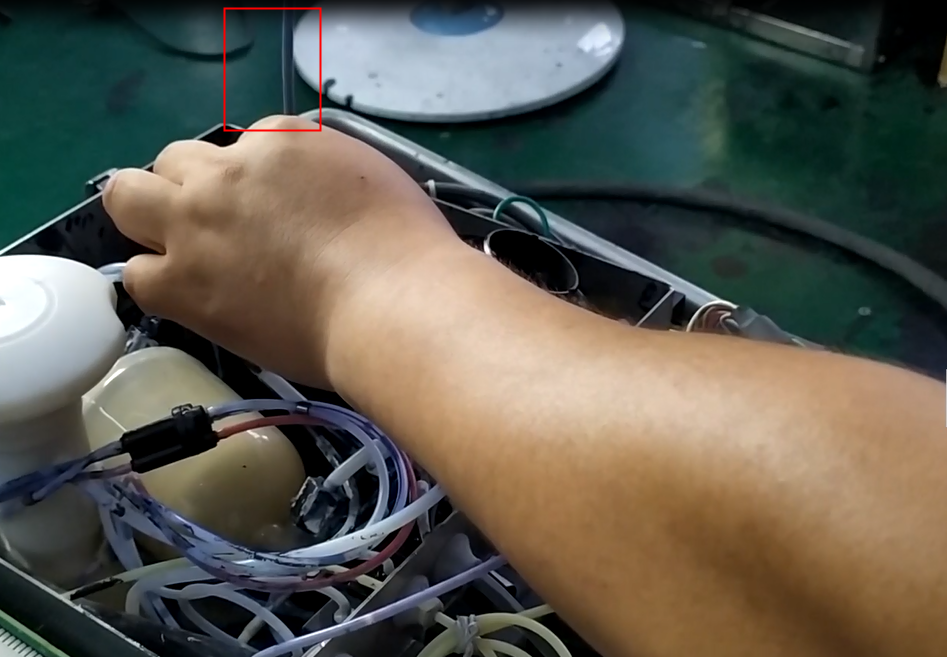
Let’s find a pipe and cut it off
Insert it into the ear wash ball
Then insert it here and suck out the ink
There is no ink left, let’s put the lid on.
Then the next one is the solvent, pull it out
Then we suck out all the solvent and keep sucking it clean, and this operation is completed.