Deep Cleaning Two Videojet 43s Printers for Optimum Fleet Uptime
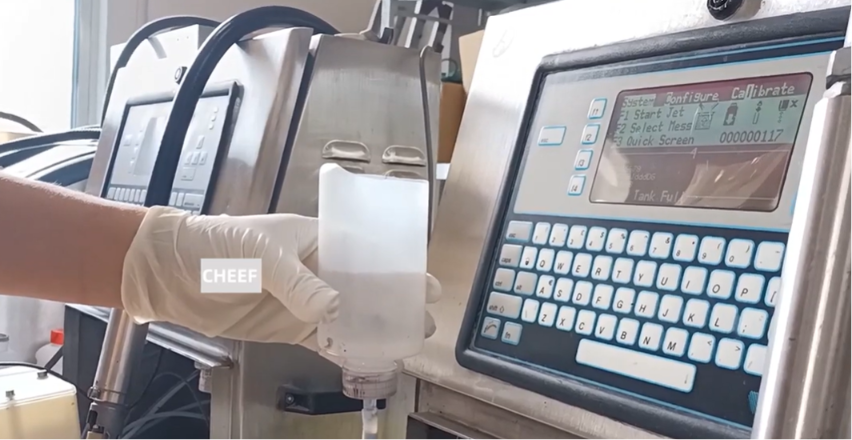
In high-throughput manufacturing plants, continuous inkjet (CIJ) printers must operate consistently across multiple packaging configurations. Over time, heavy operational schedules lead to system-wide cosmetic and microfluidic wear.
When managing a fleet of printers like the Videojet 43s, executing a deep, structured clean across your units prevents the migration of contaminants from the outer chassis to critical internal electronics and fluid paths.
This industrial guide breaks down the procedures required to deep clean two original Videojet 43s machines simultaneously, helping distributors and plant engineering teams establish a highly efficient line-maintenance routine.
Why Dual-Unit Batch Cleaning Maximizes Fleet Efficiency
Staggering maintenance tasks across individual printers frequently leads to fragmented line stops. Dedicating a maintenance block to clean multiple units at once optimizes fluid management and tool deployment:
- Consolidated Solvent Waste: Chemical washdown collection can be processed in a single, localized hazardous waste tray.
- Standardized Dry Times: Technicians can execute solvent application on Unit B while Unit A undergoes mandatory air-evacuation drying, eliminating idle waiting periods.
- Cross-Contamination Prevention: Cleaning multiple units in one block ensures that ambient ink mist from an unserviced machine does not settle on a freshly sanitized printhead.
Pre-Maintenance Safety and Toolkit Setup
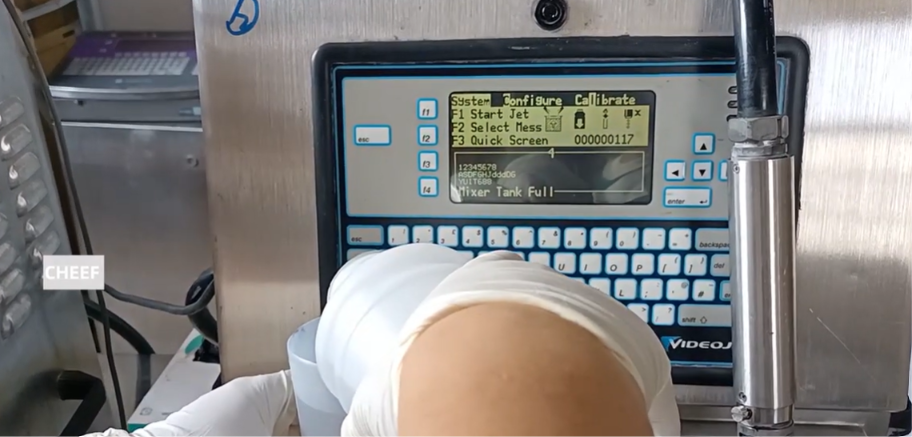
Before opening any access panels on your Videojet 43s units, technicians must prepare an environment designed to mitigate volatile organic compound (VOC) exposure and static discharge.
Required Equipment Matrix
- Primary Wash Fluid: OEM-formulated washdown solvent (matching the ink base: MEK, Acetone, or Ethanol).
- Wiping Media: 100 percent lint-free industrial microfiber swabs and thick fabric cloths (avoid paper towels that shed fibers).
- Pneumatics: Clean, dry, oil-free compressed air line or a dedicated rubber air-delivery bulb.
- PPE: Chemical-resistant nitrile gloves, safety goggles, and anti-static wrist straps.
Phase 1: Cabinet and Structural Outer Chassis Sanitation
Over weeks of operation, a fine film of dried ink, dust, and product debris accumulates on the external stainless steel cabinet. This outer contamination must be stripped down before opening any fluid bays.
Step 1: External Power Isolation
Shut down the jet streams on both Videojet 43s units using the standard interface control panel. Wait for the 4-minute cycle to complete, then flip the main AC circuit breakers at the back of the machines to the OFF position. Disconnect the main power cables.
Step 2: Main Cabinet Decontamination
Dampen an industrial wipe with the designated solvent. Wipe down the entire exterior stainless steel housing, paying close attention to the operator keypad, fluid door hinges, and handle assemblies.
First isolate the power, then wipe down the outer chassis, and finally clean the flexible umbilical conduit sleeve.
Step 3: Umbilical Shield Washdown
Clean the flexible conduit umbilical sleeves extending from the cabinet to the printheads. Eliminating accumulated residue here keeps the lines flexible and prevents brittle cracking over time.
Phase 2: Dual Printhead Microfluidic Cleaning
The printheads are the most sensitive parts of your Videojet 43s fleet. This phase requires meticulous chemical washdowns to ensure high-voltage stability.
Step 1: Secure Head Alignment and Recovery
Remove the protective printhead covers on both machines. Mount both blocks securely into an industrial grounded service tray, ensuring the nozzles point directly downward into your waste container.
Step 2: Target the Deflector Plates and Charge Tunnel
Using a low-pressure solvent wash bottle, flush the individual components in this exact order:
- The Charge Electrode Block
- The High-Voltage Deflector Plates
- The Ink Return Gutter Opening
Ensure the solvent completely dissolves any dark ink skins or crystallization bridging the gaps between these charged parts.
Step 3: Forced Air Evacuation
Use clean compressed air or an air bulb to thoroughly blow dry the printhead internal assemblies.
CRITICAL MAINTENANCE NOTE: Moisture or residual wash solvent trapped behind the deflector plate insulation will simulate an active electrical short circuit. This causes the motherboard to trigger an immediate “Ultra High Voltage Fault” code upon system reboot. Ensure the printheads are 100 percent dry before continuing.
Phase 3: Fluid Management Deck Inspection
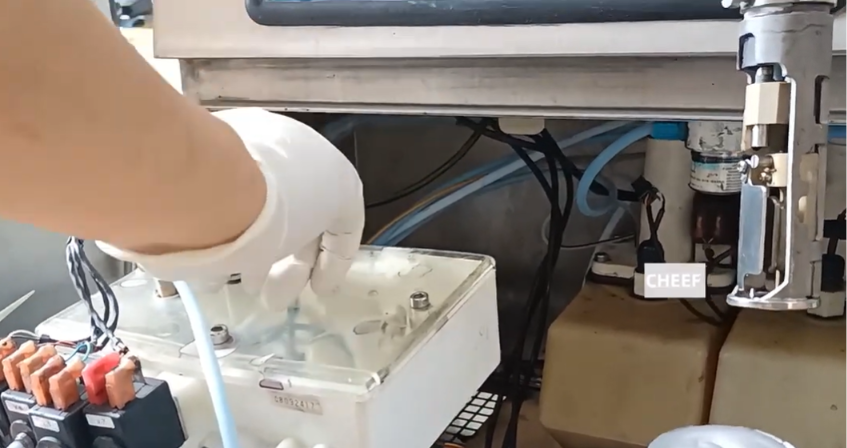
With the outer cabinets and printheads completely clean, open the primary ink compartment doors to evaluate the internal fluid distribution networks.
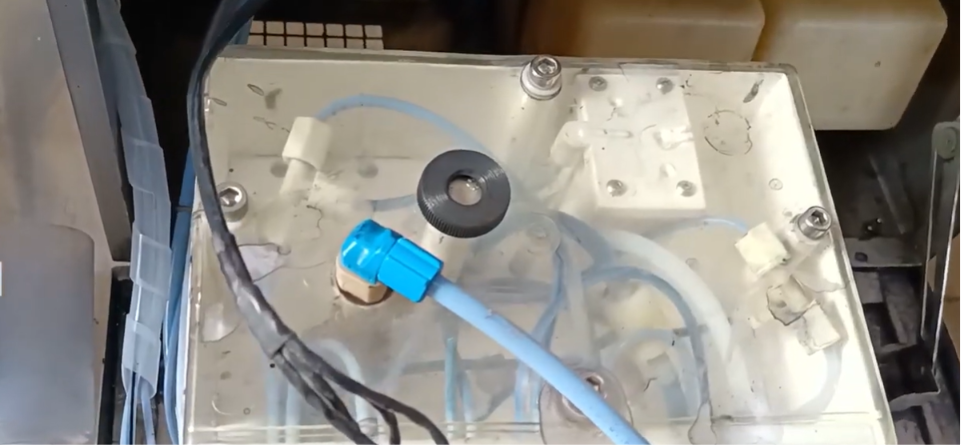
Inside the fluid deck core, you will find the main Ink Reservoir Tank and the Solvent Top-Up Tank. Both of these lines feed directly down into the central Fluid Mixer Block (FMS).
1. Wipe Down the Port Arrays
Clean the areas around the black ink filler cap and the white solvent/top-up cap. Removing dried crusts from these entry points prevents old debris from dropping into the reservoir tanks during fluid top-ups.
2. Inspect the Main Fluid Management System (FMS) Block
Check the FMS block for any signs of micro-leaks or structural ink seepage around the main valve manifolds. Wipe away any localized pooling with a solvent-dampened microfiber swab.
Fleet Re-Commissioning Protocol
Once both Videojet 43s units have been cleaned, dried, and checked, proceed with this structured startup routine:
- Re-engage AC Power: Connect the power lines and flip the main cabinet breakers back on.
- Test the Safety Switches: Slip the printhead covers back on and verify that the control panel’s “Lid/Hood Removed” warnings disappear.
- Initiate the Jet Cycle: Turn on the ink streams and check that the ink lines shoot straight into the center of the return gutters with zero spray.
Frequently Asked Questions
Q1: Can I use generic isopropyl alcohol (IPA) to clean the internal fluid core or printheads?
No. Videojet 43s industrial inks utilize specialized resin binders that are formulated to dissolve in specific chemical bases (like MEK or Acetone). Using generic alcohol can curdle or coagulate the ink, turning a minor buildup into a severe, permanent blockage inside the printhead manifold.
Q2: Why is it bad practice to clean the printheads immediately after a forced machine shutdown?
Cleaning the printhead during a shutdown washes away the helpful layer of ink that naturally seals the nozzle. Leaving a clean ink cap over the nozzle hole during down-periods actually prevents air from seeping into the throat and drying out the internal ink matrix, which helps stop future clogs.
Q3: What should I look for if a unit throws an overpressure fault right after a deep clean?
This usually means a tiny piece of dislodged ink crust or lint from an unapproved cleaning cloth has found its way into the nozzle orifice or recovery line. Run an automated Nozzle Flush routine and use your wash bottle to clear any debris blocking the path.
Watch the Full Video Tutorial:
This article summarizes the key points from our original video. Watching the full tutorial provides a clearer understanding of the procedures, demonstrations, and practical maintenance tips.
▶ Watch the full video below.
📺 Subscribe to the Cheef YouTube Channel to receive future maintenance guides, troubleshooting tutorials, product demonstrations, and industry updates.
