
Operational Excellence: Maintenance Protocol for Dual Videojet 1610 Printheads
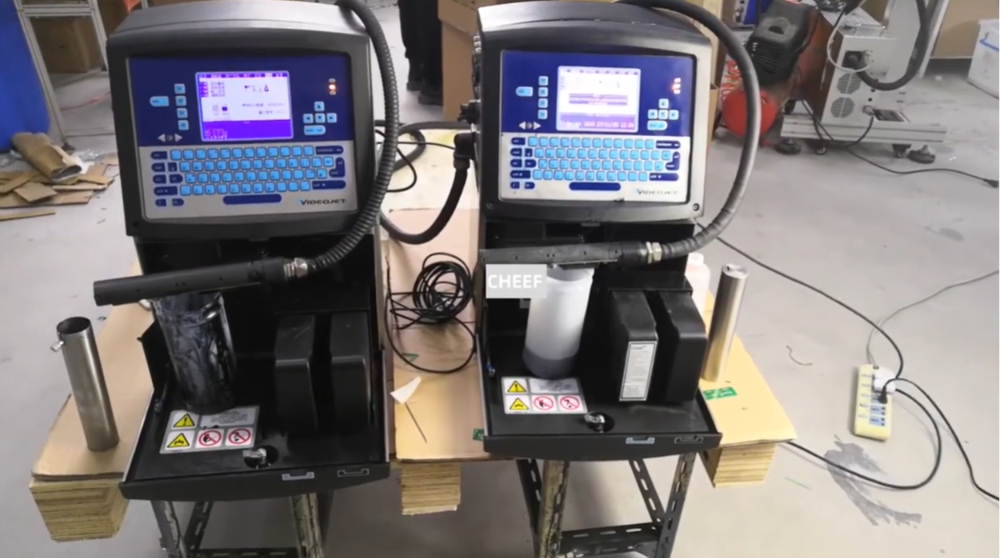
Continuous Inkjet (CIJ) systems like the Videojet 1610 are engineered to survive demanding, high-throughput manufacturing configurations. Whether utilizing a single-cabinet system or a high-capacity dual-head application, performance directly correlates with the physical condition of the printhead components. Over time, micro-splashes of ink, airborne dust, and localized debris accumulate within the printhead assembly, leading to charging anomalies, deflected streams, or gutter faults.
This technical framework outlines the standard protocol for performing deep-clean procedures on Videojet 1610 systems, focusing on maintaining internal pressure balances and ensuring crisp drop placement during rapid production cycles.
Technical Insights: The CleanFlow Architecture
The Videojet 1610 utilizes a specialized CleanFlow printhead chassis designed to reduce the frequency of manual maintenance. This design introduces a positive flow of filtered air directly into the head module, which creates a positive-pressure barrier against ambient particulate matter.
However, heavy manufacturing conditions—such as those found in high-moisture beverage bottling or dust-heavy drywall extrusion—can eventually cause ink splatter to bridge across critical internal electrical components.
Manual intervention becomes necessary when ink residue begins to form a film over the charge tunnel, deflector plates, or modulation assembly. If left untreated, this film causes phase errors or grounding loops, which immediately trip the printer’s automatic safety shutdown mechanism.
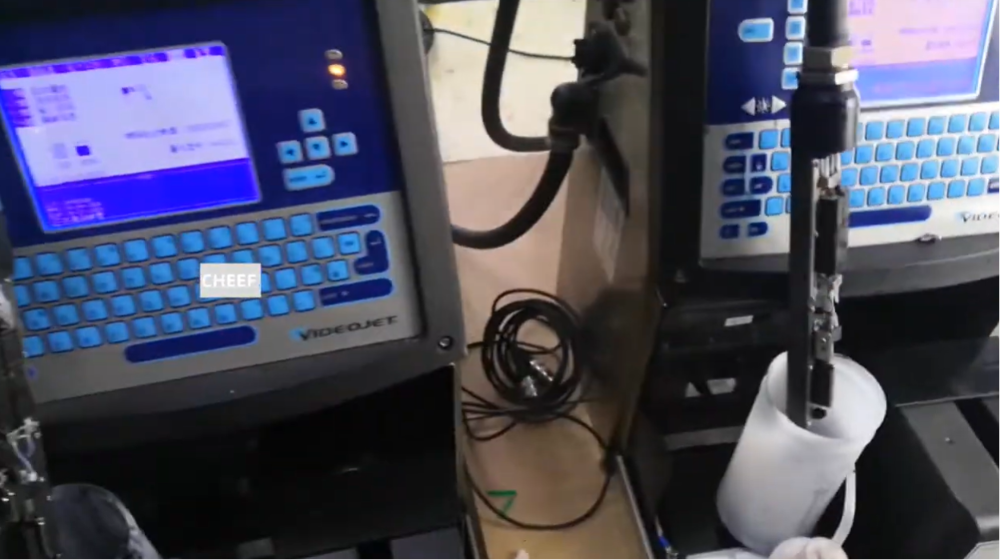
Strategic Walkthrough: Executing the Maintenance Protocol
To complete a standard maintenance wash down efficiently, technicians require clean wash solvent matching the current fluid formulation (typically MEK or Ethanol-based), a wash bottle with a narrow-tip nozzle, a specialized service tray, dry compressed low-pressure air, and lint-free wipes.
Phase 1: Preparation and Safety Isolate
Never initiate a manual wash down while the ink jet is live. Navigate to the interface console and trigger a clean shutdown sequence. If the system features an automatic flush sequence, allow it to complete the cycle, which clears the nozzle orifice and ink return line with fresh makeup fluid. Once the system screen signals a safe status, slide the primary cover off the printhead module to expose the inner deck.
Phase 2: Solvent Washing
Place the printhead securely over the service tray, tilting the module downward so that runoff cannot track backward into the electrical conduit umbilical line. Aim the wash bottle nozzle directly at the upper charge tunnel assembly and flush thoroughly from top to bottom.
Direct the solvent stream over the positive and negative high-voltage deflector plates, paying careful attention to the small gap between the plates and the grounding rails. Finally, spray the recovery gutter opening to clear away any ring-dried ink accumulation that could hinder vacuum suction.
Phase 3: Drying and Inspection
Any residual solvent left on the deflector plates will cause a grounding short circuit when high voltage is reapplied. Use low-pressure, filtered, completely dry air to blow all residual moisture out of the components. Focus the air stream through the charge tunnel and behind the high-voltage plates until no fluid shine remains.
Inspect the face plate using a magnifying lens or localized workspace lighting to ensure no microscopic lint fibers from the environment are stuck inside the charge path or gutter mouth. Reattach the protective head cover once dry.
Troubleshooting Manual Cleaning Anomalies
| Post-Clean Symptom | Probable Root Cause | Corrective Technical Action |
| High Voltage Fault immediately on startup | Moisture or solvent film remaining on or behind the deflector plates. | Stop the jet. Remove the head cover and use dry air to blow out the narrow spaces behind the plates. |
| Gutter Fault (Ink missing the recovery line) | Debris inside the gutter mouth or a misaligned nozzle plate. | Flush the gutter tube with solvent via a syringe. If the stream remains physically deflected, adjust the stream alignment screw. |
| Faint or Shifting Characters | Residue buildup remaining inside the charge tunnel slot. | Perform a focused wash directly inside the charge tunnel opening and blow completely dry. |
Critical Preventative Maintenance Practices
- Enforce Clean Drying Protocols: Never use cotton swabs or generic rags to dry the internal plates. The fibers shed by these materials are large enough to alter drop deflection angles or plug the internal vacuum lines.
- Avoid Post-Shutdown Over-Cleaning: If the system is running a clean daily shutdown with an active automated flush, do not perform manual solvent washes daily. Excessive washing strips the protective fluid barrier coat inside the lines prematurely and can accelerate seal degradation.
Frequently Asked Questions
Why does a High Voltage Fault occur right after I wash down the printhead?
This is almost always caused by residual solvent bridging the gap between the high-voltage deflector plates and the frame. The printer detects this drop in electrical resistance as a dangerous short circuit and trips the fault. Ensure the head is thoroughly dried with low-pressure air before starting the ink jet.
How often should the positive-air filter be changed on a Videojet 1610?
In standard clean packaging environments, the positive-air core filter should be replaced every 4,000 to 6,000 hours. In highly dusty environments, like flour mills or cement packaging plants, inspect the filter monthly and replace it as soon as visual graying or airflow reduction occurs.
Can I use standard industrial acetone to clean my 1610 printhead components?
No. You must only use the specific Videojet cleaning solvent or approved aftermarket equivalent that matches your current ink chemistry base (e.g., MEK wash for MEK ink). Using an unapproved solvent like acetone can degrade internal seals, melt plastic manifold plates, or cause chemical reactions that solidify ink remnants inside the printhead.
Watch the Full Video Tutorial:
This article summarizes the key points from our original video. Watching the full tutorial provides a clearer understanding of the procedures, demonstrations, and practical maintenance tips.
▶ Watch the full video below.
📺 Subscribe to the Cheef YouTube Channel to receive future maintenance guides, troubleshooting tutorials, product demonstrations, and industry updates.
